Are you ready for another fruity summer nail art tutorial? I hope so, because I’m not finished yet! I already showed you some sweet watermelon nails a little while ago, and pineapple nails after that. This time… we’re doing STRAWBERRIES!
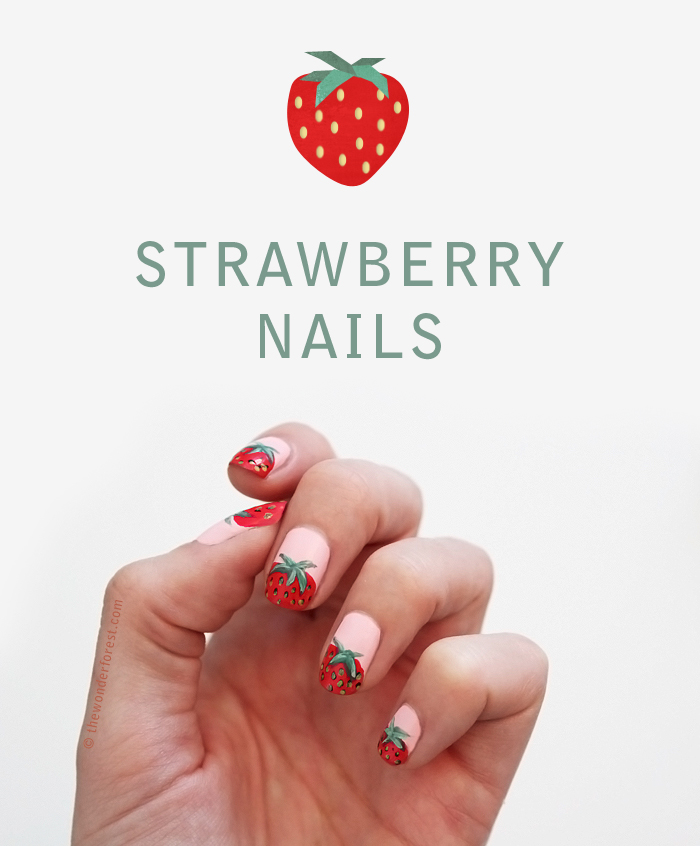
I was trying to come up with a design that was a bit different from the other two styles, and am so happy with how these turned out! Let’s get to work…
First you’ll need some supplies:
- Nail art brushes
- Pink polish – mine is light pink from Forever 21
- Red polish – I used this China Glaze one
- Green polish – I used two, but you can use just one if you want
- Black polish
- and Yellow polish – both were from Forever 21.
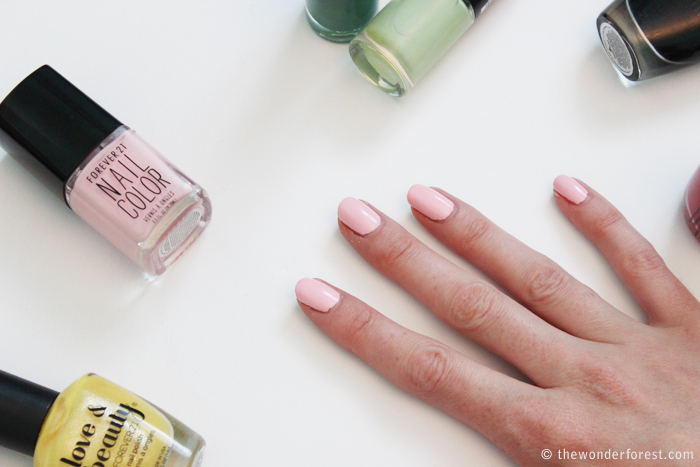
Paint your nails with two coats of the solid pink. I’d also like to note that I’m doing this tutorial totally left-handed so some parts might look a little janky.
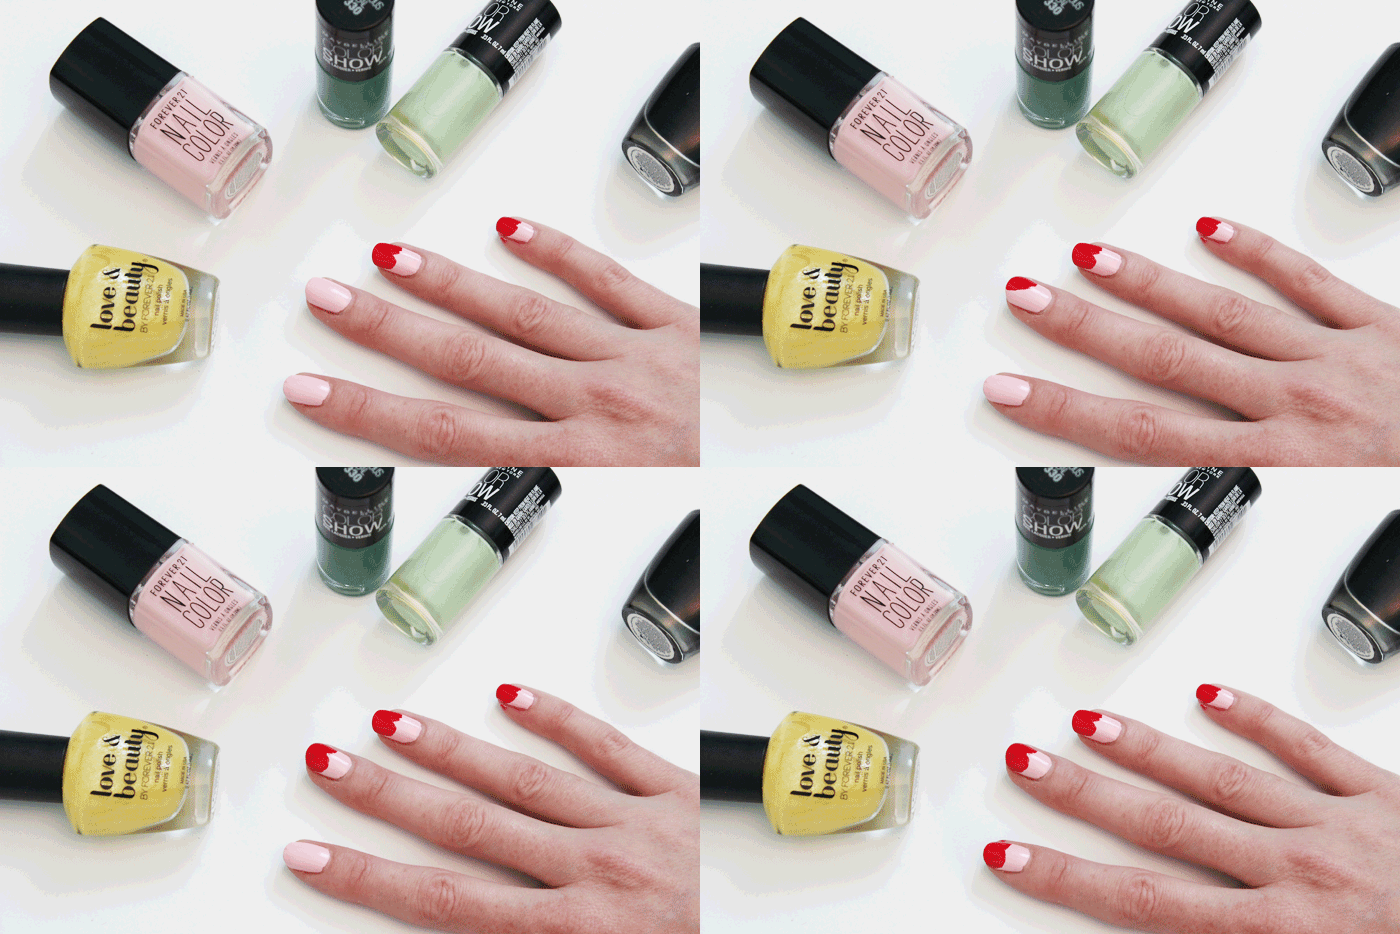
Add the berry shapes. They are kind of like upside down heart tops, but you can also just round off the tops if this is too difficult for you. I just used the bottle brush for this.
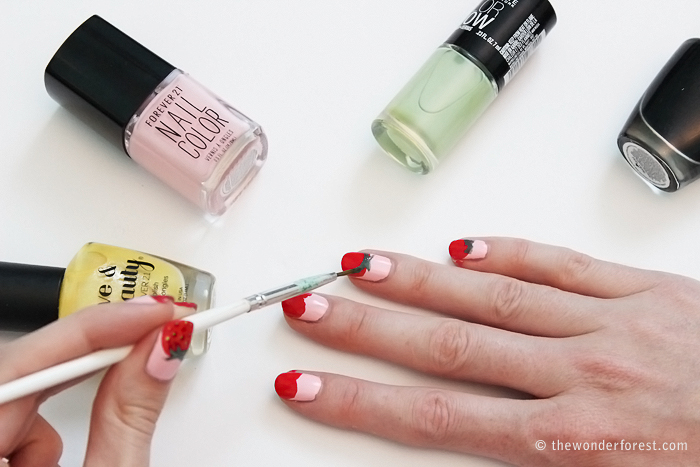
Add the leaves. I used the darker green for this.
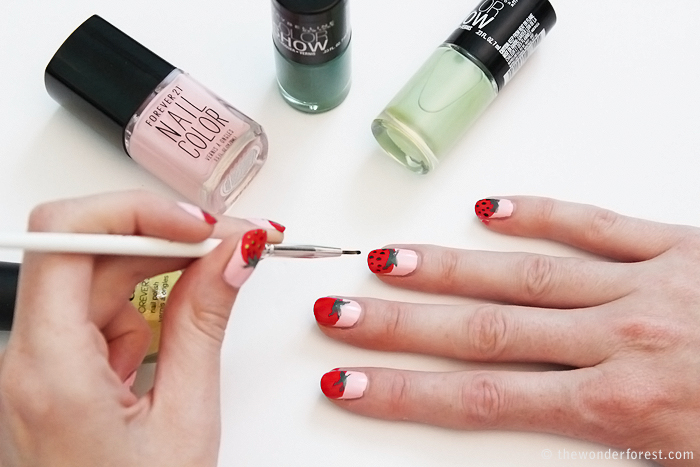
While that’s drying, add black dots for the seeds.
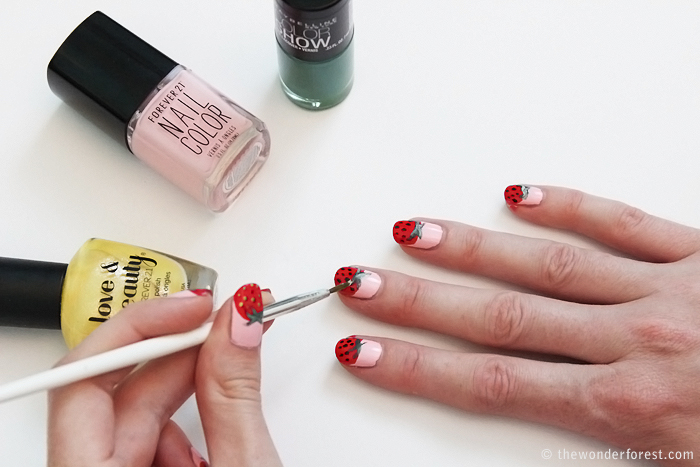
I went over the darker green with a lighter green for some dimension.
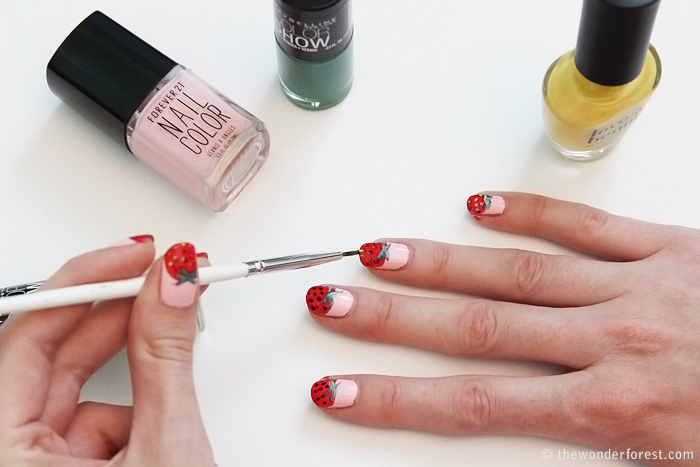
Finally, dot on top of the black seeds with the yellow polish.
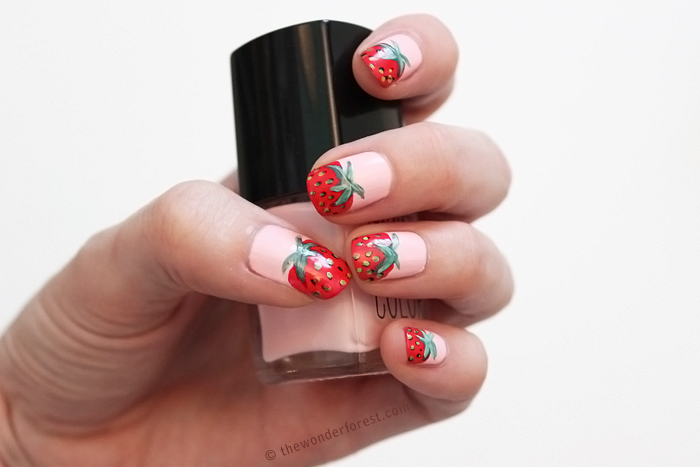
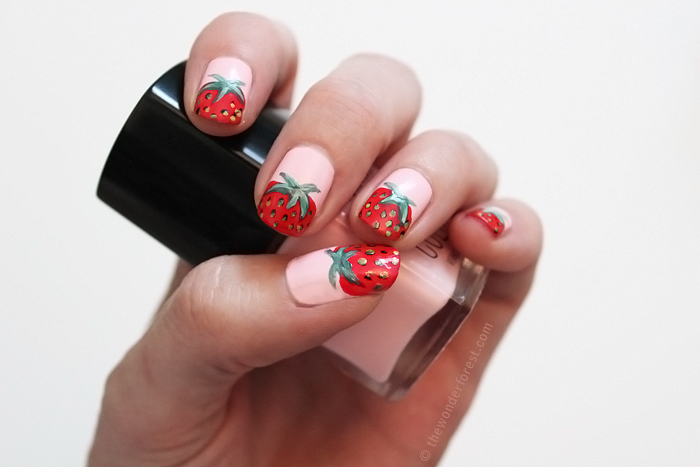
I hope you like this look! What fruit should I attempt next?
