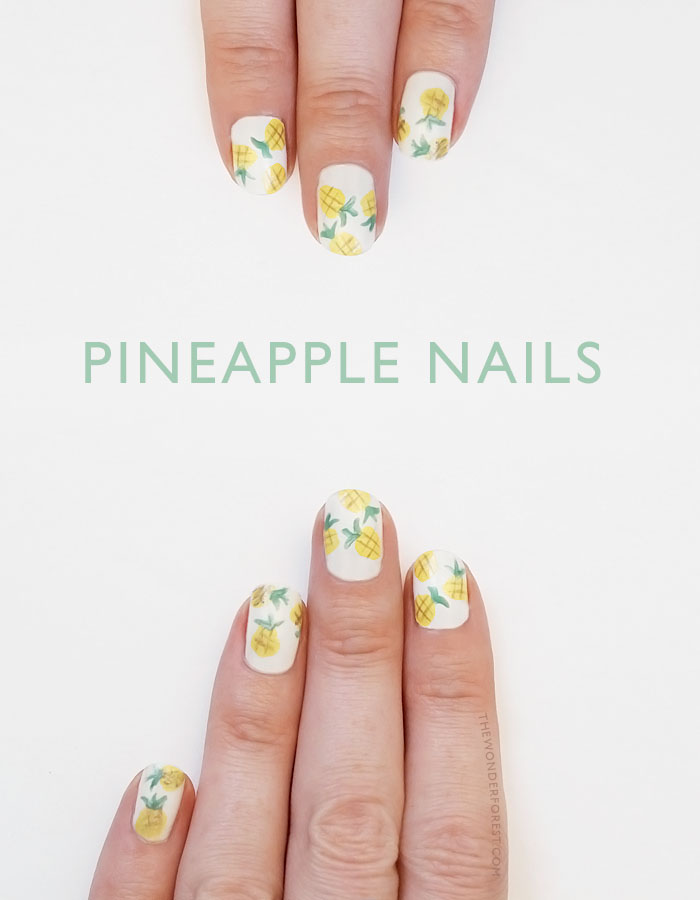
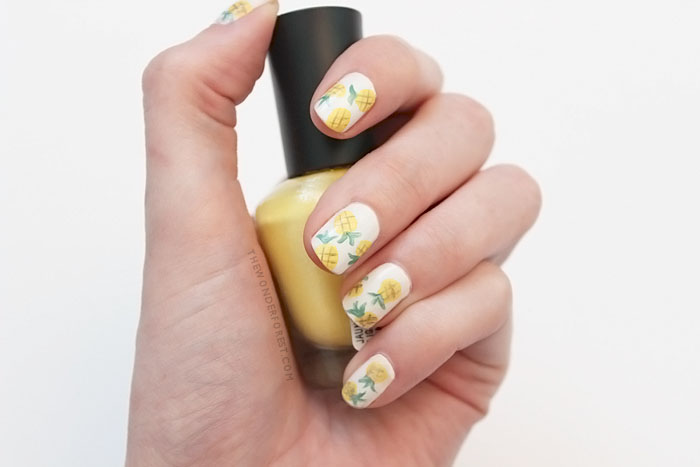
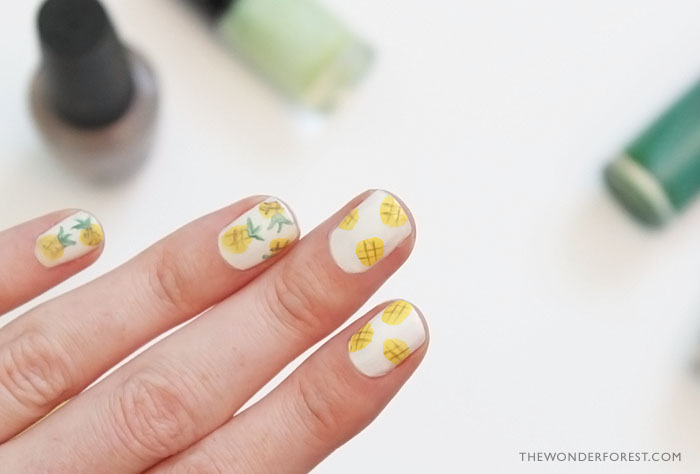
I’ve been really into doing my nails all summery lately. You might remember my recent watermelon nails, but this time I wanted to do something a little more detailed. I posted a photo of this design on my Instagram a little while ago and asked if you wanted a tutorial. A bunch of you said yes so here it is!
For this tutorial, you will need a few polishes and some nail art brushes. I am using:
Yellow – Light Yellow from Love & Beauty (Forever 21)
Brown – Berlin There Done That by OPI
Green – Tenacious Teal from Maybelline’s Color Show
White – from Love & Beauty
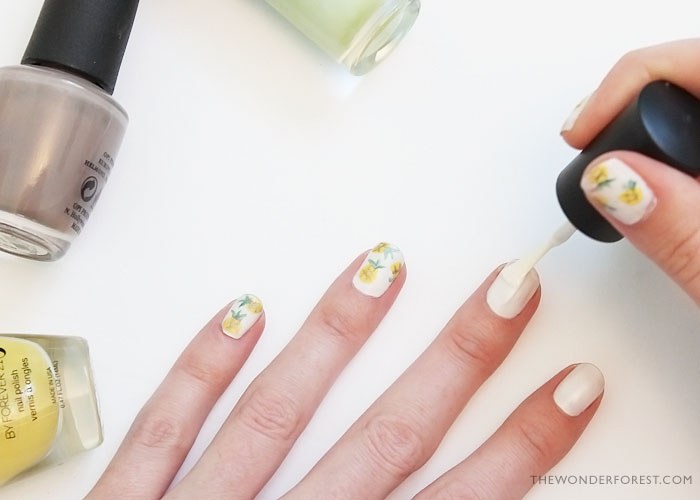
1. Paint your nails a solid white. Two coats usually does it!
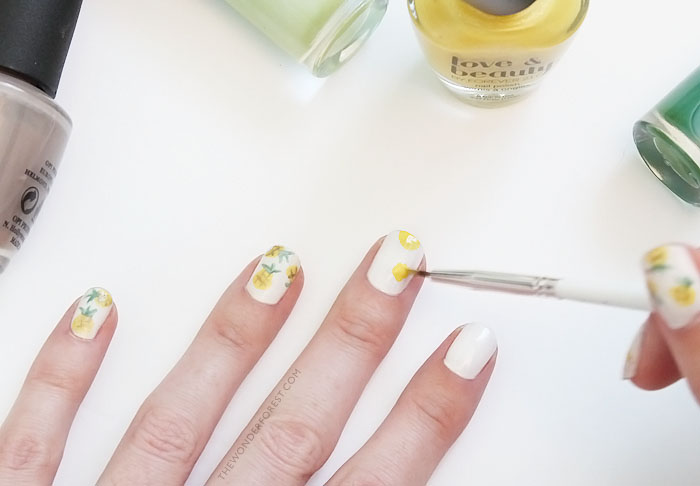
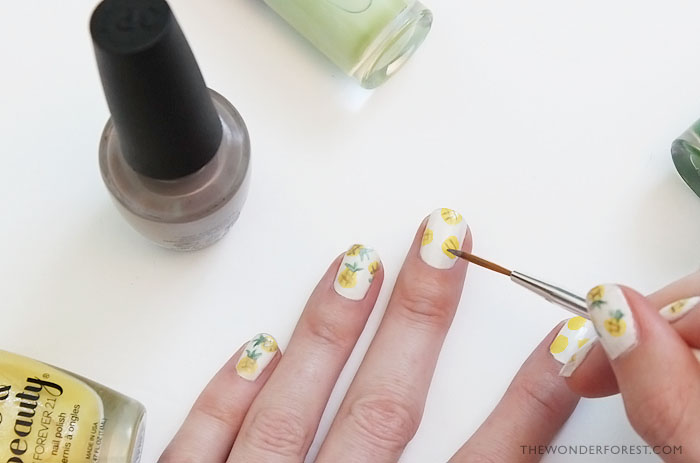
2. With a nail art brush, create some yellow circles. Think about which way they will face so the tops of your pineapples don’t run into each other.
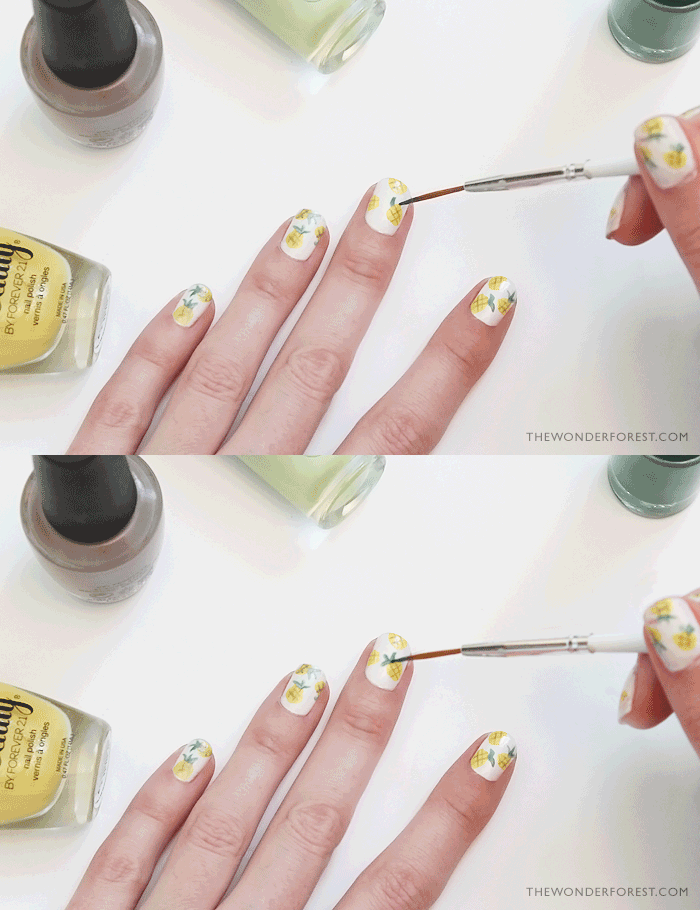
3. With a brown or a darker yellow, create thin lines with another nail art brush. This part is a bit tricky but with practice you can do it! I use the very tip/edge of the brush to get a really thin line.
4. With your green polish and a nail art brush, paint on the top leafy bits!
5. Finish with a top coat of your choice.
This style is pretty easy if you’re used to using nail art brushes, but it did take a bit longer than my usual nail tutorials. I love this one so much that this is my second time in a row doing it… and it’s actually lasted a lot longer than some of my other designs for some reason!
Enjoy your yummy pineappley manicure!
Last Updated on


Really enjoying the pineapple design! Such a fun tutorial. Thanks for the post.