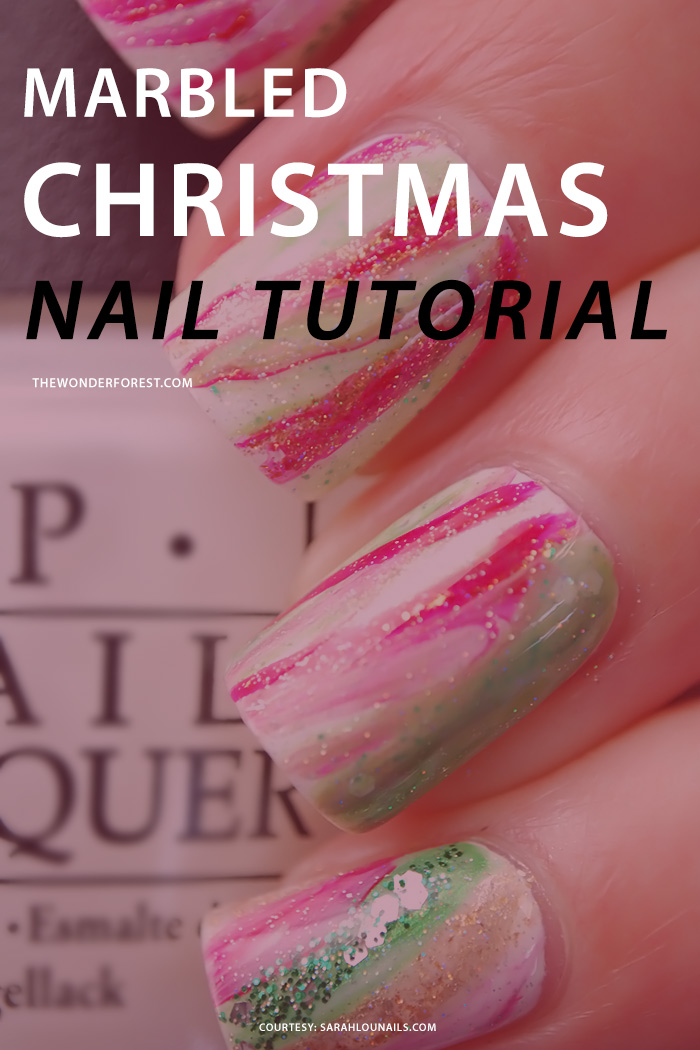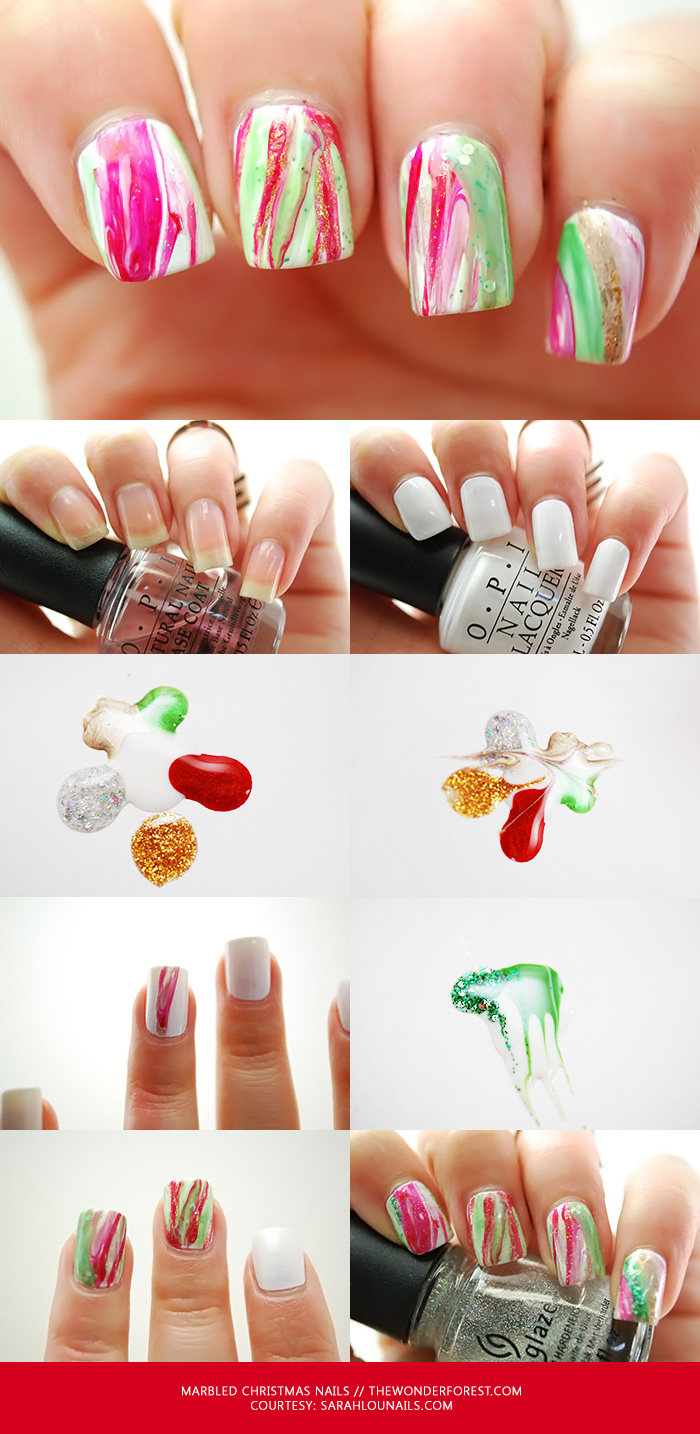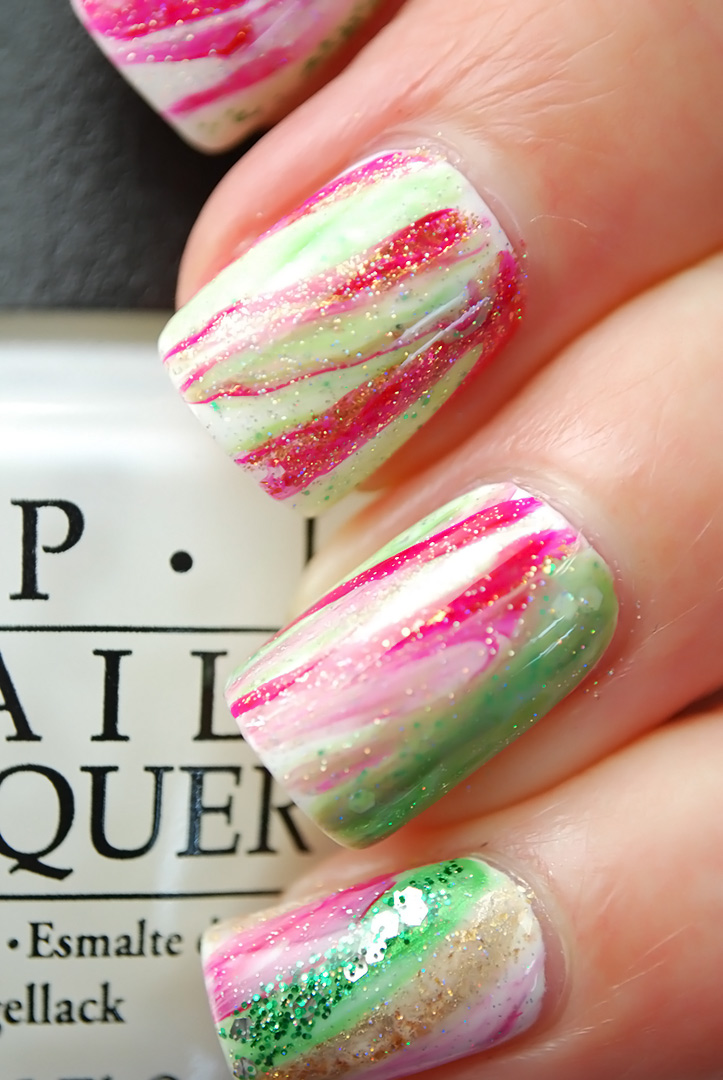
While you may have already picked out your Christmas outfit, have you considered what to do with your nails? Here is a fun and cheerful Christmas nail art idea to help you celebrate the season! With a handful of Christmas nail polish colors and a brush, you can easily achieve this marbled effect in no time.

How to create this Christmas nail art:
Step 1: Apply Base Coat
Step 2: Apply 2 coats of white polish
Step 3: Blob a few colors together on a sheet of paper (I included white for a more marbled effect.)
Step 4: Using a striping brush, swirl through the colors a few times
Step 5: Paint loose stripes with the marbled together polish onto your nails. (Try to just swipe through once, if you go over any it starts to loose the marble effect.)
Step 6: Layer stripes on your nails until you’re pleased with your design.
Note: Clean your brush in some remover whenever you feel necessary or to switch to a contrasting color.
Step 7: Add a fine glitter top coat if you want.
Step 8: Top Coat!

List of nail polish colors used:
- OPI: Alpine Snow
- OPI: Funny Bunny
- OPI: The Spy Who Loved Me
- OPI: Gettin Miss Piggy With It
- OPI: Green-wich Village
- OPI: My Gecko Does Tricks
- OPI: Fresh Frog Of Bel Air
- OPI: Goldeneye
- OPI: Desperately Seeking Sequins
- Essie: Good As Gold
- China Glaze: Fairy Dust
Last Updated on
