An iPhone is small and portable, making it easy to carry around and use in any location. You can quickly take photos without needing the knowledge or the time to set up a professional camera or equipment!
Not to mention that newer iPhones have great-quality cameras with advanced features which make it possible to capture high-quality product photos without needing expensive camera gear.
Using an iPhone for product photography can be a cost-effective option, especially if you already own the device which you use as your general mobile phone too. You don’t need to invest in expensive equipment or hire a professional photographer.
It also has built-in editing tools that allow you to adjust the colour, brightness, and contrast of your photos. There are also hundreds of third-party apps in the Apple App Store for more advanced editing options.
Taking amazing product photos on an iPhone for your small busines can be achieved with some simple techniques and tips. But it’s where to start which is the most difficult part! So, let us help…
Clean Your Subject and Surroundings
Before you start taking photos, ensure that the subject of your photograph and the surroundings are clean and free of anything that could be distracting.
A clutter-free environment can help create a more visually appealing image. By removing any distracting elements, the focus can be solely on your product.
While making the image look professional, it’s also helpful to ensure that each photo you take has a similar aesthetic and feel. This can be important when creating a series of images or a cohesive visual story for a brand!

Use Natural Lighting
Natural lighting is ideal for taking product photos, and best of all it’s FREE! You don’t need any special equipment or lighting setup to use it, making it a convenient option.
Try to shoot in a well-lit area, preferably near a window or outside on a bright day. Natural light is often considered the most flattering type of light for photography. It is soft, diffused, and if photographing a product with a person, can create a natural-looking glow on the subject’s skin resulting in a more attractive and flattering image.
Top tip: Avoid using artificial lighting or direct sunlight as they can cause harsh shadows or overexposure.
Use a Plain Background
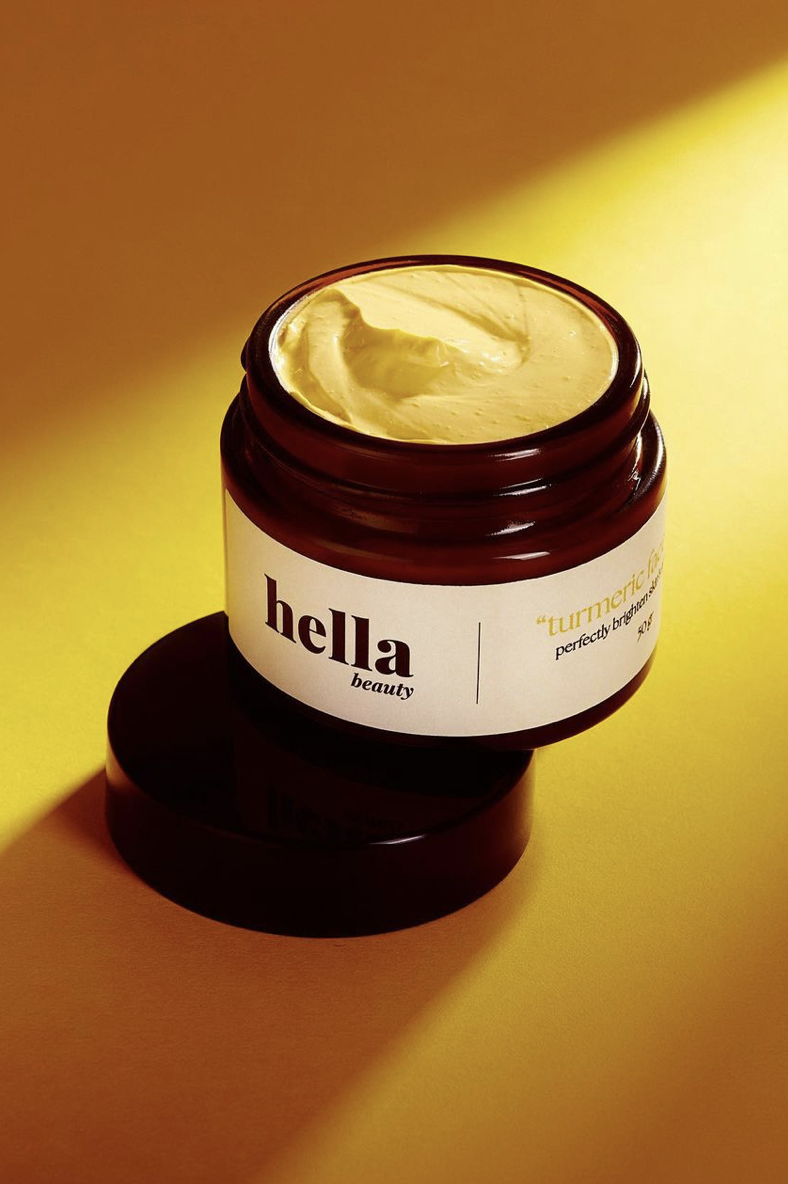
Use a plain background to make the product stand out!
A plain white or black background is ideal, or you can use a plain-coloured poster board. Some also use something with a unique texture or subtle pattern – such as a marble slab – which works well too.
Using a plain background really helps to direct the viewer’s attention to the subject of the photo. A busy or distracting background can draw attention away from the product, making the image less effective.
Use the Gridlines
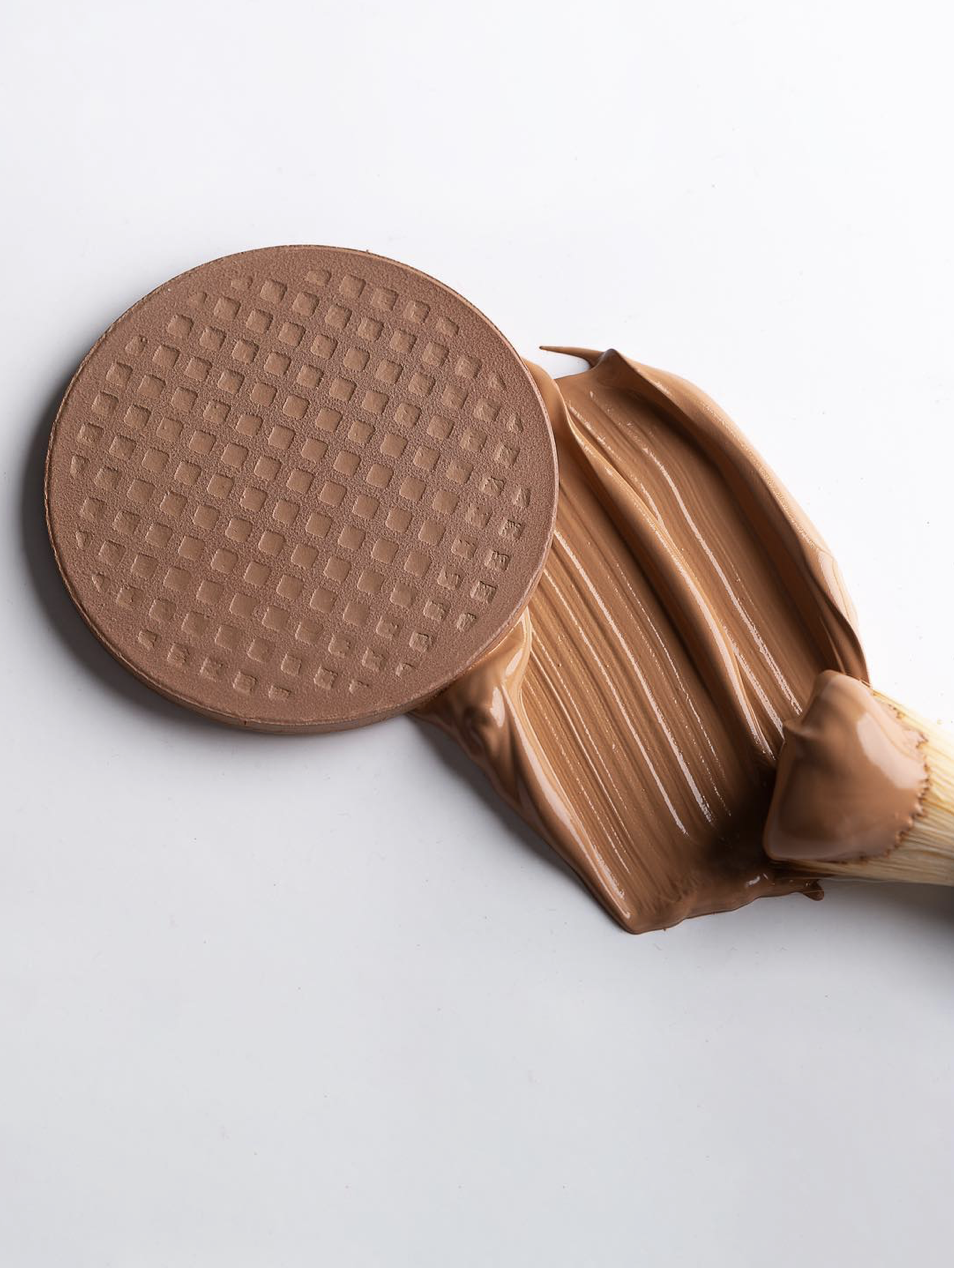
The iPhone has a grid feature that can help you align the product in the centre of the frame.
Gridlines can help apply the rule of thirds, which is a fundamental principle in photography. This rule suggests dividing the image into thirds both horizontally and vertically, creating nine equal squares. By placing the subject at the intersection points of the gridlines, you can create a more visually appealing and balanced composition.
Not to forget that using gridlines can help create consistency across a series of photos. By applying the same principles of composition to each photo, you can create a cohesive visual story.
This photography by @uri_grun_photographer is a great example of how gridlines can help to improve a product photograph!
Use the Focus Feature
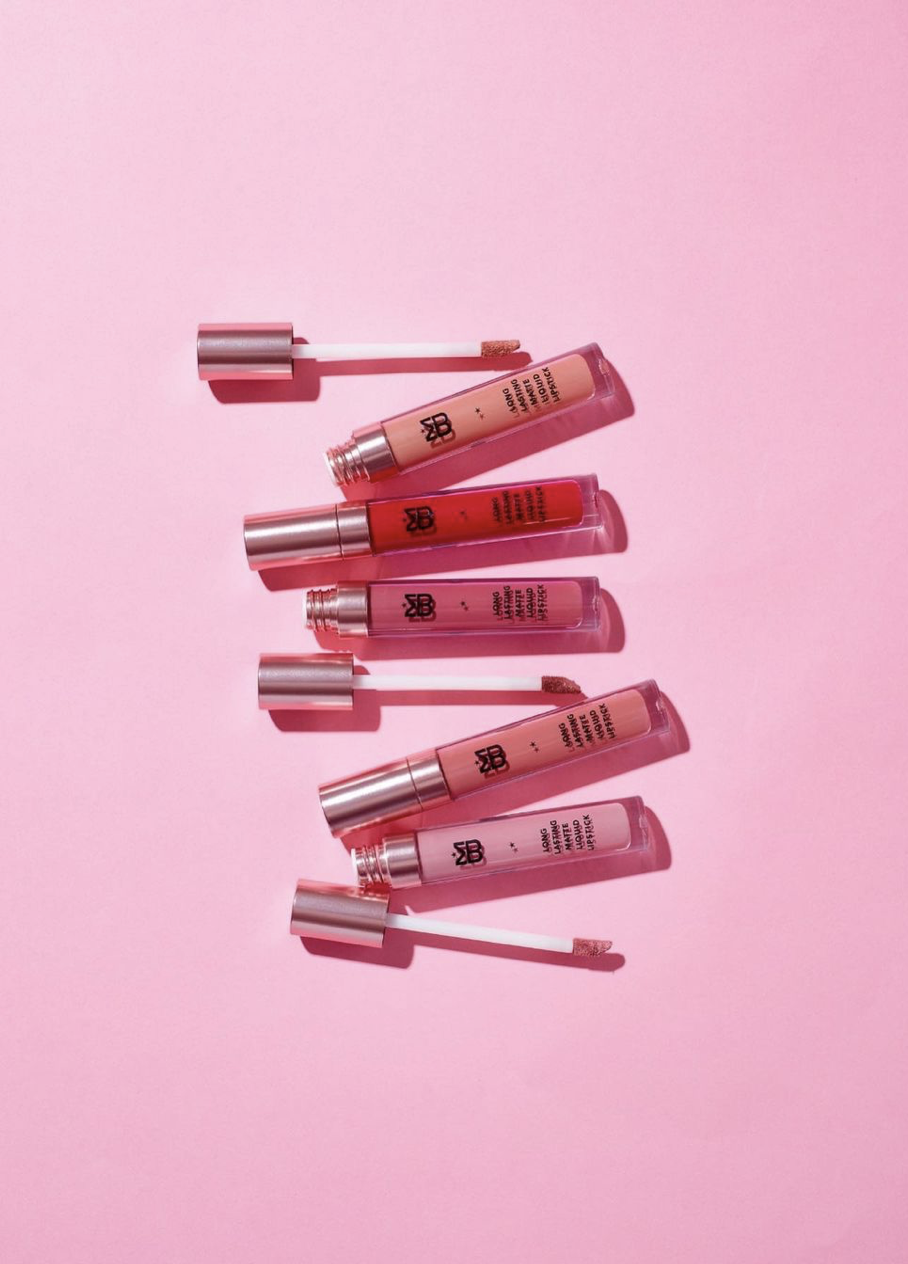
You can also tap on the product to focus on it! Using the focus feature can help ensure that the subject of the photo is sharp and in focus. This can help create a more visually pleasing and professional-looking image.
The focus feature can also be used to control the depth of field in the image. This can be particularly effective for portrait photography, where a shallow depth of field can help blur the background and make the subject stand out, as shown in the photograph below by @abdstrong1.

Shoot From Different Angles
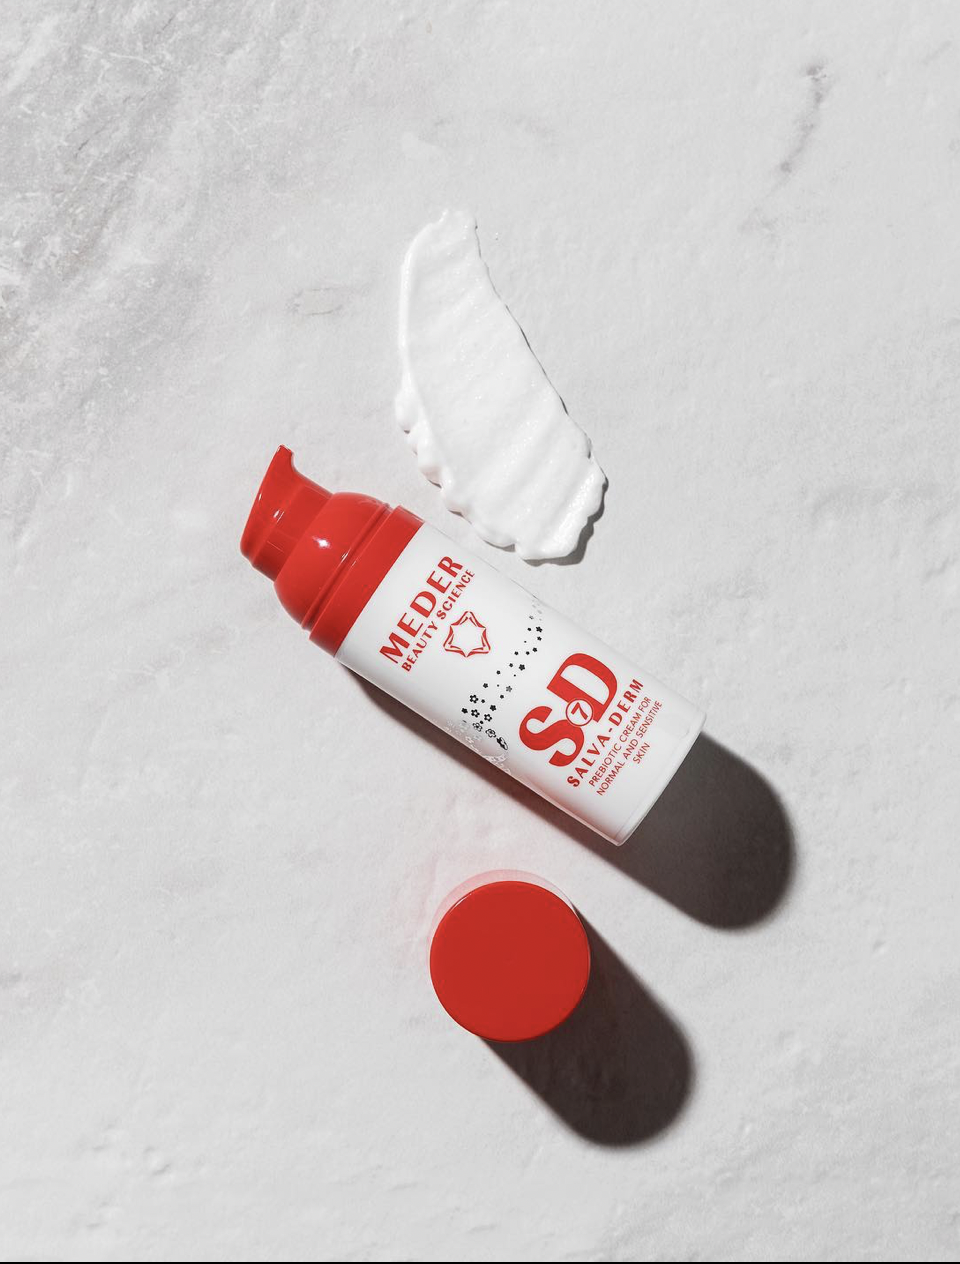
Taking multiple shots from different angles to capture the product’s details and features can change the perspective of the image, making it more interesting and dynamic. It can also help create a sense of depth and dimensionality in the image, drawing the viewer’s attention to different parts of the image and creating a more compelling visual story.
Here are two examples of how different angles can work better!
Use Editing Tools
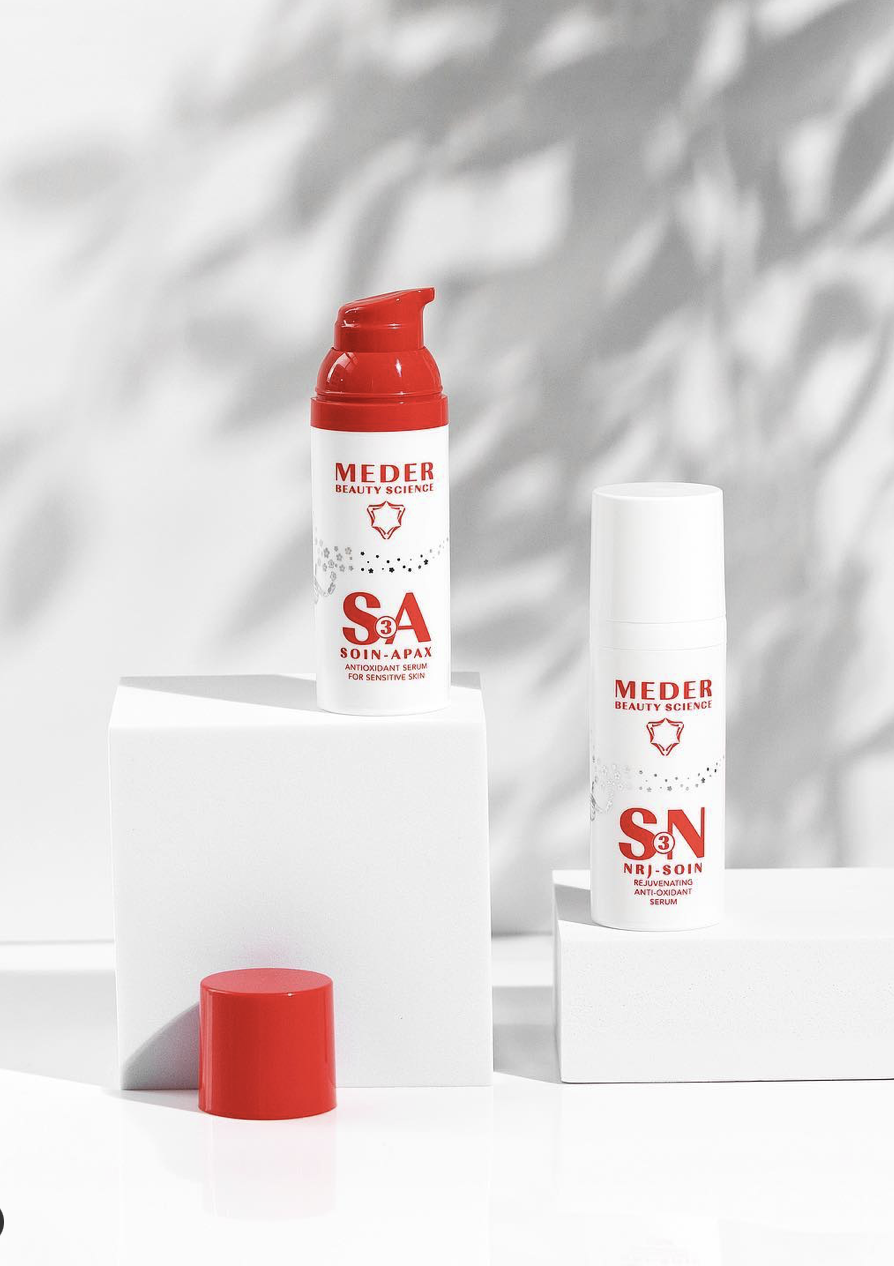
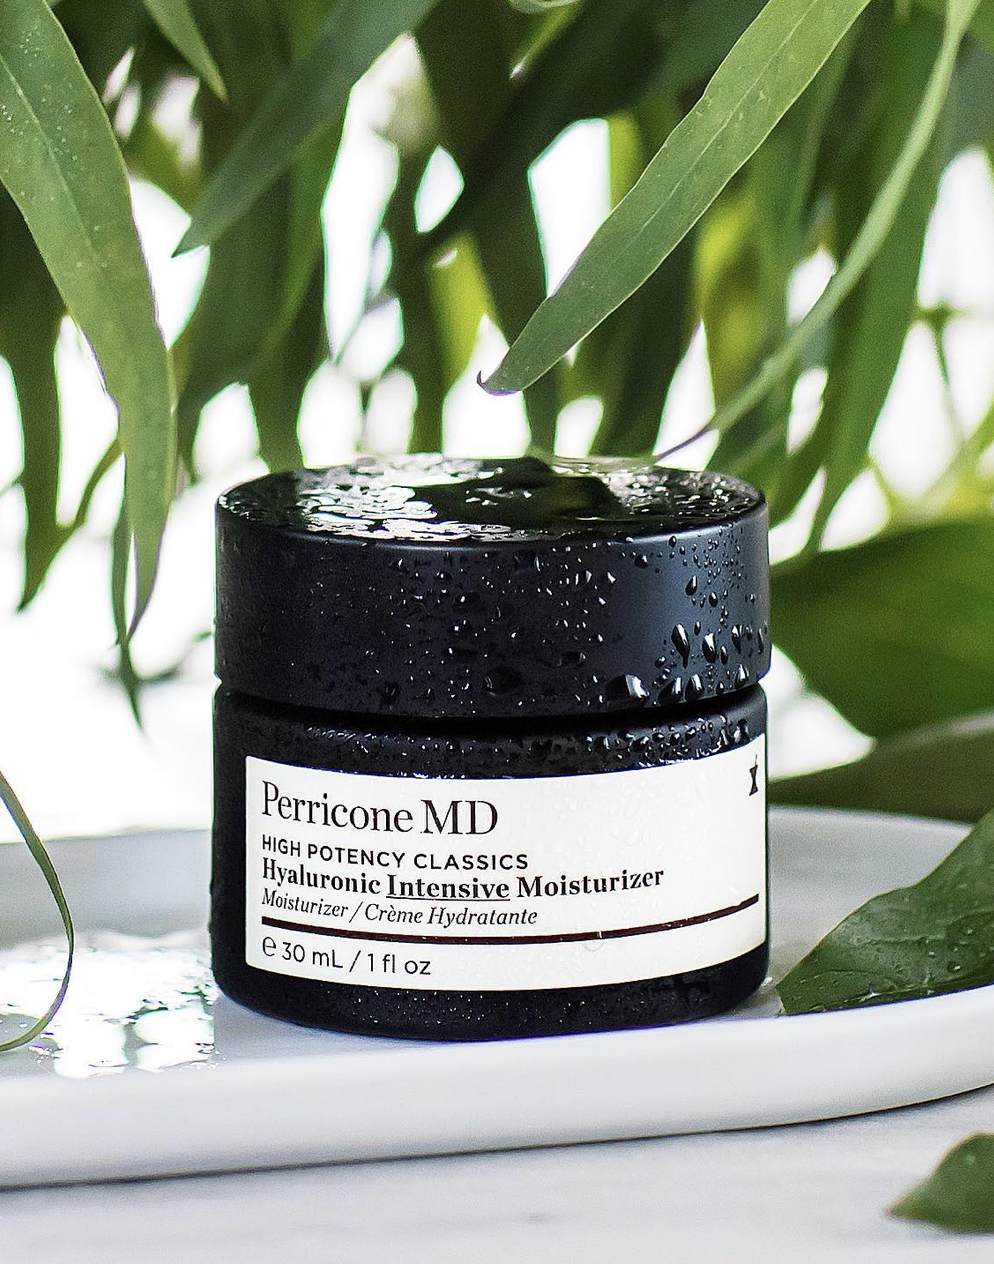
After taking your product photos, use editing tools to enhance the image’s colours, brightness, contrast, sharpness and so much more.
Editing can help you adjust the image, improve the composition, retouch imperfections, add creative effects, establish a brand aesthetic, and achieve the desired look and feel.
However, it’s important to remember that editing should be used to enhance the image, not to completely alter it and that the final product should still represent the original subject or scene in an accurate and truthful way! Especially with product images as you wouldn’t want to be falsely advertising.
Even better, the iPhone’s built-in editing tools can help you achieve this, or you can use third-party editing apps like Photoshop.
Look at the beautiful edit here!
Use a Tripod
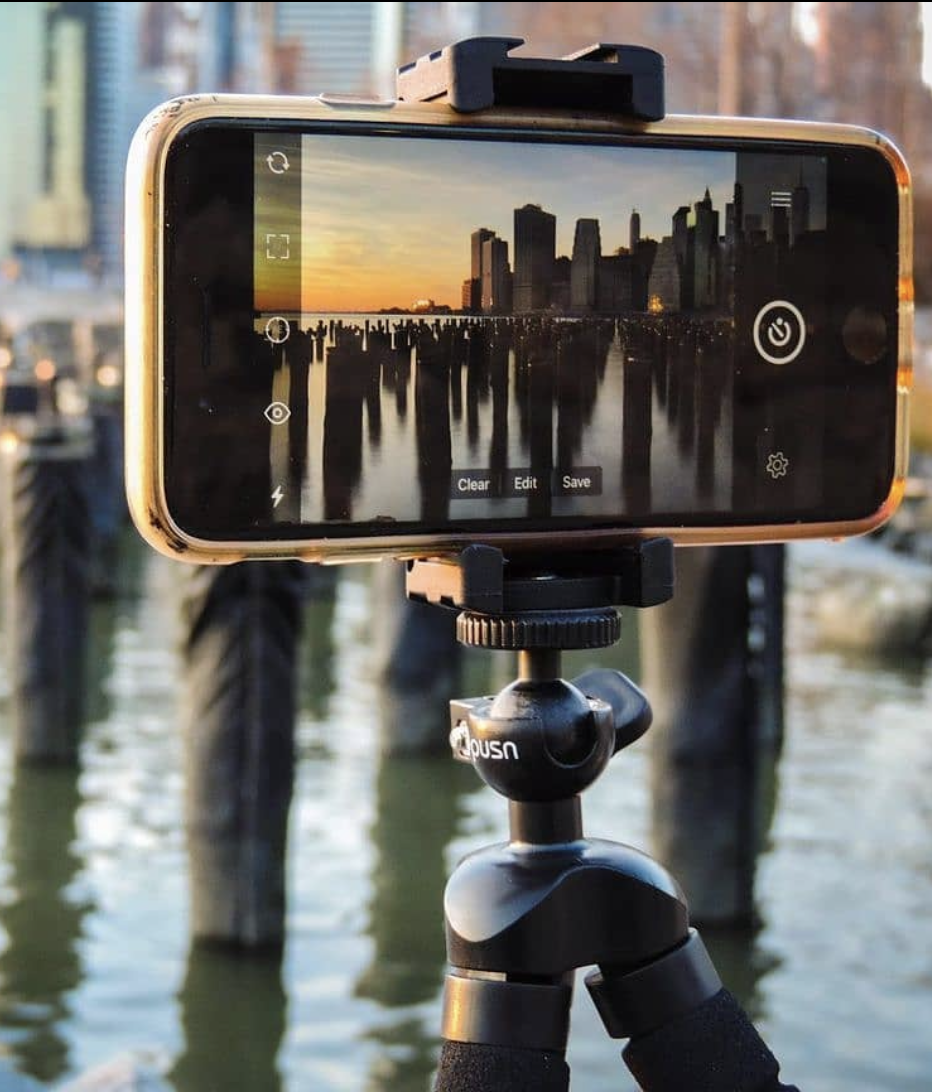
A tripod or stabilizer can help you keep the camera steady while taking photos, resulting in sharper images.
It can help improve the sharpness of the image as when the camera is steady, the focus is more precise, resulting in a sharper and clearer image.
It’s also much more efficient when shooting, as it can help you get the shot you want much more quickly and with fewer attempts!
By following these simple steps, you can take amazing product photos on an iPhone!
It can be a convenient, cost-effective, and high-quality option for small businesses or individuals who want to showcase their products.
PIN THIS:
Last Updated on
