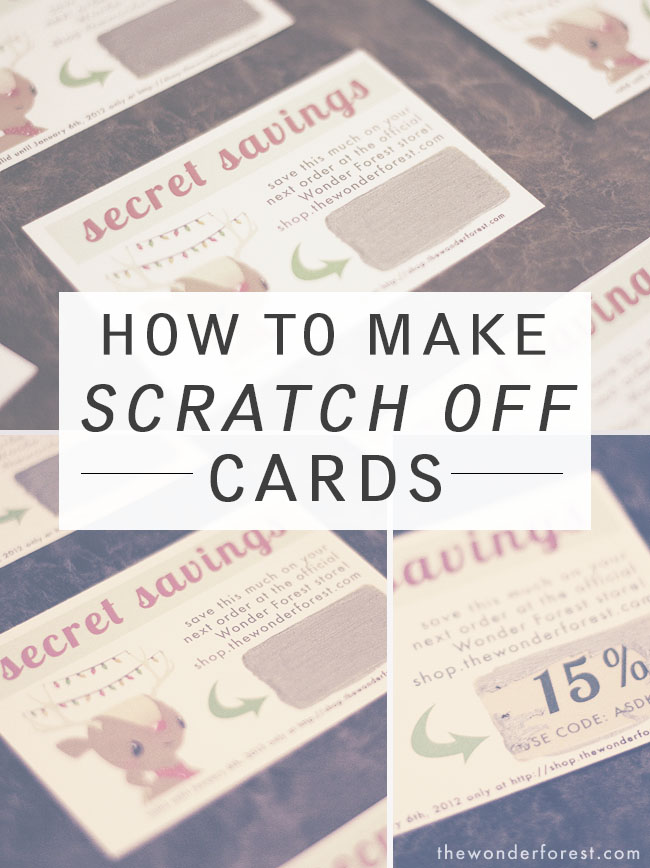
Scratch-off cards or DIY lotto cards can be used for tons of promotional ideas, and if you’ve ever wondered how to make your own, I’m going to show you how easy it is!
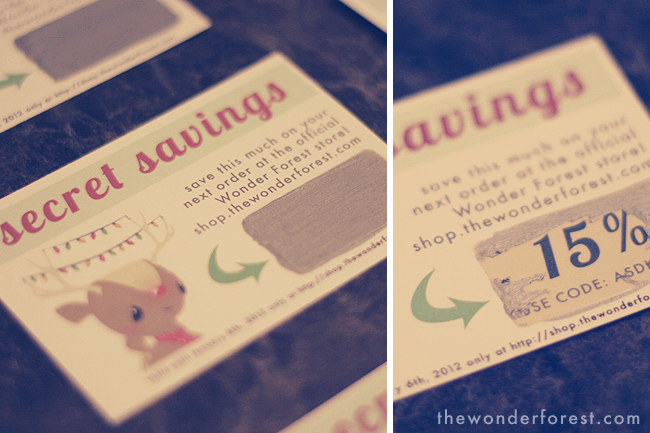
I made these Secret Savings cards for a past venture and included them with my orders for a limited time.
Every customer received one with their online order and the discount amounts ranged from 10% off to 25% off, redeemable on their next order.

Here are a few other ideas that you could use your DIY scratch off cards for:
Scratch and win promotions – Send them along with your online orders!
Secret % or $ discount amounts – Share little cards with customers and place a different savings amount on each one for a percentage or dollar amount off their next order
Make your own Crossword or Bingo card – fun for birthdays!
Include a fun “reveal” in a greeting card

Make your own scratch off cards:
Now, I’m going to show you how to make them! It’s the easiest thing ever, all you need are a few supplies. A quick trip to the dollar store can have you covered, or you might already have these things laying around:
- Liquid dish soap
- Silver acrylic paint (you could also use another colour if you like!)
- Clear packing tape
- Paint brush
- Your cards with your secret reveal printed on them
1. Make the card
You will first need to make your little cards or whatever you want to contain the scratch off area. I printed my little savings cards on thick cardstock using my home printer.
You could also create some custom business cards from a professional printing place with a space for a scratch-off.

2. Apply tape
Then you’ll need to cut your packing tape to fit your scratch off area. In my case, this was the yellowish box that reveals the secret savings code.
Apply the tape to this area only. Of course, it helps if the area you’ve made for the secret message is a standard square or rectangle shape.
Anything round or custom shaped will require more precise cutting.
3. Create the scratch-off solution
Now, mix up your scratch off solution! Take a little container or a small dish and mix 1 part dish soap to 2 parts silver craft paint.
The dish soap dilutes the paint and allows it to stay a little flexible as it dries, preventing it from simply chipping off.

4. Paint your scratch-off area
Paint over the tape you applied with the mixed paint solution. The first layer doesn’t look like much, but it will soon.
You’ll need to let this layer dry completely before applying another layer.
In total, my cards took 4 layers to completely hide the text underneath but this will also depend on the intensity of the paint you use or how much you diluted it with the dish soap. This is why it’s best to do a bunch at once!

That’s pretty much it! When it’s completely dry, you’re good to go! Test one out (I promise, it’s lots of fun!). The paint will scratch right off and reveal your secret!

Now that you know how easy it is to create your own scratch off cards, you’ll want to stick one into every gift or package you send!
What will you include as your secret message?
Like this tutorial? Give it a pin! Pin It
Last Updated on

I love this idea but this was a disaster for me! I found heart shaped scratch off stickers at My Scratch Offs LLC. http://www.myscratchoffs.com They are amazing and so cute. Plus the part where I don’t have a mess to deal with! 🙂
this is gonna come in handy! Thanks!
Thanks for the information
Does the arcylic paint have to be silver or can it work with any colour ???
Hey can jt be given a couple of months after making ? Or will the paint be too dry ?