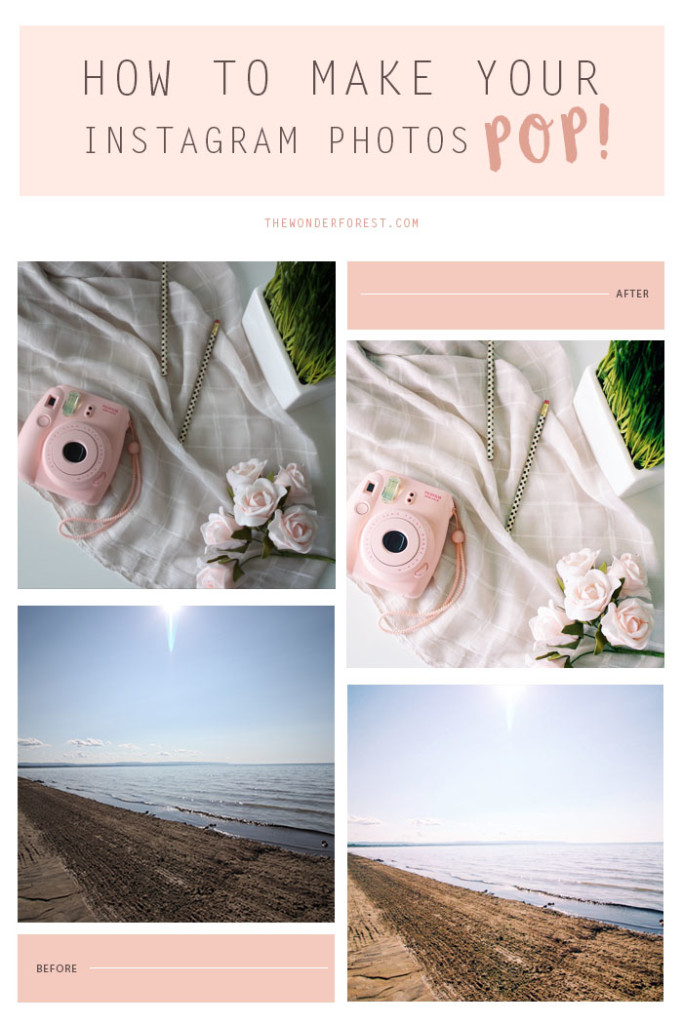
I love playing around with filters and adjustments to achieve a certain look for my Instagram pics. With just a little bit of in-app editing, you can really improve the overall look of your photos and create a happy and slightly more professional looking feed.
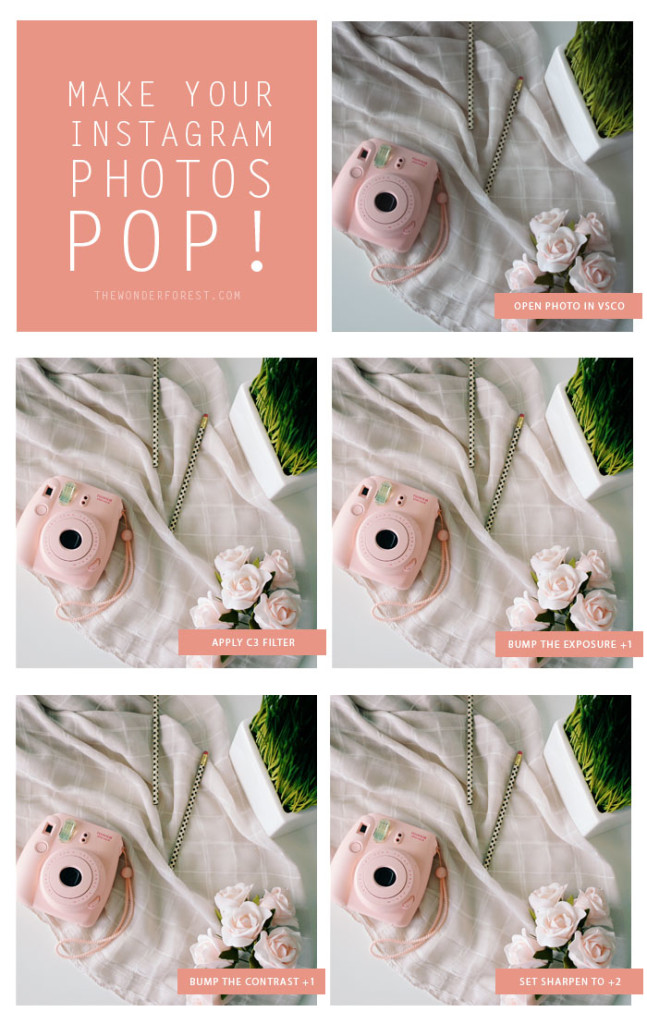
I thought I’d put this little tutorial together to show you how to bump up the colour and make those drab photos look a little more FAB. As with the majority of my edits, I will be using VSCO and the default Instagram adjustment tools.
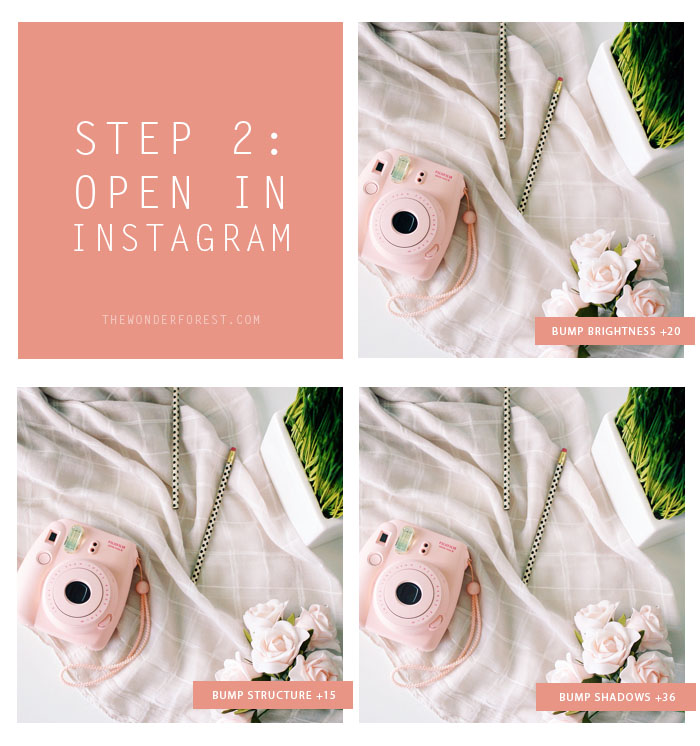
Once you’ve made those adjustments in VSCO, open up the finished photo in Instagram to complete the look…
See how the final photo looks so much more bright and crisp? Love! I hope this helps, and don’t forget to follow me over on Instagram.
P.S.
Creating a theme for your Instagram profile
How I edit my own Instagram photos (white + dreamy)
Last Updated on


Thank you for this lovely post, I was just wondering how you would get rid of the overly green tone of the photo. Because whenever I use filters the previous color of the photo makes the filtered photo look ugly.
Thays
http://www.sillycrazyme.com
Cool post lovely ! Thanks for sharing. I will definitely try it out too. I’m doing a similar routine but with another VSCO filter so I’ll see how it looks with your one ;). Might help with some off the problems I sometimes have with my pictures :).
Lea, xx
http://www.asnippetoflife.com
Great tutorial! thanks for sharing 🙂
VioletDaffodils
xx
Sounds like a winning combo! What other apps have you used and why did you settle with these vs others available? 🙂 I’d love to know different points of view. To me, for example, Plann works wonders, as they have about 60 different filters and there isn’t much editing I need to apply to my photos… Plus I can schedule my posts & stories, which I think is great. Although since Insta allows me to add stories older than 24 hrs, not really sure. So, would love to hear your train of thought, Alex!
love it!
http://www.instagram.com/afitandfabulousmichele
Great info! Thanks for sharing your process!