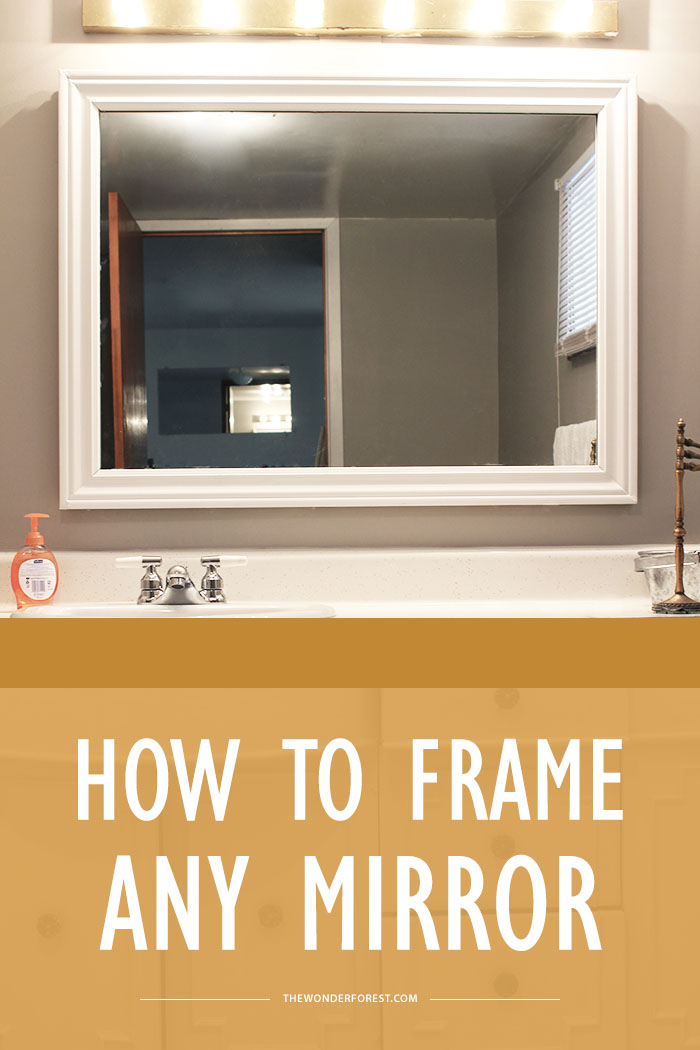
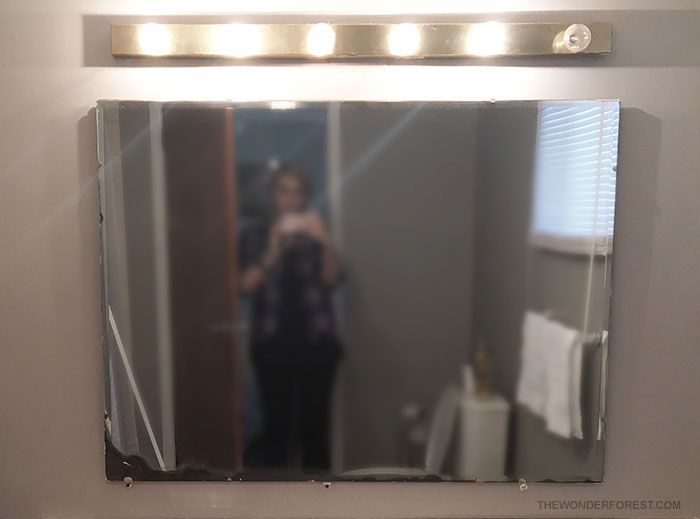
A quick and easy update that can change the look of your room instantly is always one that is welcome around my house! The bathroom mirror in my reno cottage was less than attractive and had some damage to the bottom edges. Instead of going out and buying a brand new large mirror, I decided to transform it myself because, umm you guys, mirrors are expensive!
Framing it seemed like the logical thing to do and it would hide the imperfections around the edges.
To get started, you’ll need:
- Measuring tape
- Your choice of wood casing/trim (see what’s on sale!)
- Construction adhesive
- Painter’s tape
- Miter saw or hand saw with miter box
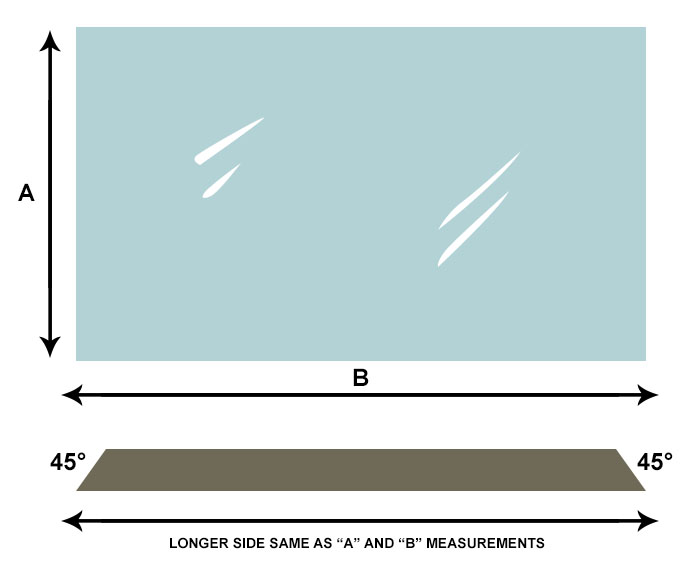
Start by measuring your mirror’s width and height. Double both measurements to find out how much wood casing you’ll need to purchase.
Set your saw at a 45 degree angle. The length of the longer side of your wood should be the same as the measurements of your mirror, as shown above.
Cut two pieces for the length, and two pieces for the height. Remember to rotate your saw angle on each side.
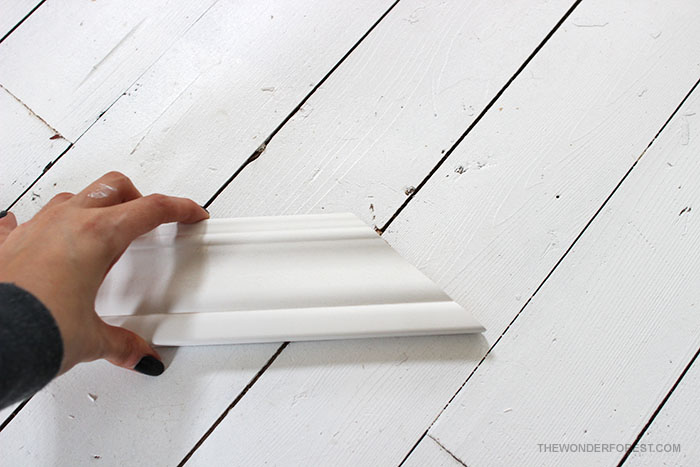
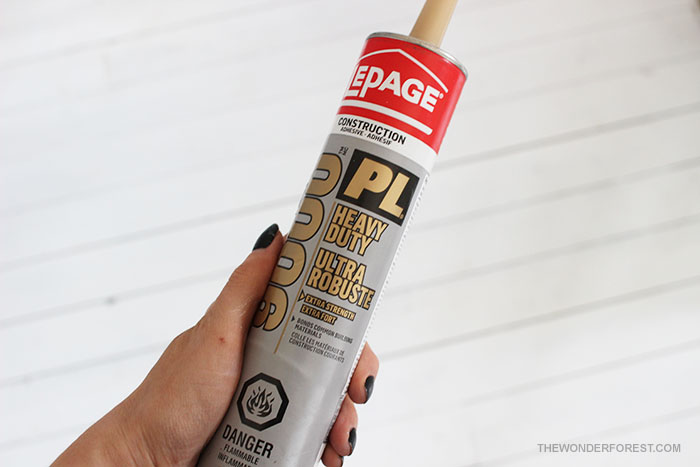
Using your construction adhesive, apply it in a zig zag formation to the back of each piece of cut wood and stick it directly to the mirror. I used this Lepage construction adhesive, but you can use any adhesive that specifically says that it will work with mirrors.
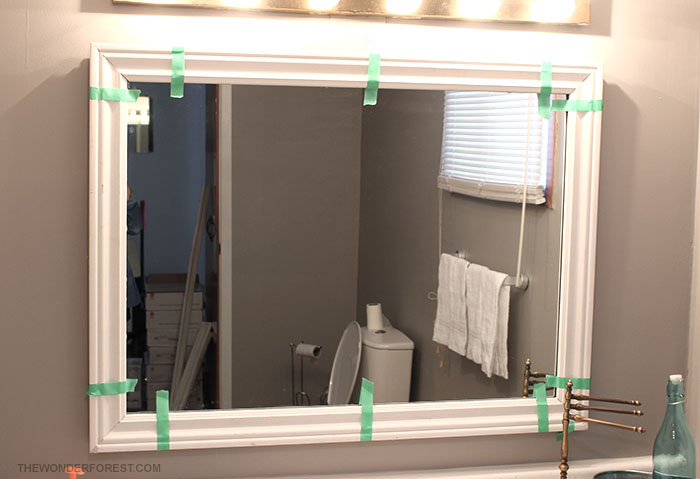
Hold each piece in place with painter’s tape until it dries. Otherwise it will start to slide down.
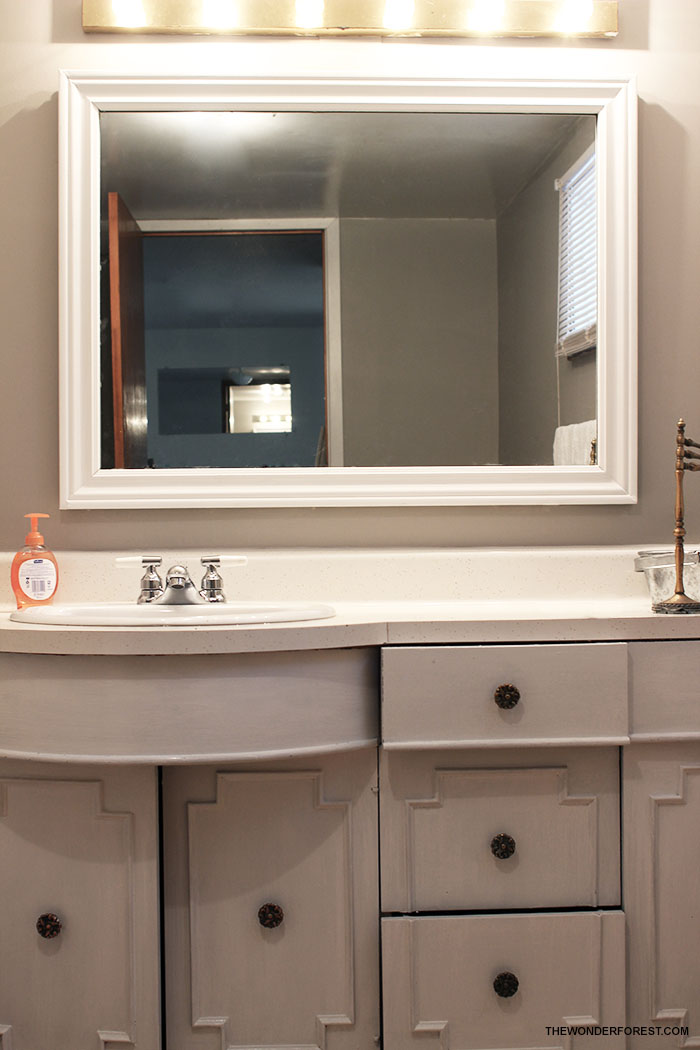
Once you’re finished and it’s dry, remove the tape, paint the frame and enjoy your “new” mirror!
Last Updated on
