No matter how you’re celebrating the holidays this year , long-distance loved ones will always appreciate receiving family Christmas photos – in the mail or just sent by email!
But the question is, how can you take professional looking Christmas photos at home? It’s easier than you think! Keep reading to find out how.
Get Your Equipment Ready
When you go to a traditional photographer, they’re working with expensive, professional equipment. We’re talking DSLR cameras, sturdy tripods, and editing software. If you have all this equipment already, great! There are some great online classes for beginner photography as well.
If not, and a new camera isn’t in the budget, don’t worry. You can use your smartphone to capture great photos – especially if you have a newer iPhone! Taking lighting and where you’ll be shooting (more on that later) into consideration, be sure to adjust the settings on the camera.

On an iPhone 11 pro, settings for different lighting situations can be found at the bottom of the camera app when you’re taking the photo in Portrait Mode. You will also see some tips come up on the top which will help you to achieve the best shot.
Prop your iPhone up and set up a timer in order to get a group photo without needed someone to take the photo.
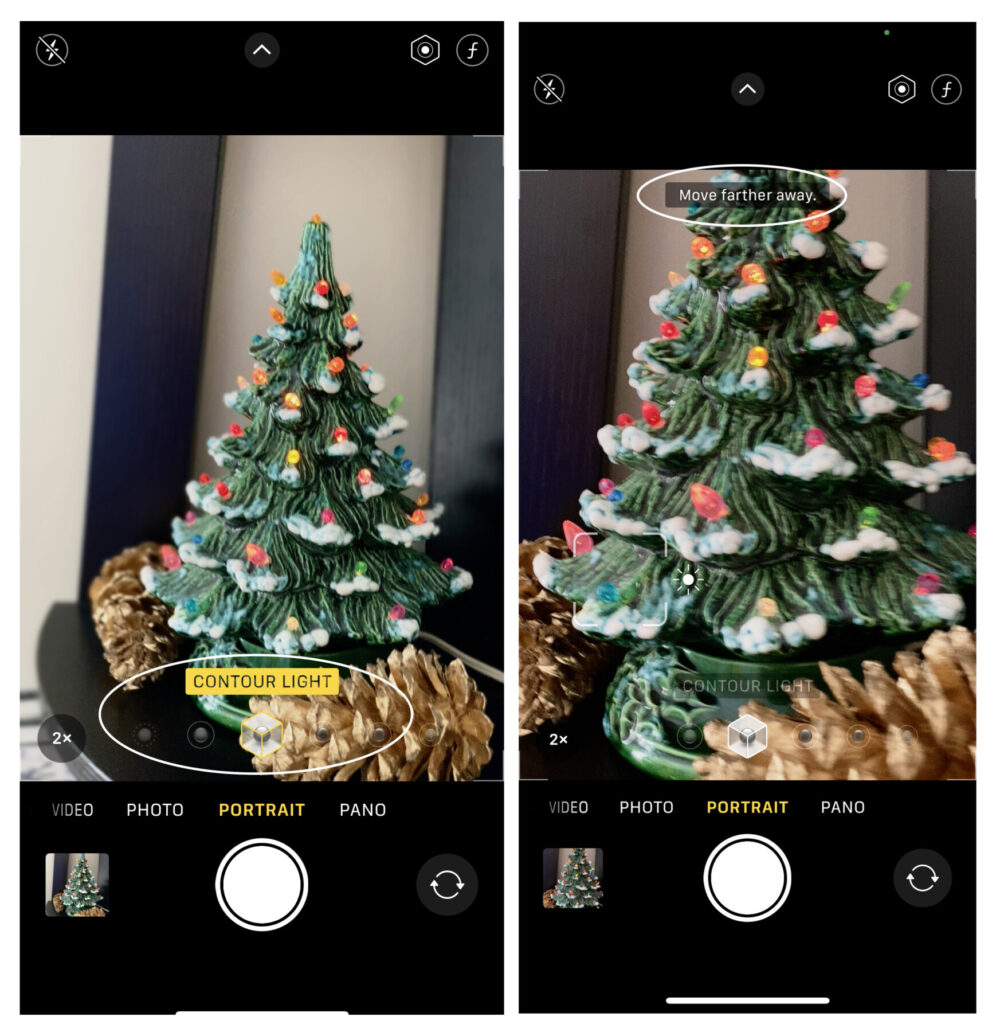 Remember, you can always adjust and straighten the photo during the editing process – so don’t worry too much if it’s a little crooked. You can also buy fairly cheap, tabletop iPhone tripods on Amazon.

The easiest editing route is to download third-party apps right on your phone. A lot of them are free and make it easy to increase brightness, adjust saturation, and up the clarity.
One easy editing app to use is called Afterlight and features a ton of great presets that will instantly make your photos look amazing.
Know Where You’ll Be Shooting
Do you want to take photos outside, in the backyard, or inside, perhaps in the living room? Don’t think you have to pick just one place – once everyone is dressed up, be prepared to try out a few locations.
To get a variety of images to choose from, change locations after a few shots. You never know, you might like the ones in your yard better than the ones in the living room!
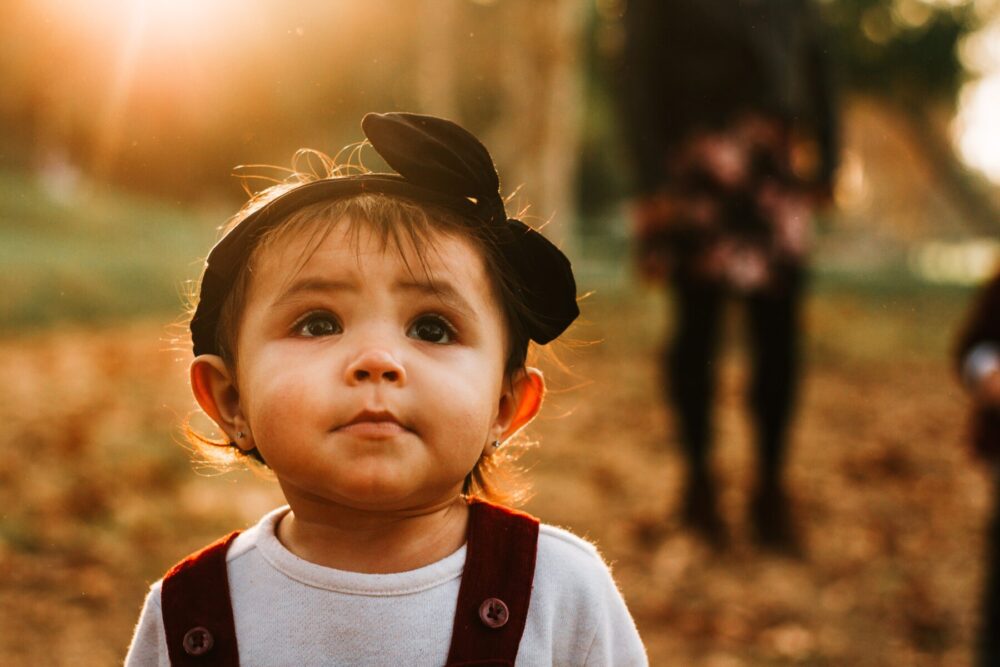
Another question to answer is when will you be taking photos? Pick a time and expect for it to take a while. Taking great photos requires patience so you’ll want to make sure you have ample time to get everyone cooperating.
For indoor photos, take note of when the best light comes through your windows. For outdoor photos, the golden hour occurs in the hour before sunset…but since you do want time to spare, it’s best to get a few practice shots in before golden hour begins.
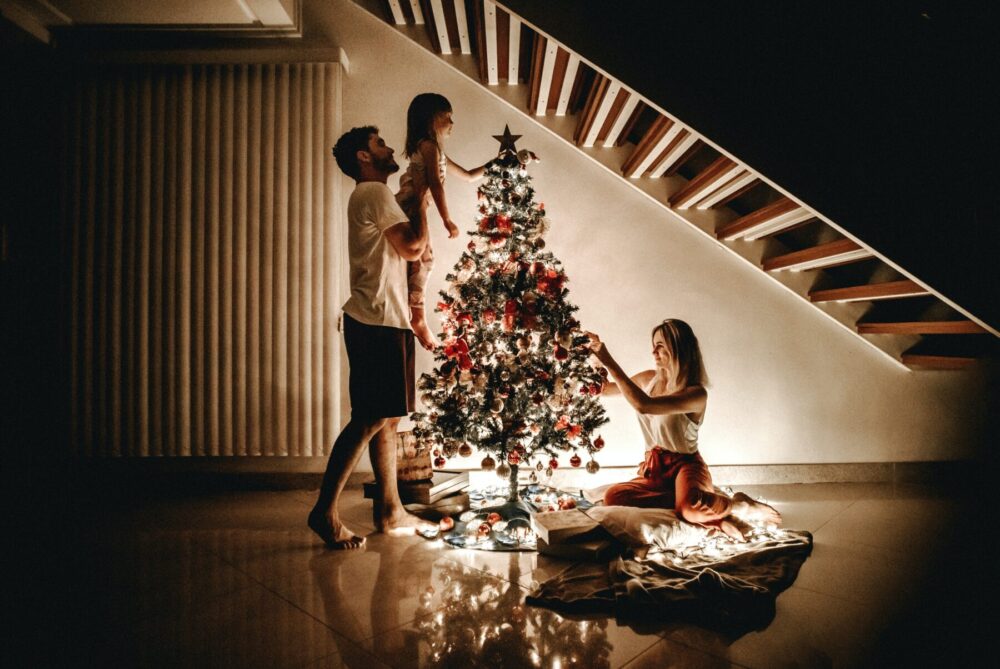
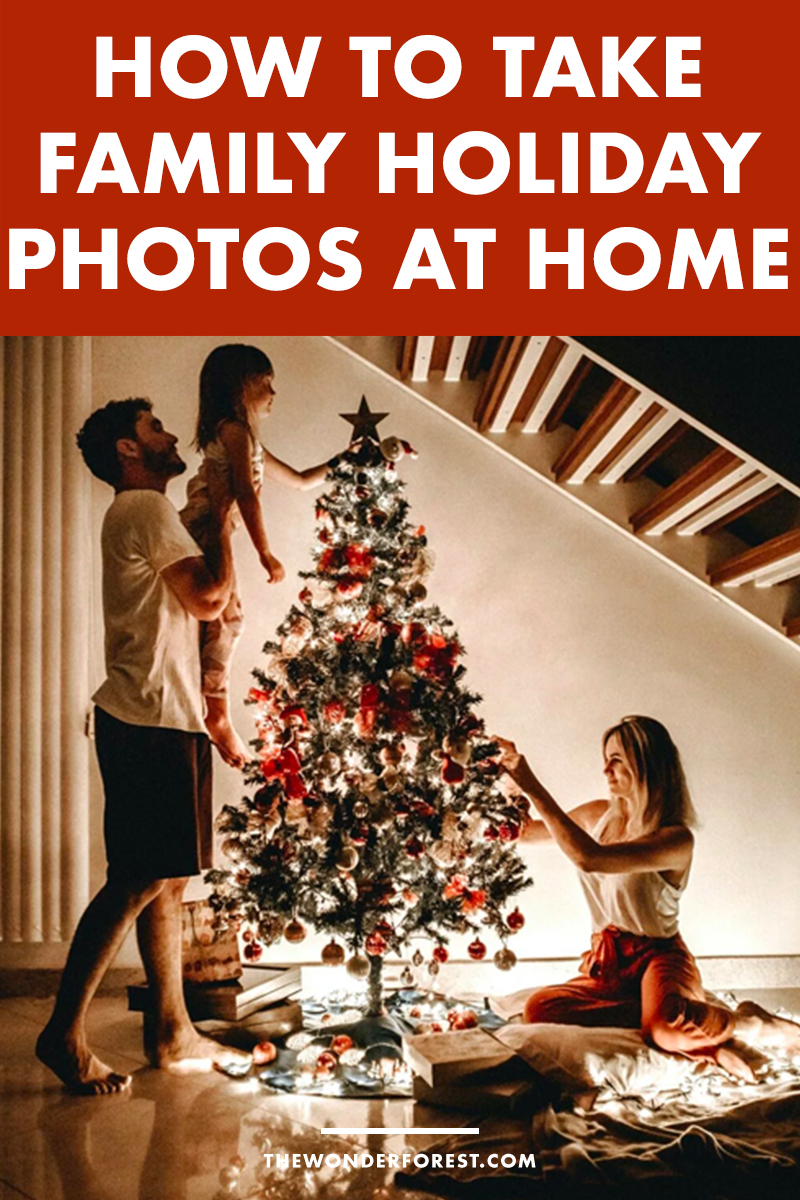
Filtered morning light is also a good option – which avoids harsh shadows, making editing easier. With that being said, don’t be afraid to try something different – we love this shot taken in the dark, illuminated by a Christmas tree.
If you’re shooting with kids, have snacks on hand (a great photo might cost a little bribe, and that’s okay). You can also use the toys to grab their attention if you want to do individual closeups.
Portrait mode on your iPhone is amazing for taking professional-looking, individual photos too! Portrait mode does exactly what it sounds like – it blurs out the background, focusing only on the individual for an incredible portrait.
Choose Your Outfits
As part of the prep, you’ll want to choose your outfits ahead of time. Do you want matching outfits or for your family to pick what they want to wear? Or, do you want to go with a fully themed Christmas look?

If you’re unsure of which direction to go, outfits with complementary colors are always a good choice. This way, patterns or prints won’t clash, and you won’t match each other completely. For example, grey, white, and red all work together – and can also feel super festive.
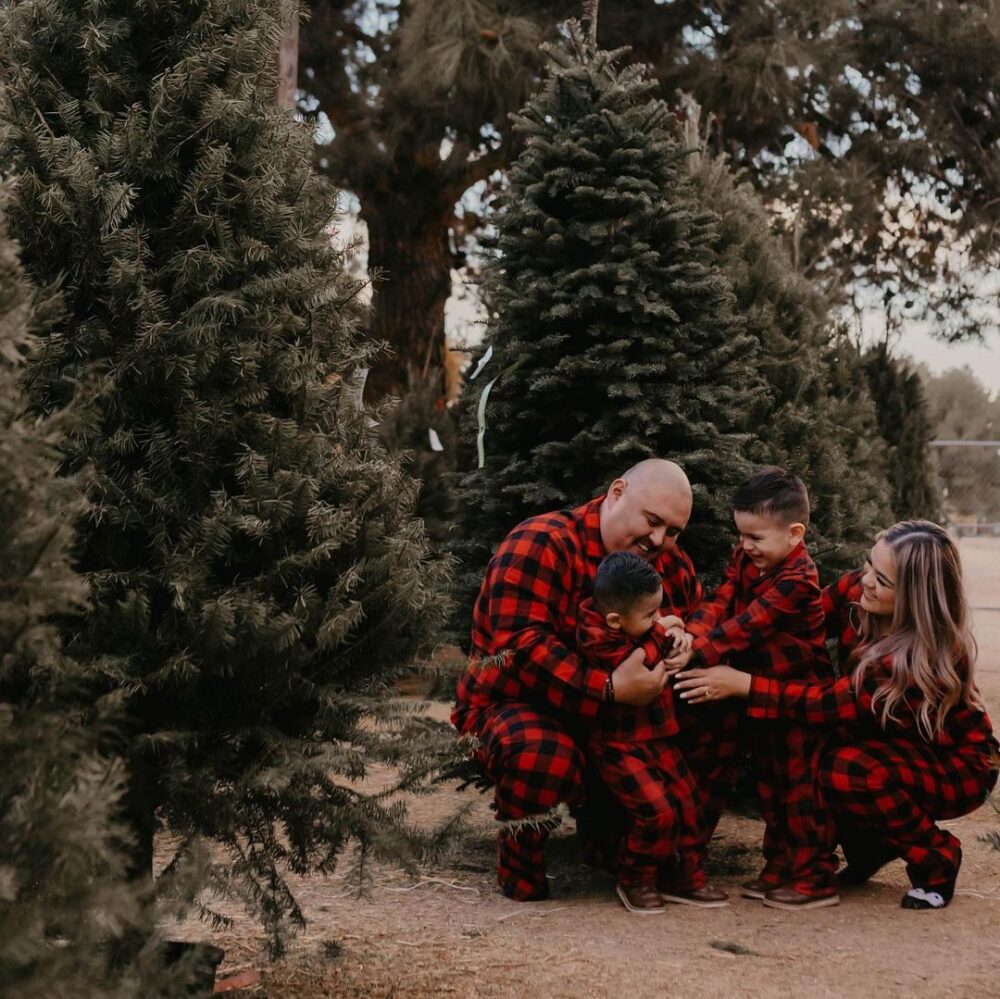
The kids can wear plaid flannels while mom wears a red dress and dad has on a grey shirt. To save money, work with what you have already in your closet!
Gather Inspiration
Pinterest and Instagram are great places to look for photo inspiration. You can see how other families had their photos taken and draw inspiration from there.
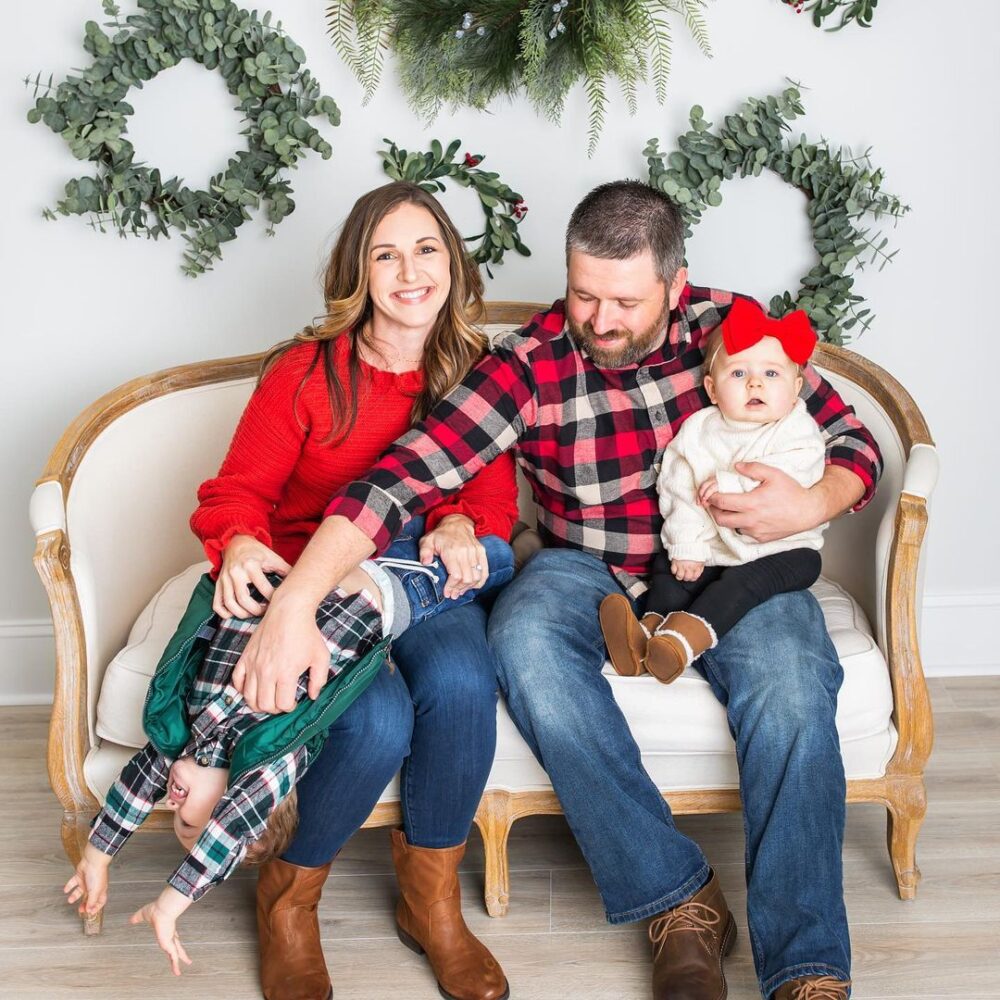
Maybe you want yours to look more candid. Or maybe you want everyone to wear matching pyjamas. Whatever it is, use it as a starting point for how you want your photos to look.
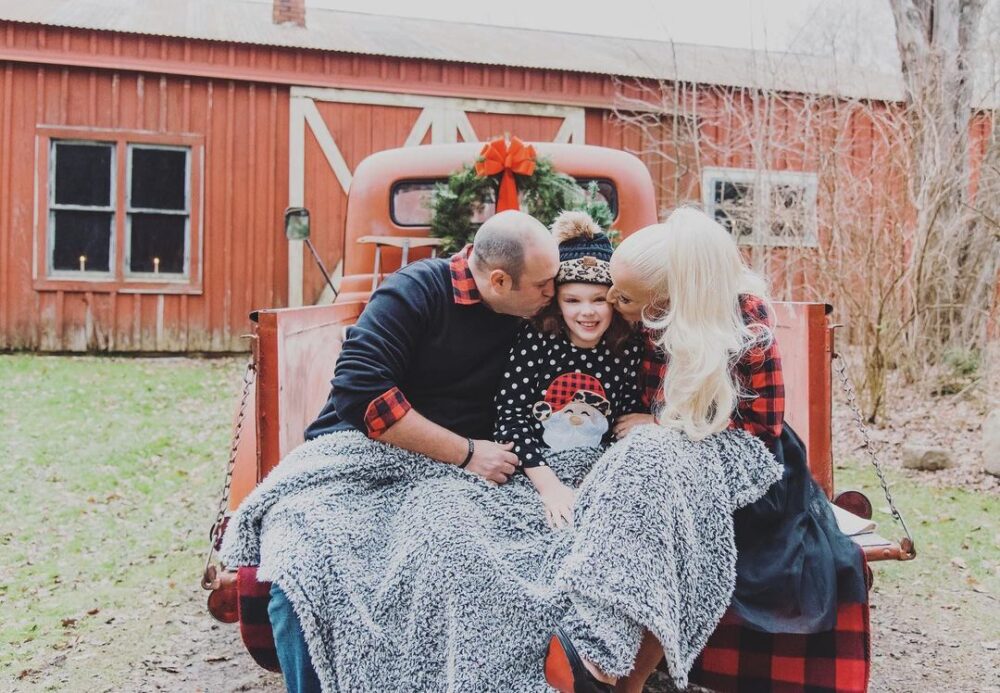
Just don’t get too hung up on matching the inspiration exactly. This is your unique family photo—embrace the outcome, even if it wasn’t what you imagined initially.
Add Props
To add some pizzazz to your family Christmas photos, you can’t forget the props. You don’t have to go over the top; picking a few to translate the holiday spirit into the pictures will work.

These could be reindeer statues, handmade Christmas wreaths, ornaments spread on a table, garland hung on the walls—you get the idea. Here are some great budget friendly Christmas decoration ideas.
The trick is to not overcrowd the photo. You want your family front and center. The props should be there to enhance the background, or to add a cute element (such as having everyone holding a candy cane).
Speaking of background, take a test photo of your desired location first. This can be conducted ahead of time, without your family. The point of this is to understand how your background will look.
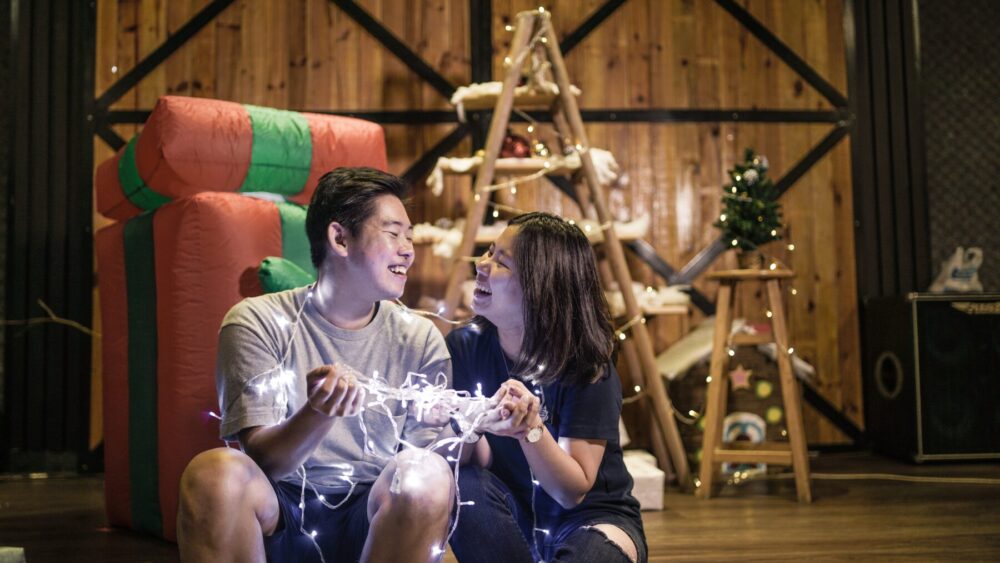 Is it too cluttered? Are there too many distracting pictures on the wall? Again, your family should be the focus. You want others to notice your smiling faces, not the pile of magazines or toys in the corner.
Getting the perfect shot is no easy feat. It’ll take patience, planning, and focus. But once it’s all done, you’ll be able to step back and be proud of the end result. Those who receive the photos will be filled with holiday cheer—exactly what everyone needs this Christmas.
Last Updated on
