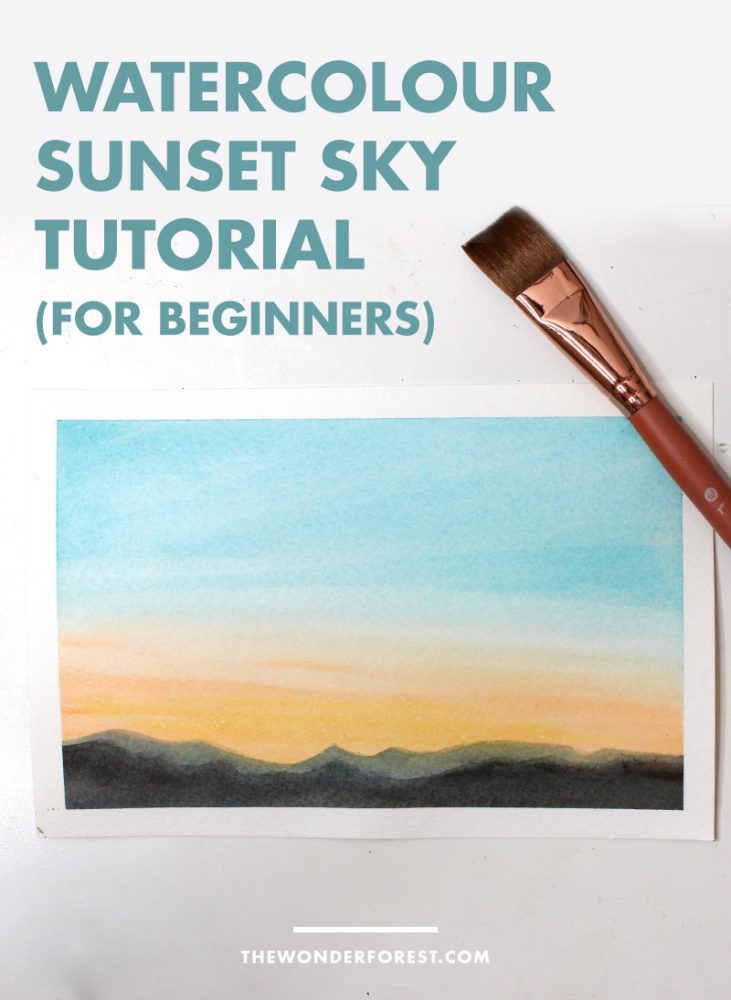
One of the things I love most about watercolour is the ability to flawlessly blend colours together with the swipe of a brush. The natural gradients that start to appear are like magic on paper.
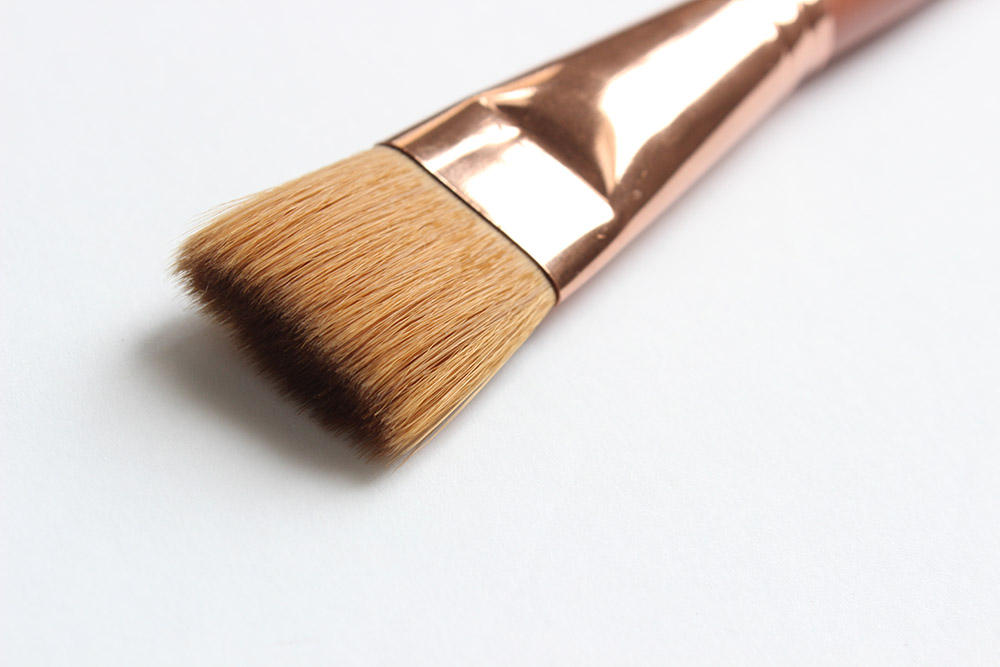
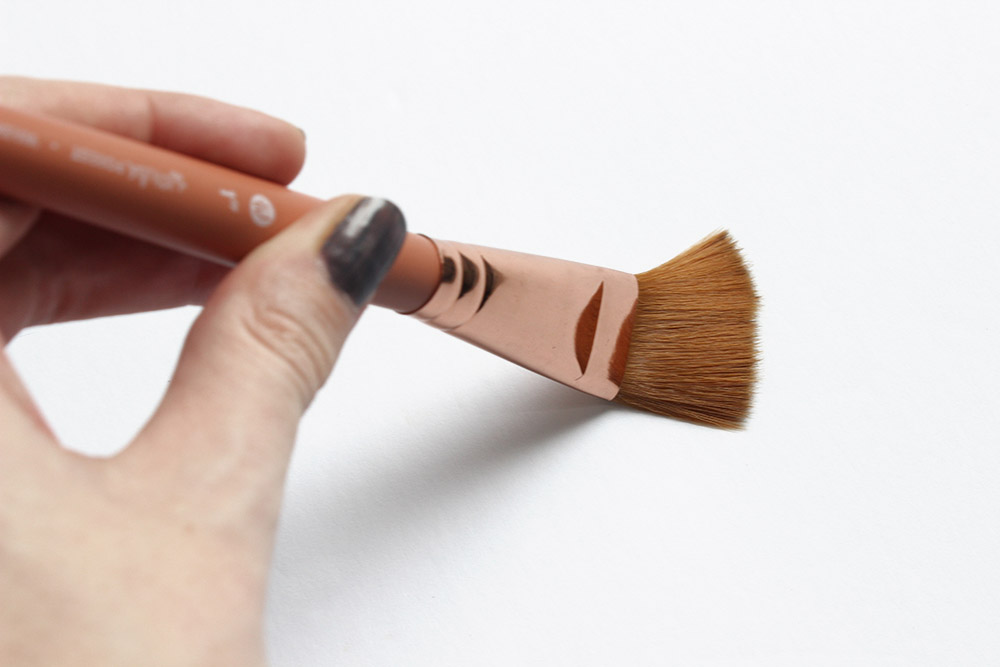
I wanted to share a super easy tutorial designed for beginners, while also demonstrating my newest Wonder Forest 1″ Watercolour Wash Brush. This brush is 100% synthetic and performs just as well as real animal fur brushes due to the unique selection of super soft and flexible bristles.
A wash brush is perfect for filling in larger areas, just like this sunset background.
For this project, I’ll be using:
- Stonehenge Aqua Coldpress Paper
- Winsor & Newton Cotman Watercolour Paint in the following colours: Lamp Black, Burnt Sienna, Gamboge Hue, Cobalt turquoise, Ultramarine and Indigo
- Wonder Forest 1″ Wash Brush
- Clean water
Click the video above to watch, or visit the video directly on my YouTube channel here (be sure to subscribe!).
A bit more about this brush
This is the latest addition to the Wonder Forest collection of watercolour brushes. This brush was created with a couple of things in mind: Firstly, the materials had to be cruelty-free and totally synthetic because we don’t like hurting our animal friends. Secondly, the brush had to perform just as well as those that use real animal fur — great water retention, super fluffy, and the ability to create even washes of colour.
It comes with a lovely rose coloured handle and rose gold brass ferrule and is available as a single brush or in a bundle with the Premium Synthetic Watercolour Brush Set.


Get your own brush here! It’s the perfect addition to your collection of brushes, if you ask me!
If you try this tutorial, share it with me by tagging @wonderforest on Instagram! I love seeing your work!
Last Updated on
