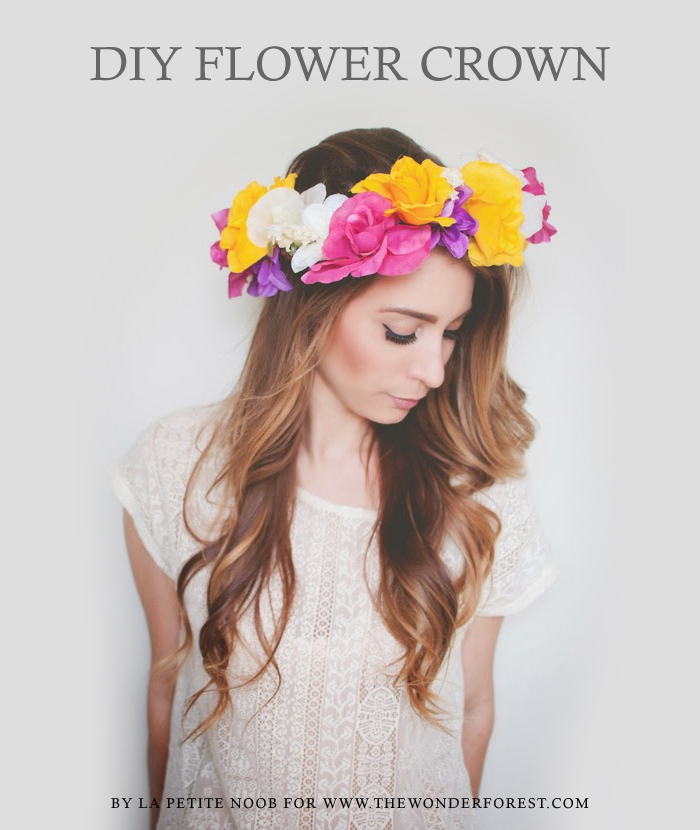
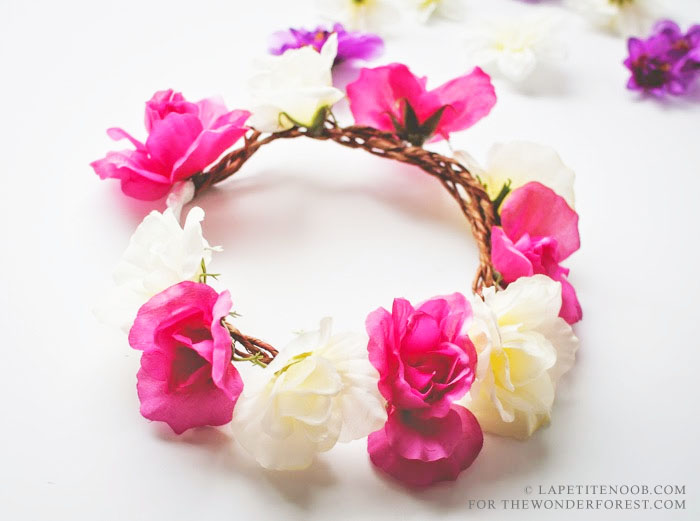
 by Joëlle of La Petite Noob I’m excited to be back for another guest post, and share with you a simple DIY to make one of my favourite summer accessories – a flower crown. Flower crowns are everywhere, and are a fun way to dress up any summer outfit. Major retailers sell these beauties at a large markup, so why not make one yourself? This DIY will save you money, and allow you to have creative control in creating a one-of-a-kind flower crown that will take you to all of your summer festivals, raves and outings. Read on for further instructions.
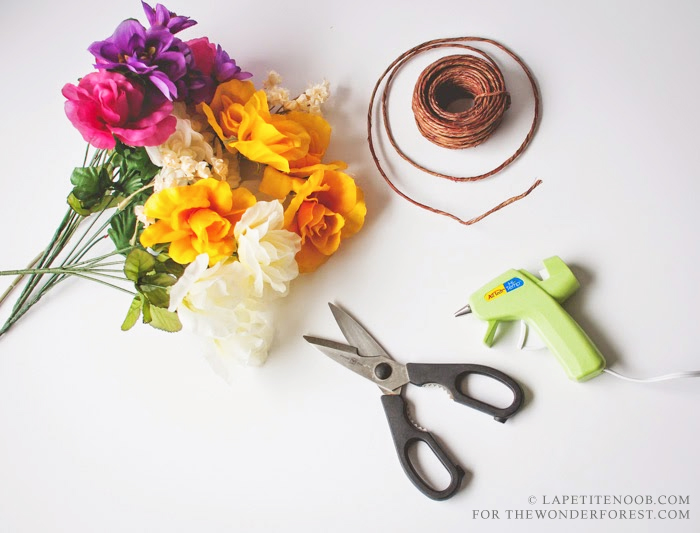
You Will Need:
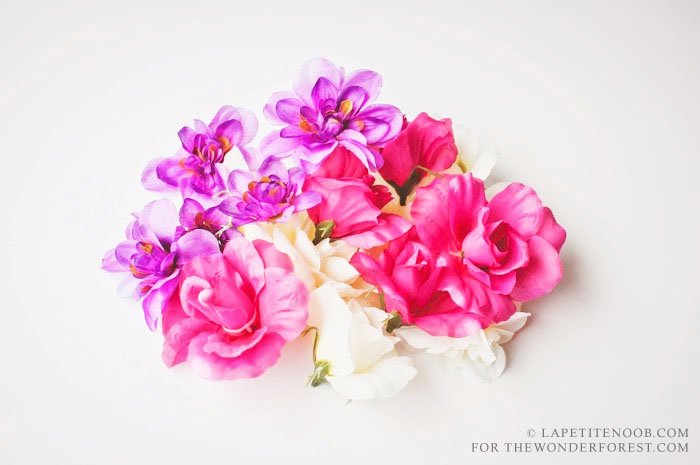
- A variety of silk flowers. Pick up more than you think that you will need – it’s always better to have more for a fuller flower crown. I found my flowers on sale at a local craft store, but even the dollar store is a great place to shop.
- Some heavy, thick coated floral wire. I also found this wire in the craft store, but you may wish to visit your local florist if you’re having trouble locating it.
- A hot glue gun
- Scissors or pliers that are strong enough to cut through wire.
- Electrical tape (optional)
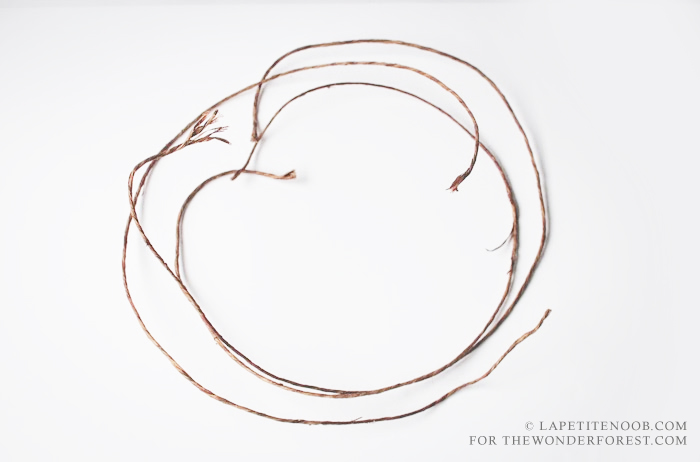
Start by measuring out your floral wire. I wrapped a piece of wire twice around my head to get a good fit, and then cut. You want to wrap the wire around your head twice because we will later be braiding, and you want to make sure that you don’t loose too much length in the process. Cut two more pieces of wire to match the first one. You should now have three pieces of flower wire, all the same size.
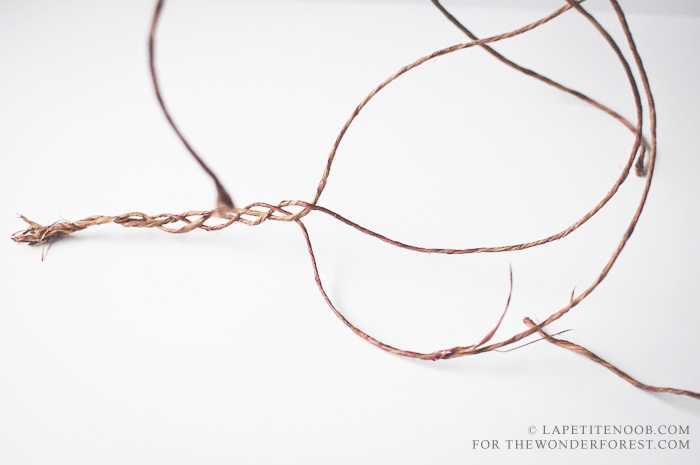
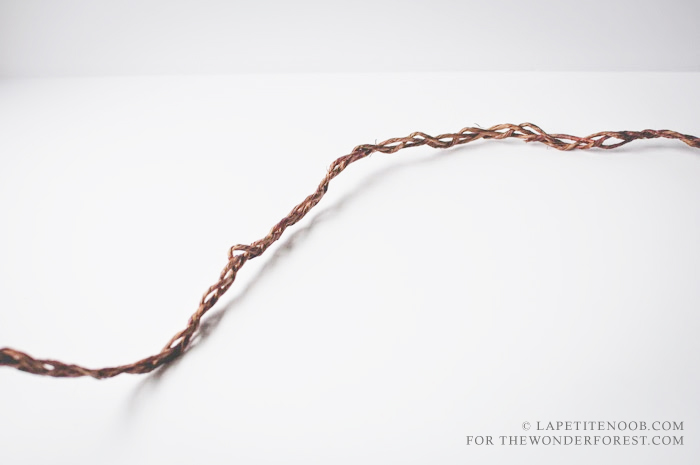
Take all three pieces of floral wire and twist the ends together on one side, to keep them in place. You now want to start braiding the three pieces of wire together. Your braid should be fairly tight – you want a substantial base for your flowers to sit on. Don’t worry about how the braid looks, you will be covering it up with flowers – just focus on achieving a tight braid. This process will be a little time consuming at first – working with floral wire is difficult, but once you start to get into a rhythm it becomes much easier.
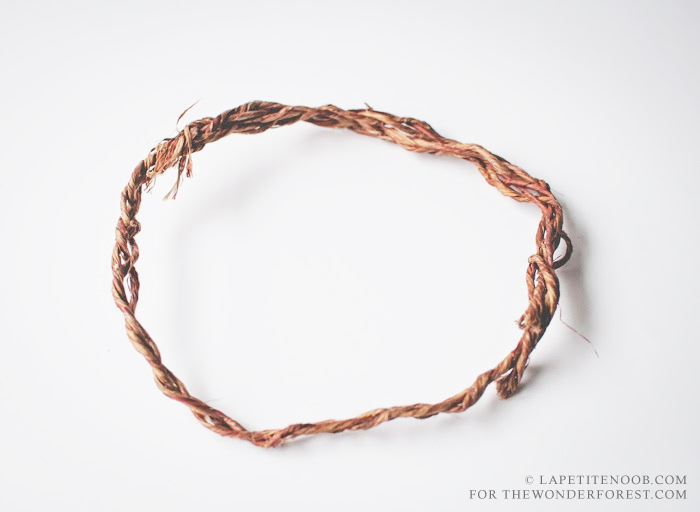
Once you have your completed braid, mould it into a large circle to form a crown. Any extra overlap can simply be twisted back into the crown using your hands, or a pair of pliers. Try as hard as you can to push any exposed ends of wire into the crown – you may need to use pliers for this.
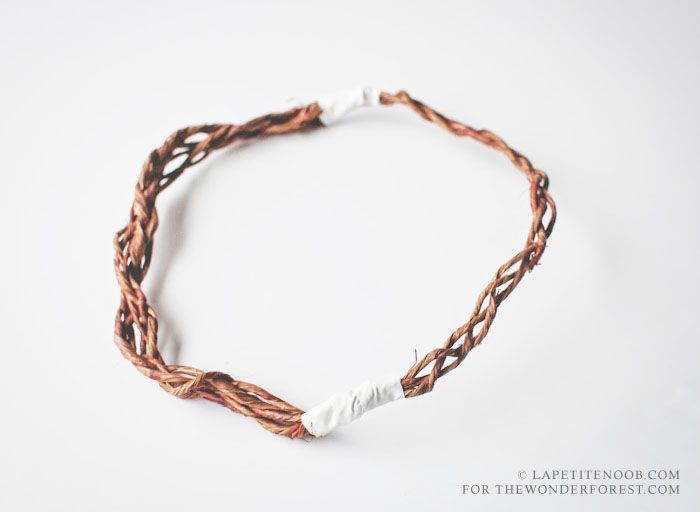
Once you are satisfied with the shape of your crown, you may wish to tape the ends where any exposed wire may be. This step is completely optional, but I chose to do it to err on the side of safety. I used some electrical tape that I found around the house. Don’t worry about the aesthetics of the tape – we will be covering it up later on.
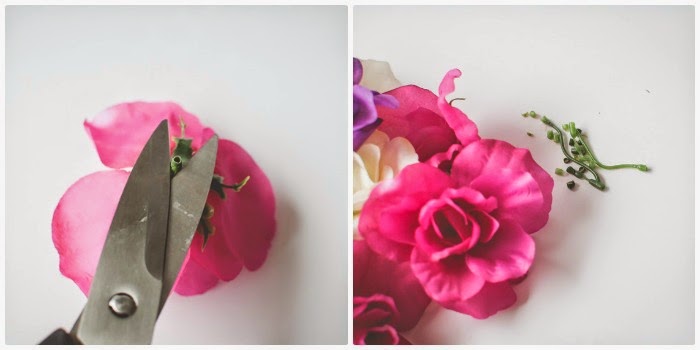
Now comes the fun part! Start by pulling the blooms of your silk flowers off of their plastic stems.
Snip off any protruding greenery from the flower (usually used to keep it secured onto the plastic stem.) You want a flat base to your silk flowers, as it makes glueing much easier.
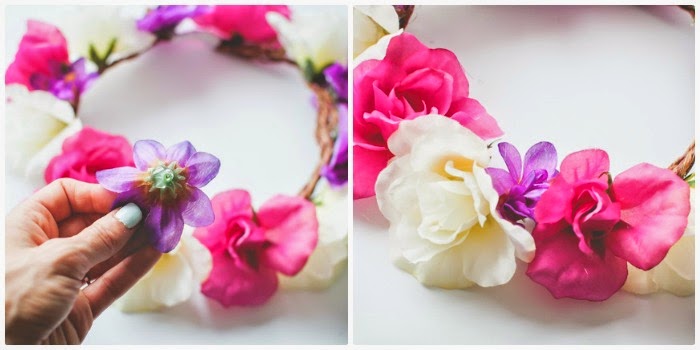
Once you have all of the extra stems snipped off, you can now begin glueing your silk flowers onto the crown. Use a small dollop of hot glue from the glue gun, enough to cover the base of the silk flower, and press the base onto the wire crown.
You may wish to plan out in advance where your flowers will be going on the crown, but personally I like to just glue them on and make decisions regarding flower placement as I see the flower crown starting to take shape. The only “rule” I would really prescribe to is to glue your largest flowers onto the crown first.
Once you have all of your large flowers glued onto the base crown, start filling in any gaps with smaller flowers.
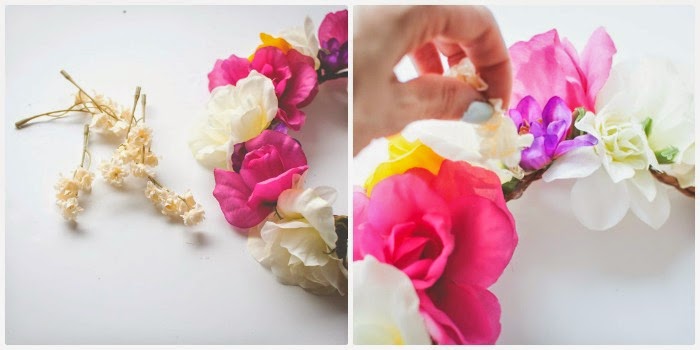
Be as creative as you want! I like to add additional texture to my flower crowns by using long stems of little silk flowers, glueing them in between the larger flowers.
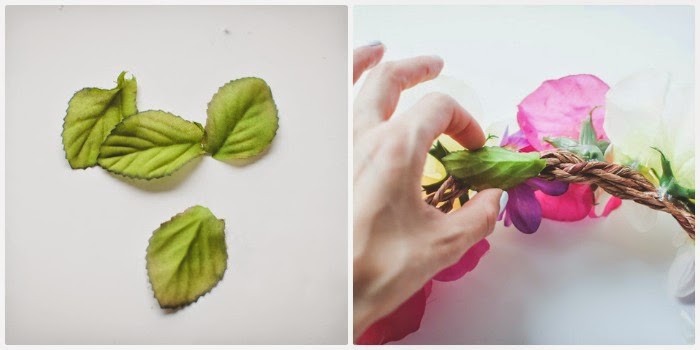
Remember that ugly electrical tape we used to cover up any exposed ends? Snip a few of the silk leaves from the flower stems, and glue them over any tape that is showing on the crown.
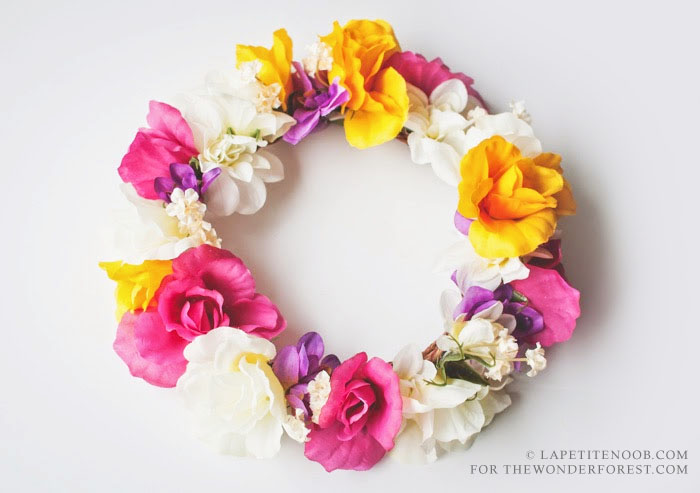
You now have a completed flower crown, made for a fraction of the price of those being sold in retail stores – and the best part is that it is made by you!
Last Updated on

