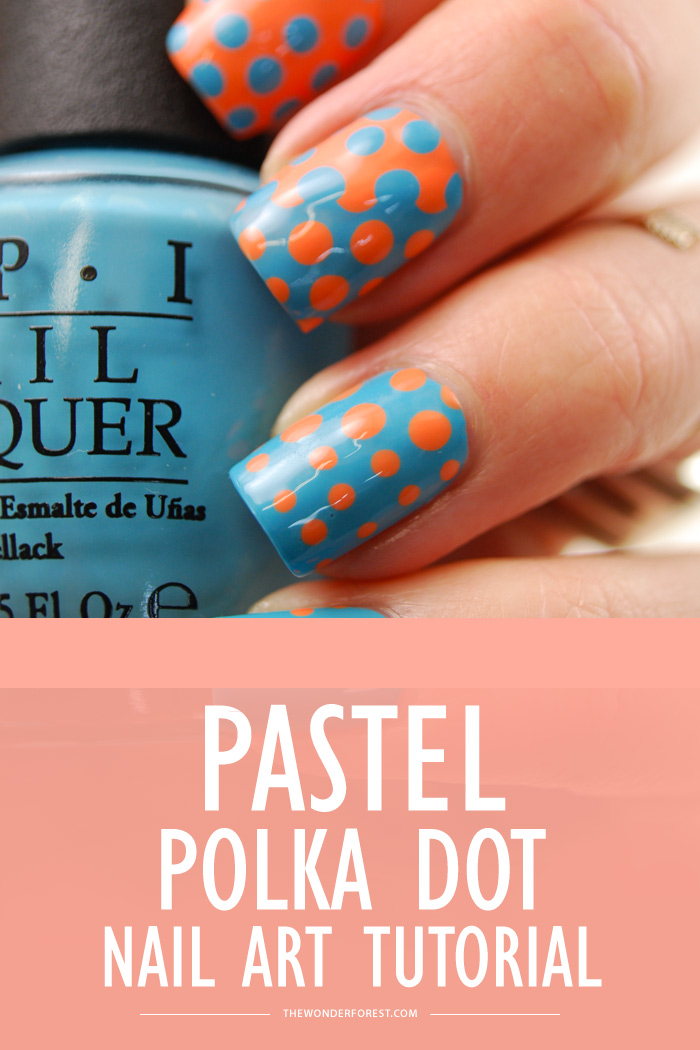
Pastels + polka dots = the cutest nail art ever! And with spring emerging, this nail tutorial is sure to get you in the mood for the season.

You Will Need
• Basecoat
• Two polish colours. Choose contrasting colours for the most POP!
• Dotting tool with a large side and a small side. (Could use bobbypin if need be, but it’s only one size)
Instructions
Step 1: Apply basecoat
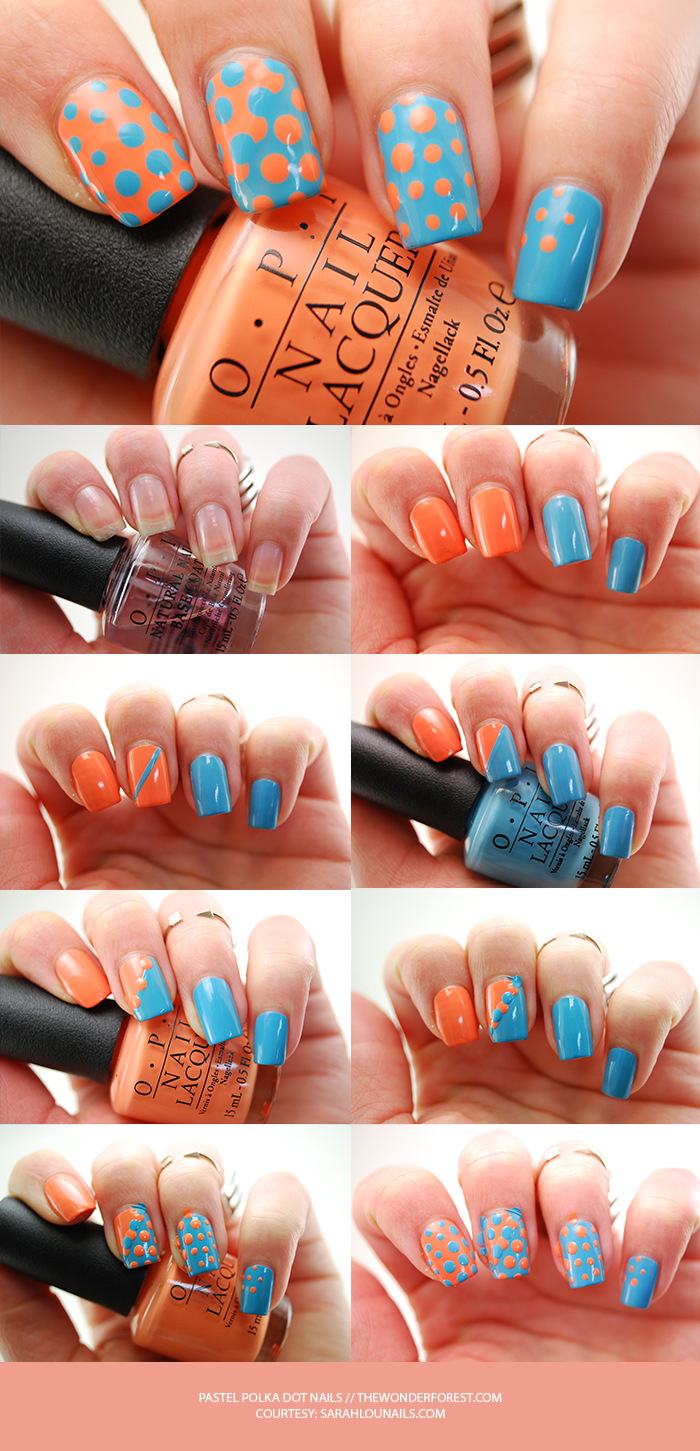
Step 2: Apply two coats of your first colour (Blue) to your pinkie & ring finger nails. Then two coats of your second colour (orange) to your other nails.
Step 3: Using your striping brush, paint a blue diagonal stripe across your middle finger as straight as you can for a guide.
Step 4: Using the polish bottle brush, you should be able to fill in above the line you made with blue.
Step 5: With your larger dotting tool, make orange dots along the diagonal line, making sure to leave enough space in between each dot for blue dots.
Step 6: With your larger dotting tool, make blue dots in the spaces between the orange dots, along the diagonal line.
Step 7: With your larger dotting tool, fill in the rest of the blue area on your middle finger with evenly spaced orange dots. Carry them to your ring finger, switching to the smaller dotting tool half way through. When you get to your pinkie finger, just add a few small dots to fade them out.
Step 8: Repeat step 7, but with blue dots, over the orange nails, and fade them out on your thumb nail.
Step 9: Clean up any mess around your nails & add top coat once they’re dry!
Tip
If only a half a dot can fit on my nail, I don’t mind getting polish on my skin and cleaning it up later, as I like the look of the dots running off of my nail.
Colors Used
Last Updated on

Loving this! The color combo is lovely 🙂
xo Kitten ♥ The Howling WolfHeart
Thank you! 🙂