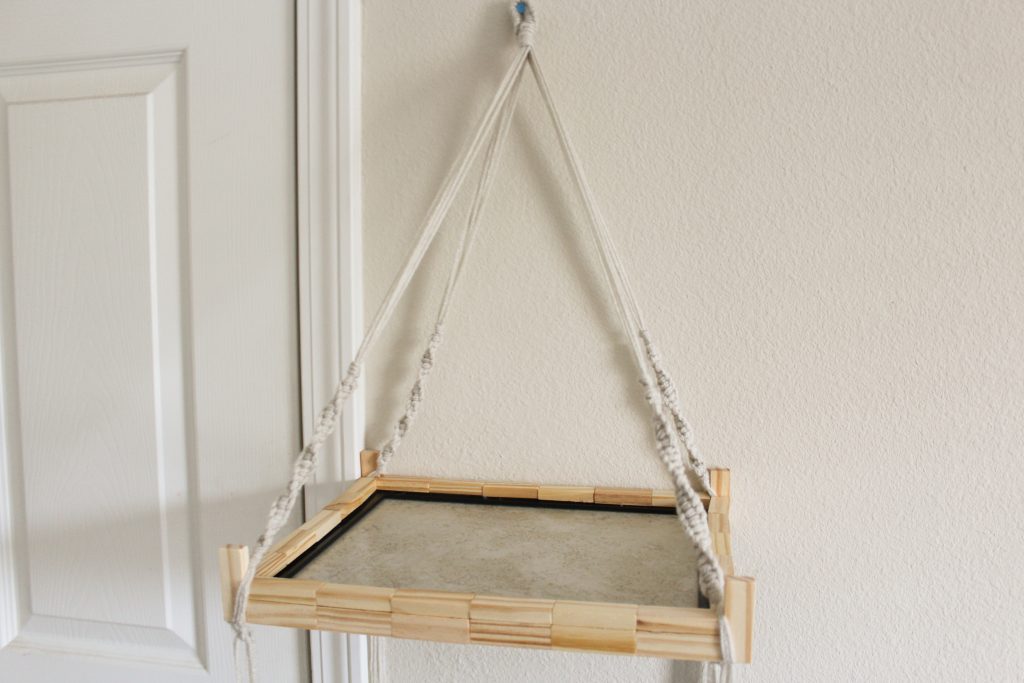
Summer is at its peak and so is all the cutest summer decor. If you’re looking for a new project that won’t break the bank, here’s a great and inventive DIY macrame hanging shelf you can create using dollar store products.
Materials Needed
Here are some of the materials I bought at the dollar store (and some for less than one dollar):
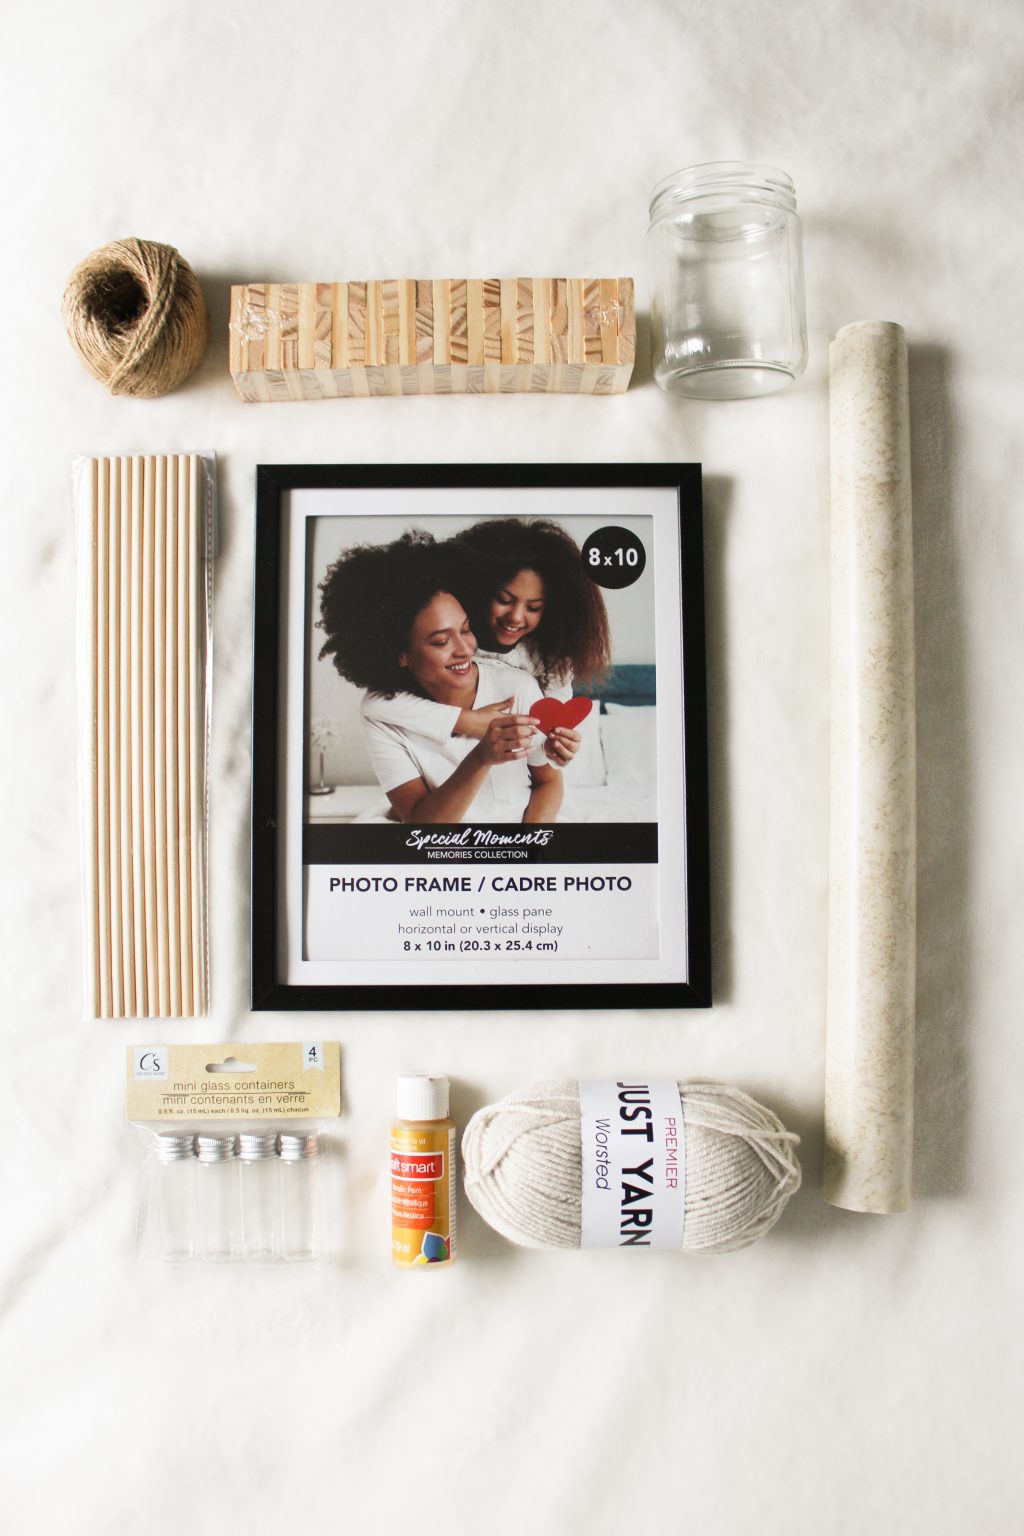
- Picture frame (flat frame edges recommended)- any size
- Vinyl contact paper
- “Jenga” toy wood blocks
- Yarn (or macrame if your local dollar store carries it)
- Wooden dowel
- Mini glass jars
- Larger glass jar
- Brown craft twine
- Paint in choice colour(s)
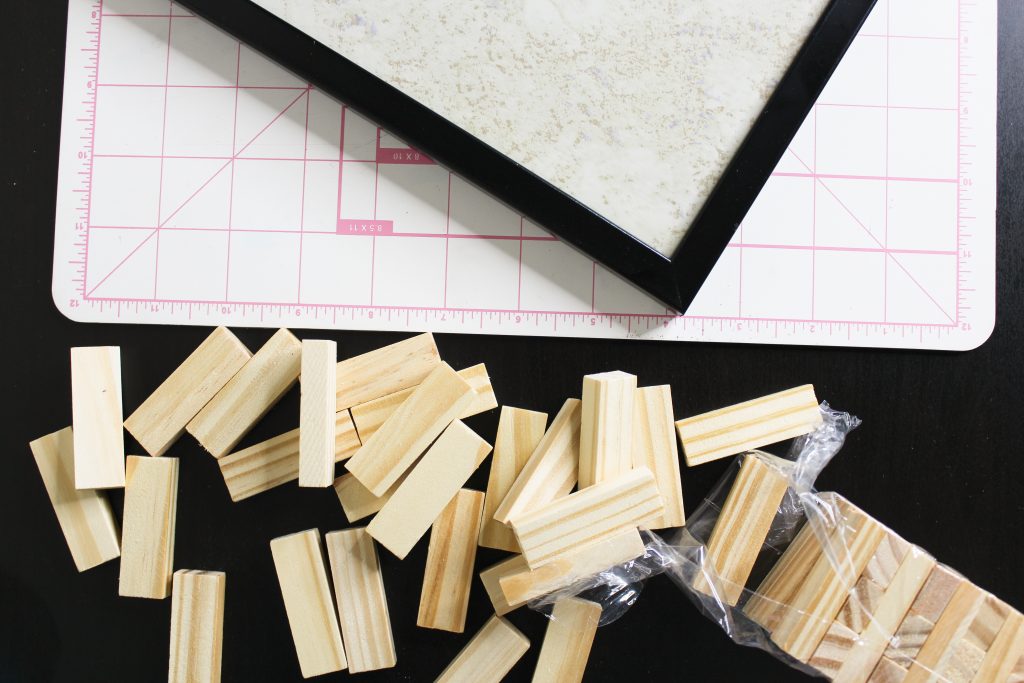
Here are some additional materials needed to create this project. If you are a seasoned crafter, you may already have some of these materials at home.
- Scissors
- Hot glue (or any strong glue)
- Paint brushes
- Real or artificial plants (optional)
Note: Some of the materials I have gathered for this project are not necessarily from the dollar store but are one dollar or less. However, depending on your local dollar store you may be able to find these materials (if you don’t already have them) to use for your project.
Once you gathered all your materials, it’s time to craft this beautiful hanging shelf.
Step by Step Instructions for Hanging Macrame Shelf
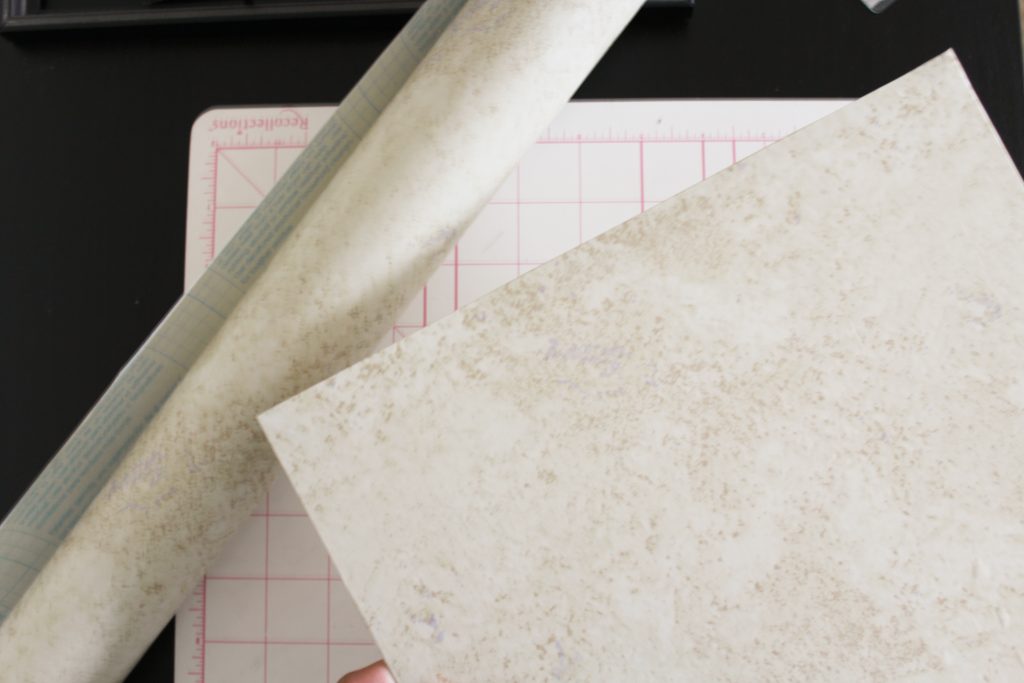
First, I started to craft the picture frame. This will be used as the shelf of the project. Carefully take out the glass and cover it with your choice of contact paper. Put the glass aside.
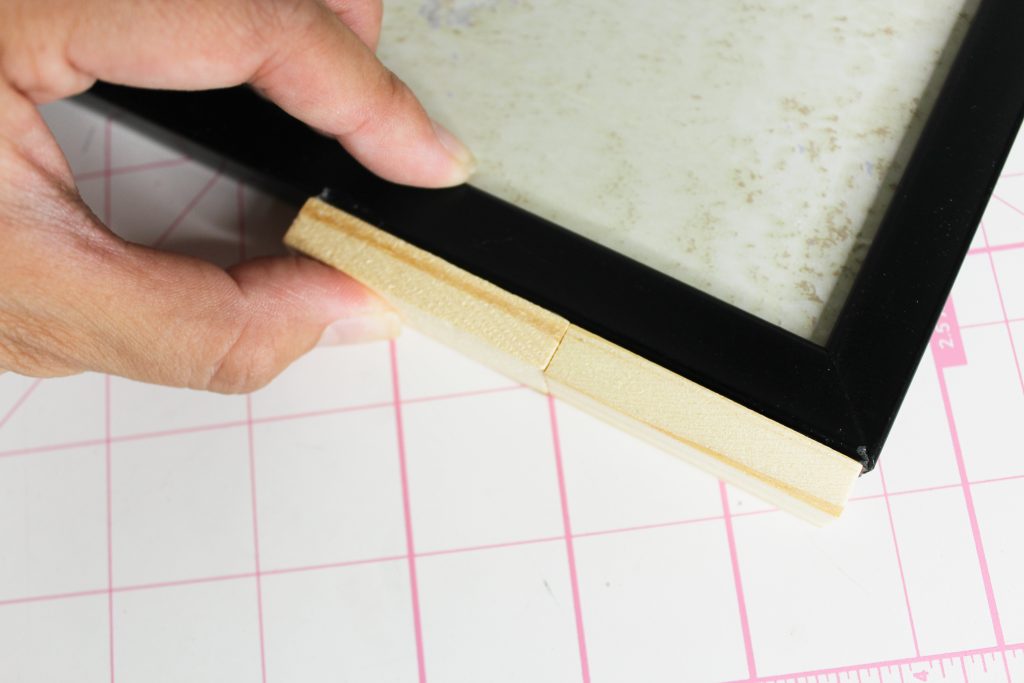
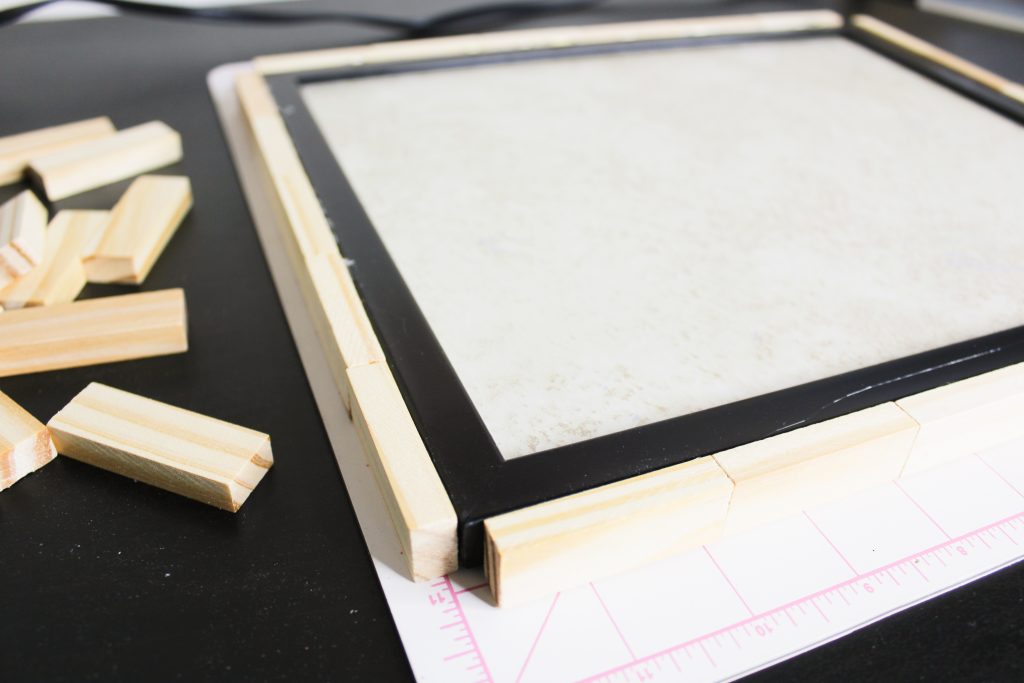
Next to work on the frame. Glue pieces of the wood blocks to the edges of the frame any way you like. You may need to cut some of the pieces to fit on to the frame, depending on how large your frame is.
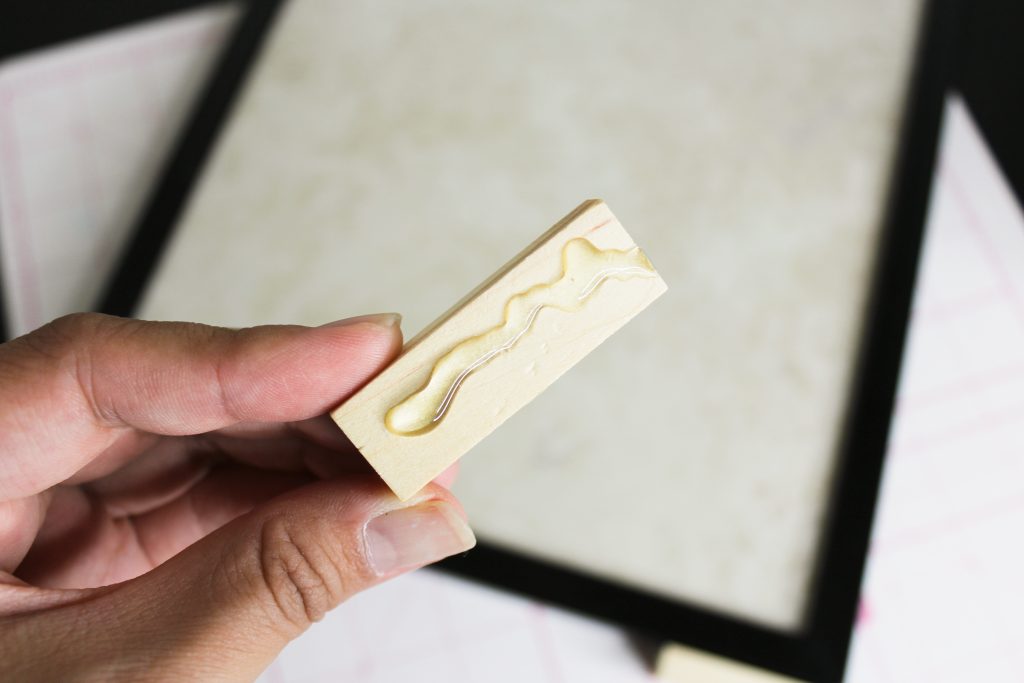
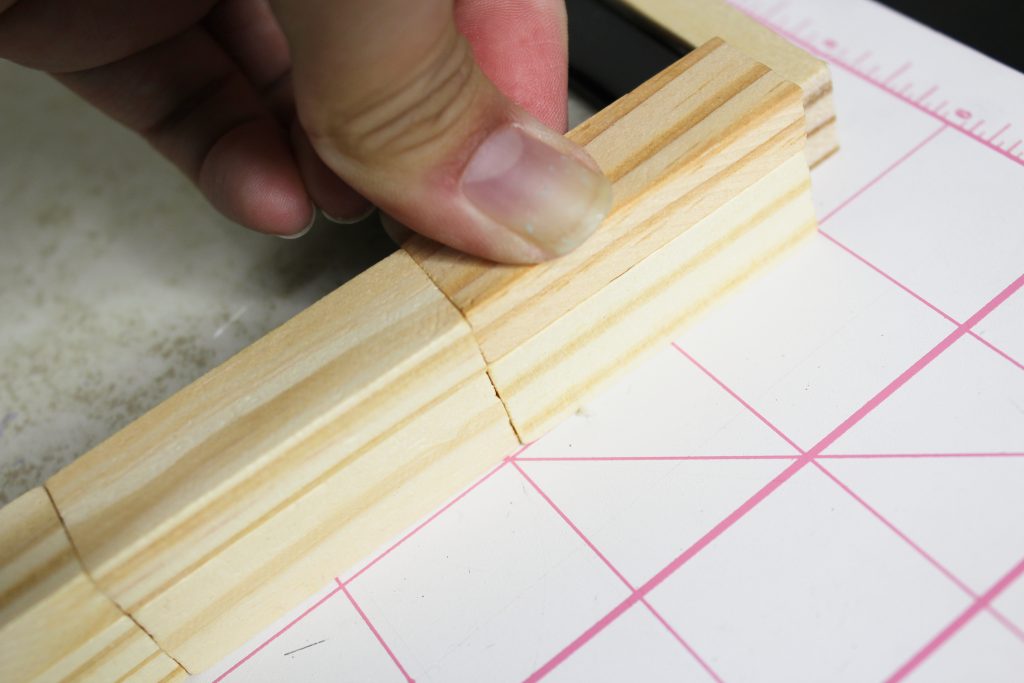
As an option for this step, feel free to paint the frame before attaching the wood. You can also paint or stain the wood blocks after gluing them to the frame.
After completing the frame, carefully place back the glass.
Macrame
Now to create the shelf hanger using the yarn (or macrame). For this project, I mostly use a spiral pattern for each set of cords. But feel free to use different patterns and knots for your hanging shelf. (You may also find some patterns in some of our other blog posts). If you are using yarn, I recommend doubling up on strands to make the patterns thicker.
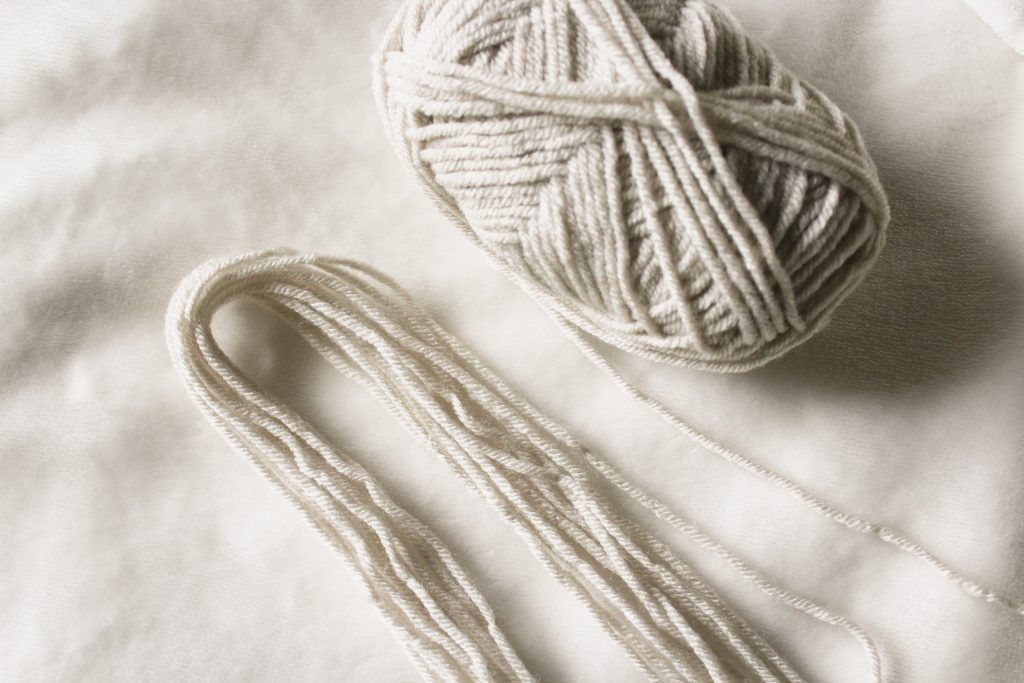
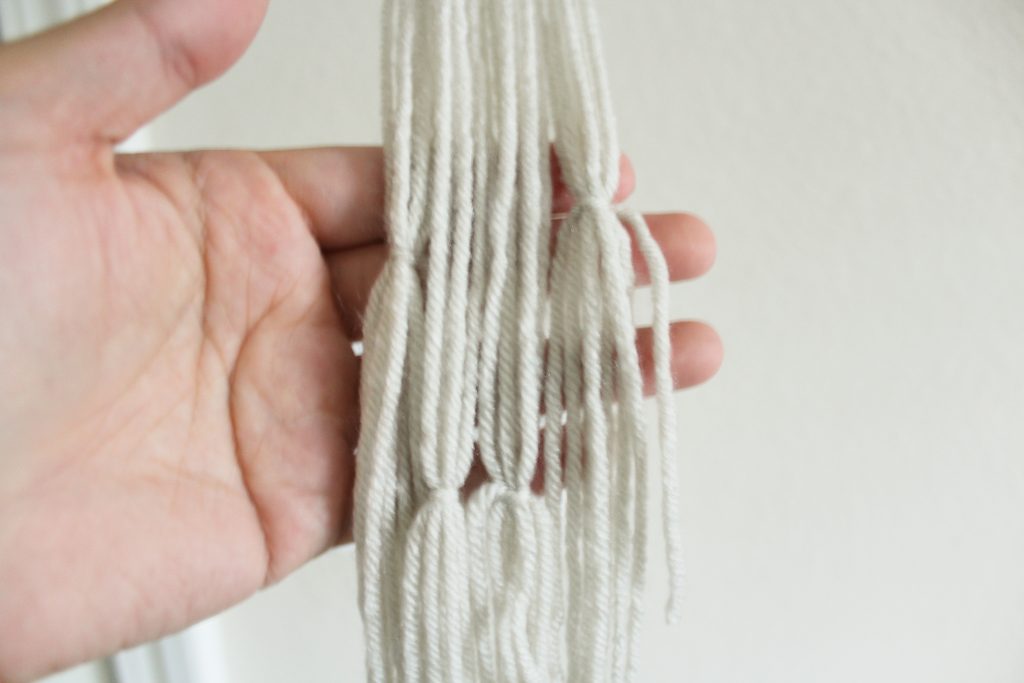
I cut 12 long strands of yarn, about double my arm span, to start off. I folded the strands in half to create a loop. Using two separate strands of yarn, I added about two inches of square knots. I finished off that loop with a wrapping knot.
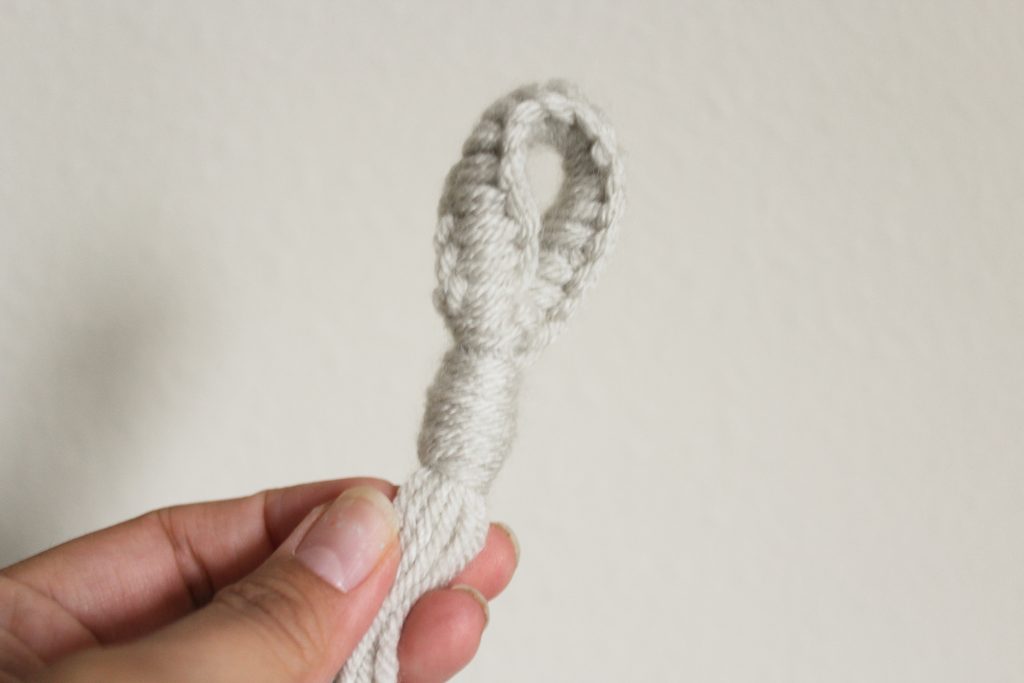
I divided the strands into four and measured out about how long the shelf will hang on the wall. A little tip: measure out the front pieces to end farther down so the shelf will hang evenly.
For decoration, I added some spiral knot patterns to each group of strands and ended them by wrapping knots.
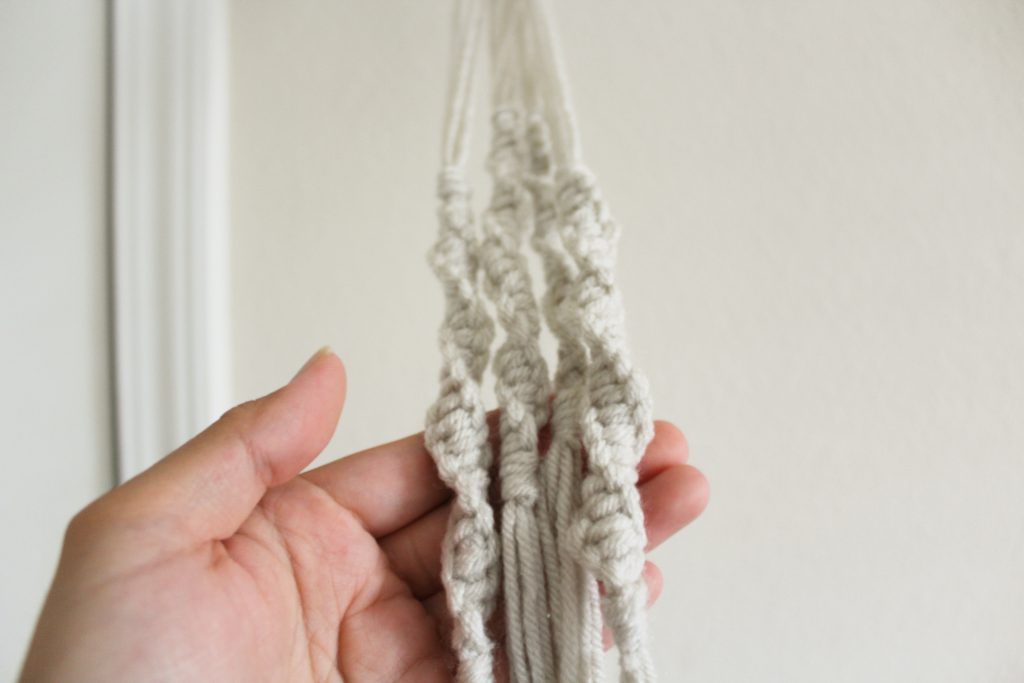
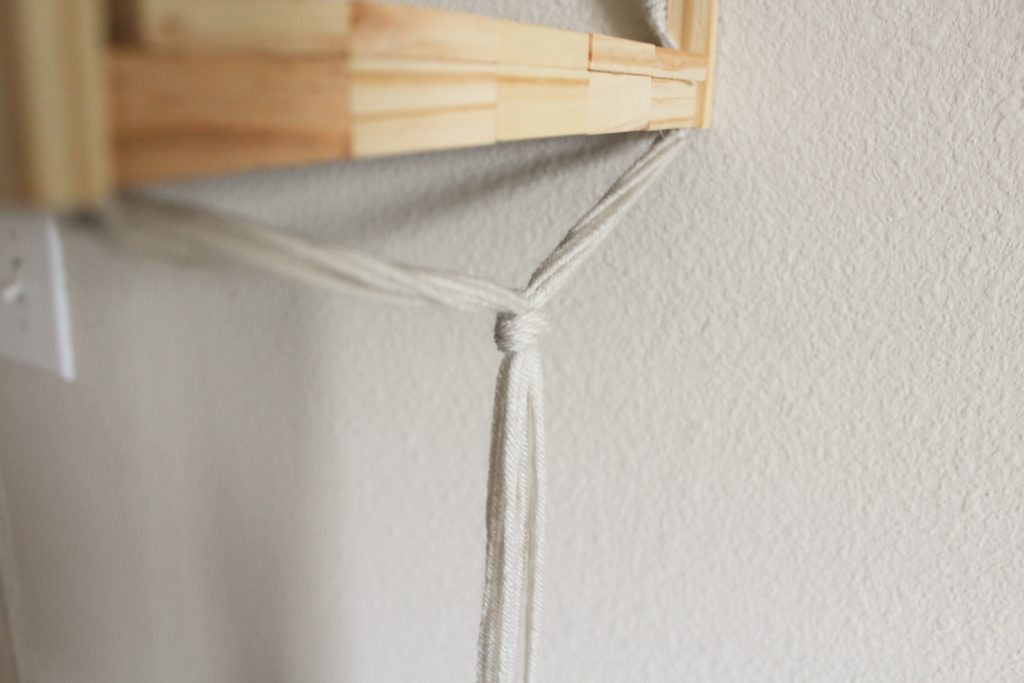
I attached each end of the strands to the corners of the frame shelf by wrapping the loose strands around the corner blocks and reinforcing them with a couple of square knots.
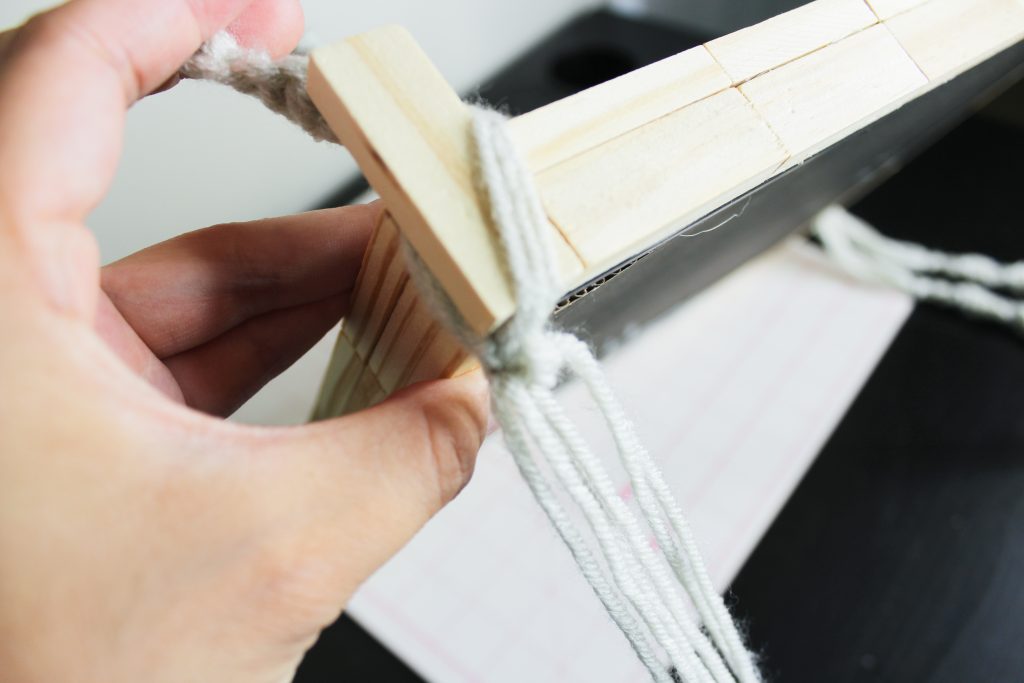
If you don’t have these corner blocks, you can wrap the loose strands around the frame and bring them together with a knot on each end.
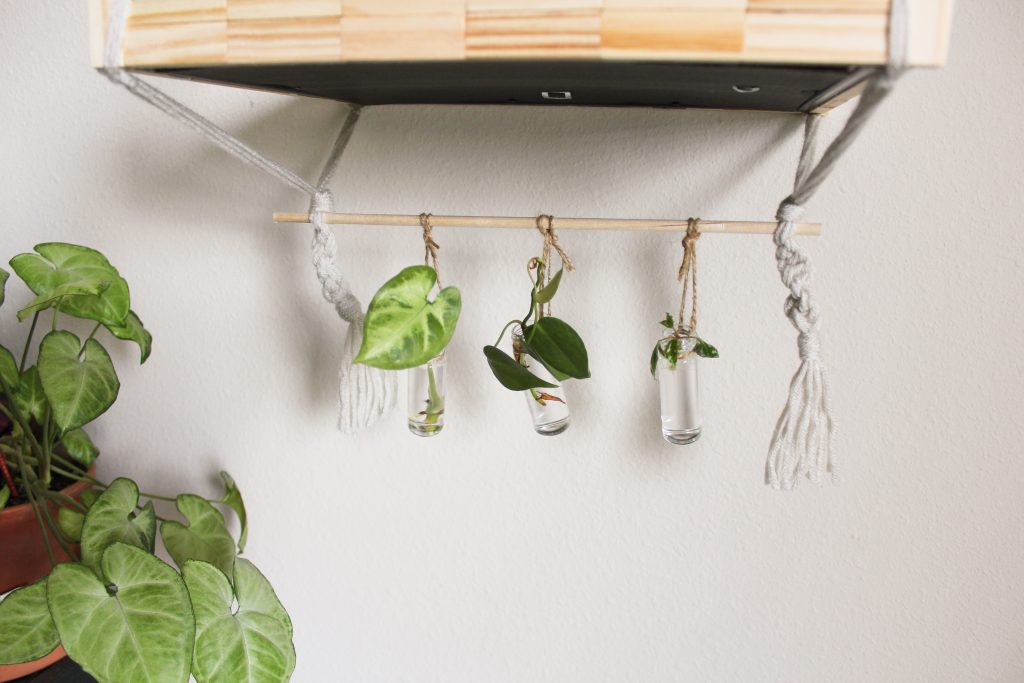
After creating each of the two knots under the shelf, I added a single wooden dowel. Under the dowel, I added more decorative knots and a small tassel at the ends. This is the completed hanging shelf.
I wanted to add more decorative items to my hanging shelf to make it feel more like summer.
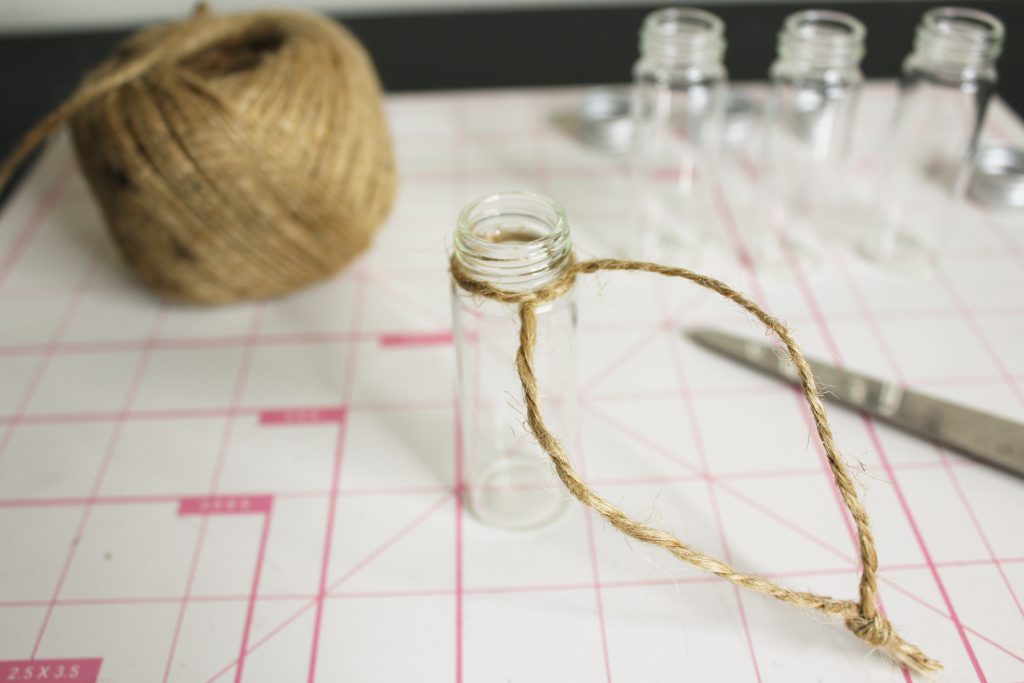
I am a plant lover, so I decided to incorporate plants into this design. With the mini glass jars, I tied the crafting twine around the neck and attached them to the wooden dowel. To each of the jars, I added water and a cutting from some of my favourite house plants. This shelf is now a decorative propagation station!
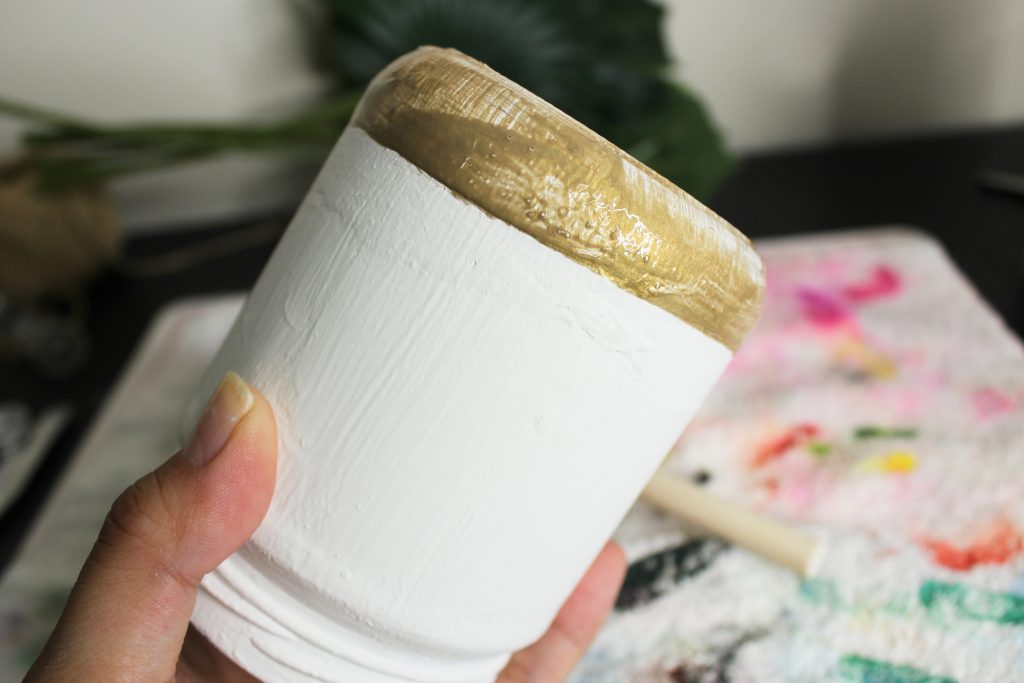
With the larger piece of glassware, in my case it’s an old glass jar, I painted it to look like the modern planters you find all over home goods stores. I added a couple of tropical leaves to give a summer feel. It can also be used as a simple planter for actual house plants.
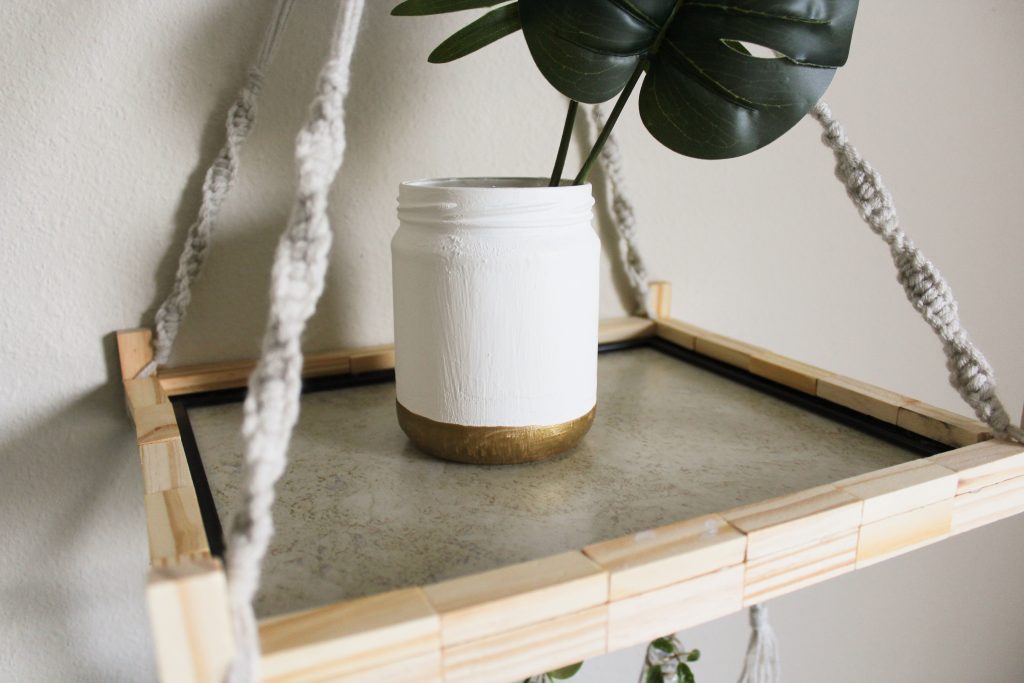
And there you have it! A decorative DIY made with items that cost a dollar or less!
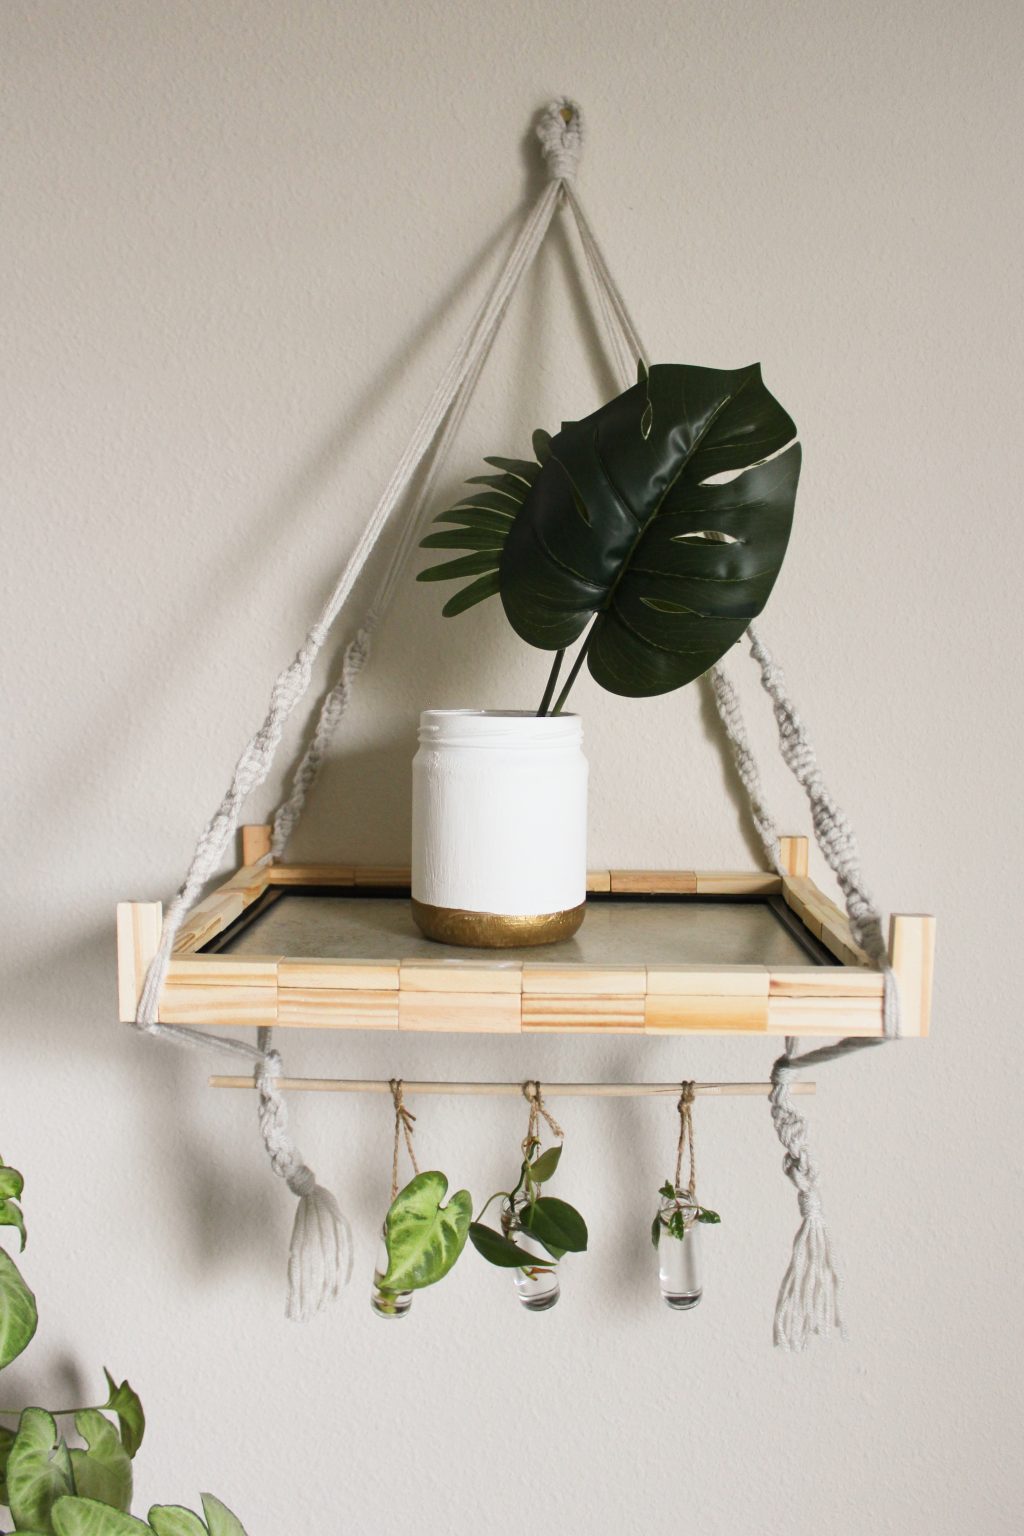
And, it’s a one-of-kind piece that is a beautiful addition to your home!
PIN THIS:
Last Updated on

