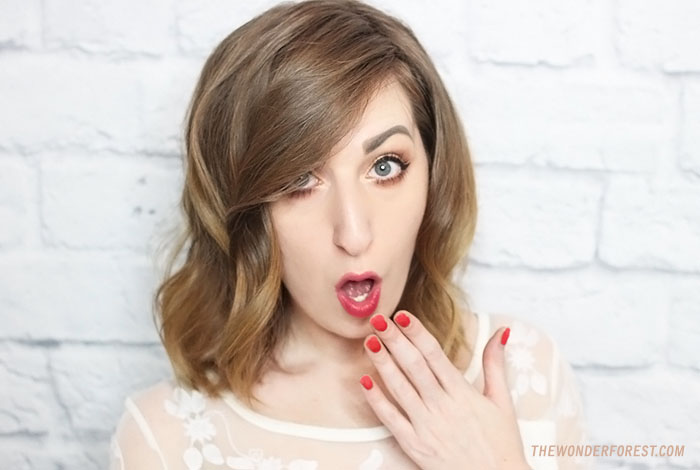
I’m obsessed with Taylor Swift’s 1989 album, and I’m not ashamed. I’m also a little obsessed with the recent ‘do she’s been sporting and wanted to see if I could recreate it on my own shoulder-length mane. I think it turned out pretty good and wanted to share the steps I took to achieve this look… hint: it’s really easy.
My hair is a bit longer than hers, and she has bangs which I do not. I think this style could work for many lengths of hair though because it’s all about that front section!
You will need:
- styling product like root boosting mousse
- 1.5″ curling wand. I used the largest barrel from this set
- large tooth comb
- texturizing or sea salt spray
*note: since it was quite hard to photograph this as I was doing it with the heated hair wand, I’m showing you those steps above using a different barrel that was not attached to the handle*
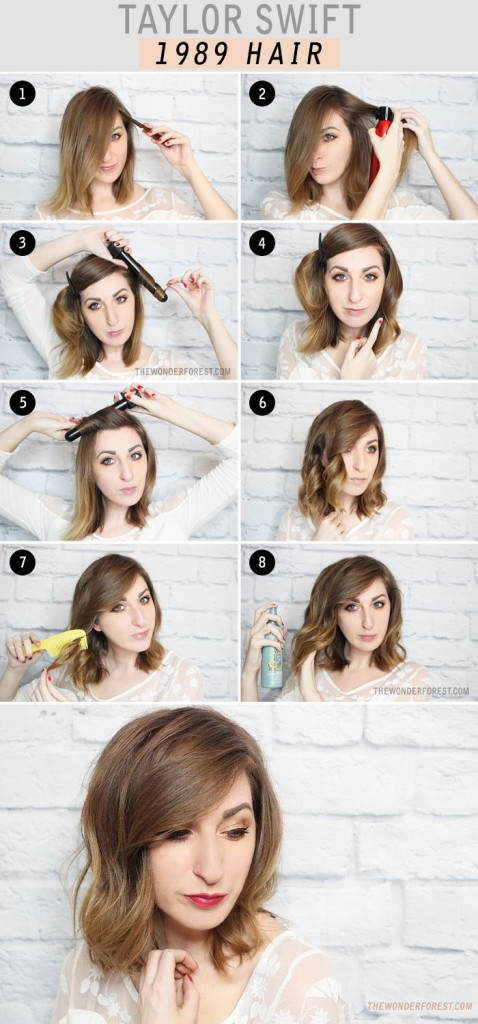
Step 1 – Create a really deep side part
Step 2 – Add a little root boosting mousse or some styling product to your hair
Step 3 – Start on the side with the least amount of hair and wrap a chunk around the barrel towards your face. Try to keep the hair flat as you wrap it around the barrel.
Step 4 – Continue this process all around that one side of head, grabbing medium to larger sized chunks and curling towards your face.
Step 5 – Grab the section of hair in the front that will be your “bangs”. If you already have bangs, great! If your part is on the opposite side of your writing hand like mine (part is on the left, I am right handed…) take the wand in your opposite hand and then wrap the hair around it away from your face. If it’s on the same side as your normal hand, no need to switch hands. This will ensure that the wave of the bangs curls and falls properly.
Step 6 – Continue curling the remainder of that side of hair, this time curling away from your face.
Step 7 – Take a large tooth comb (or your fingers) and gently run it through the curls to break them up and make them less curly and more wavy.
Step 8 – Finish by adding a little bit of texturizing spray or sea salt spray and gently styling it with your fingers. VOILA!
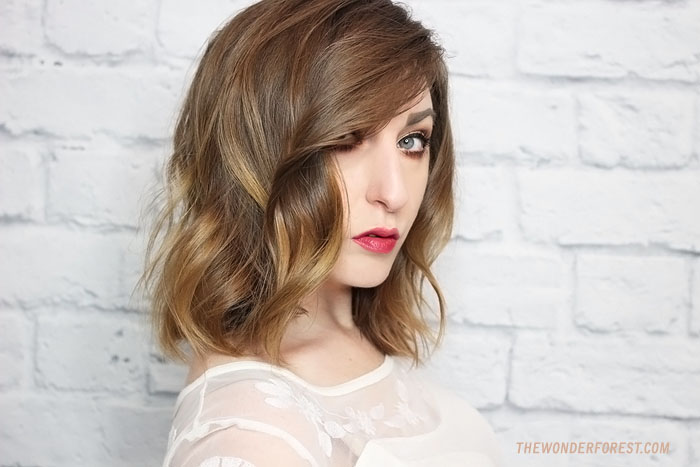
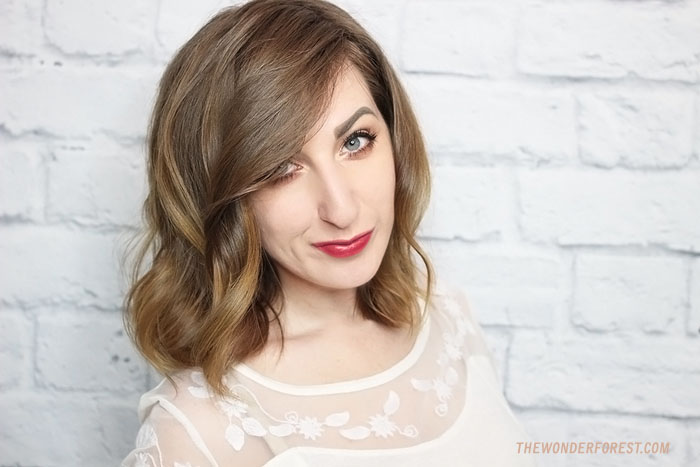
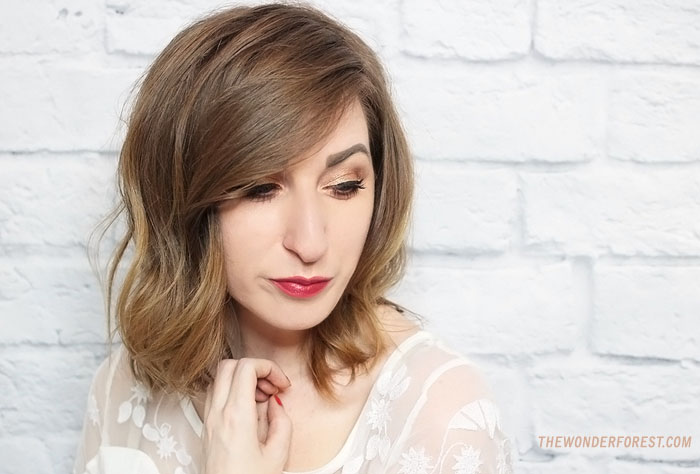
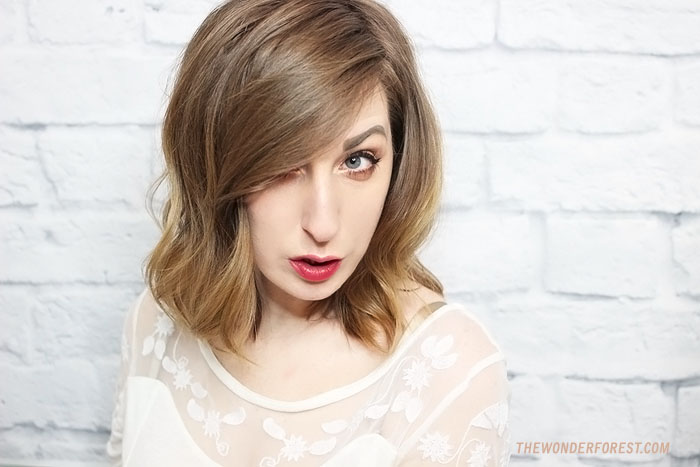
I hope you like the look! You can totally play with this some more if you like, or even try a smaller barrel for a curlier/less subtle look!
Last Updated on

