Pergolas can offer some great privacy, but they’re not always the best for shade. In my backyard, the sun shines all day long and man, is it HOT out there!
While you can buy pergola shades for a few hundred bucks, you can also make your own pretty inexpensively.
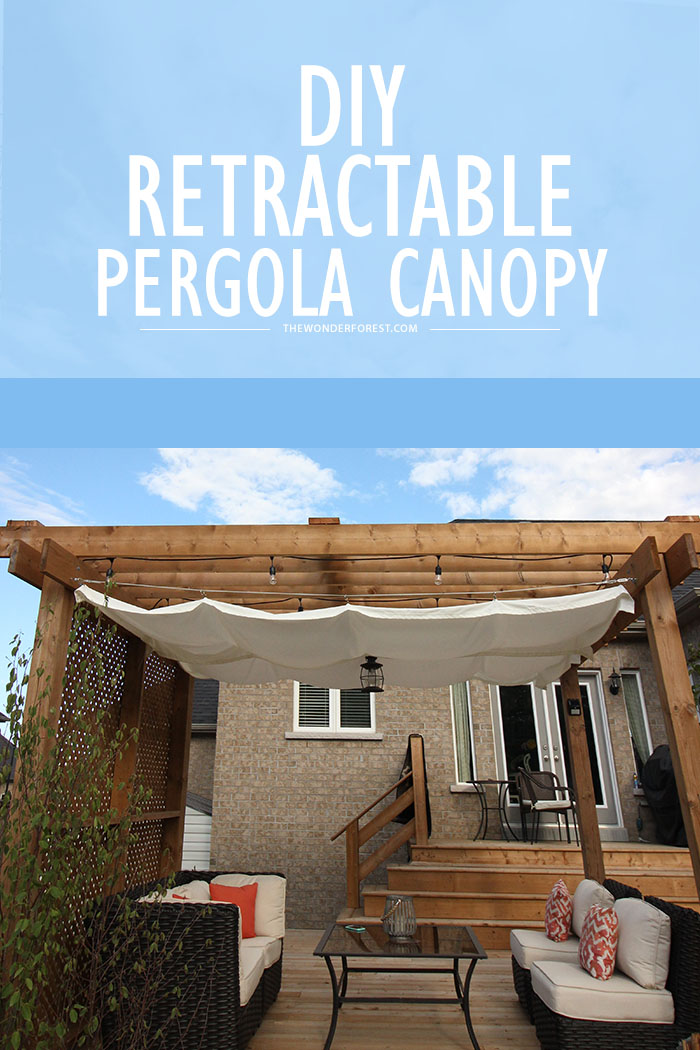
I’ll show you how I made this one using a few materials from the hardware store and some outdoor fabric.
You will need:
- Outdoor fabric
- Wire clothesline (or aircraft cable, but a roll of clothesline is cheaper!)
- Screw eyes (1 for each corner of the canopy)
- Turnbuckles (1/2 the amount as screw eyes)
- Drapery rings with clips
- Wire clamps
How to make a shade for your pergola
Start by measuring the top of the pergola to figure out how much fabric you will need. Since my pergola has a hanging light in the center, I made two separate shades to go on each side of it.
Because of this, I needed 8 pieces of hardware for the corners as opposed to 4.
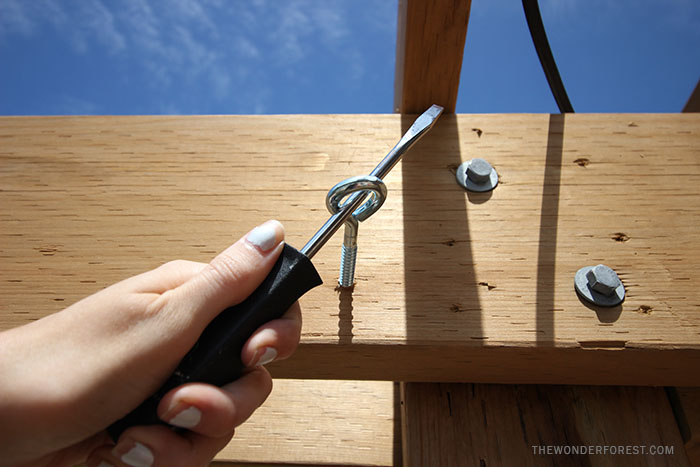
Decide where you want your shade to sit and screw one of your screw eyes into the frame. You can use a screwdriver like this to help easily turn the screw eye clockwise.
Make sure you place the screw at the same distance on each corner.
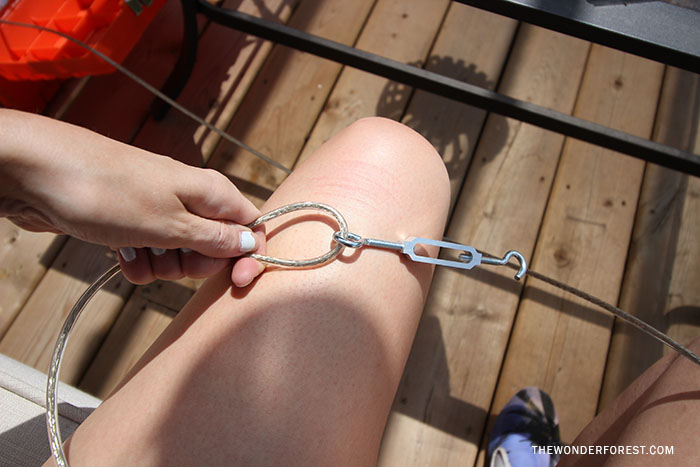
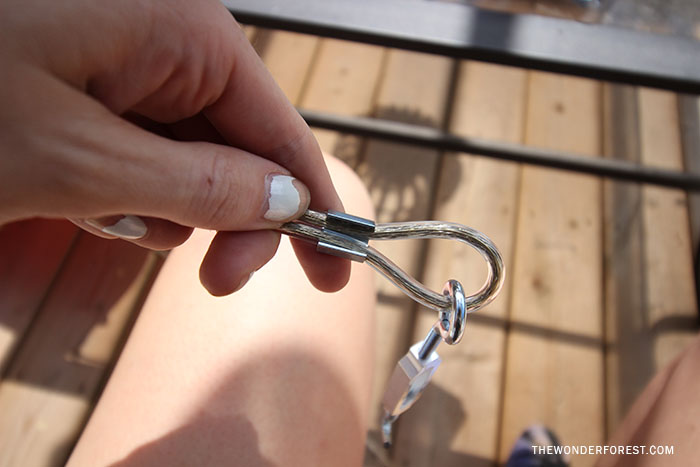
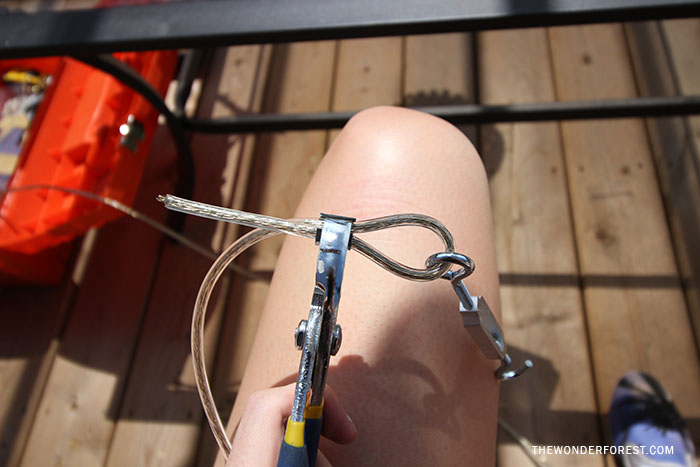
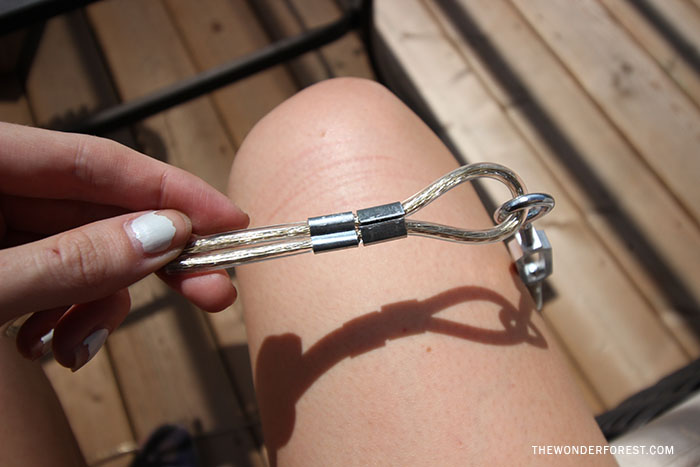
For each turnbuckle, insert your wire through the looped end and secure with wire clamps as shown. Placing two clamps opposite ways will ensure a tight connection.
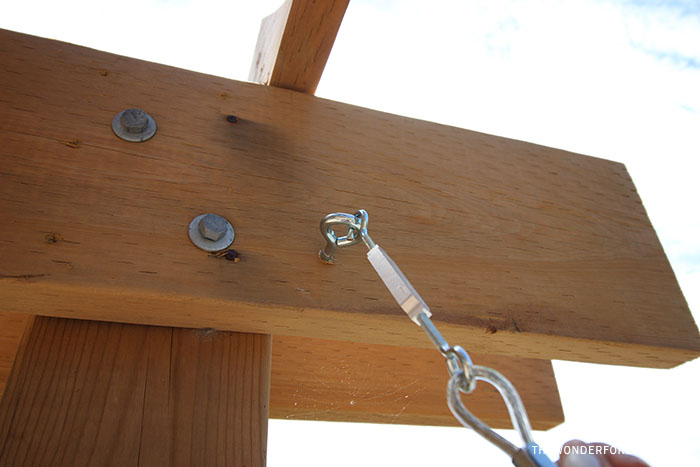
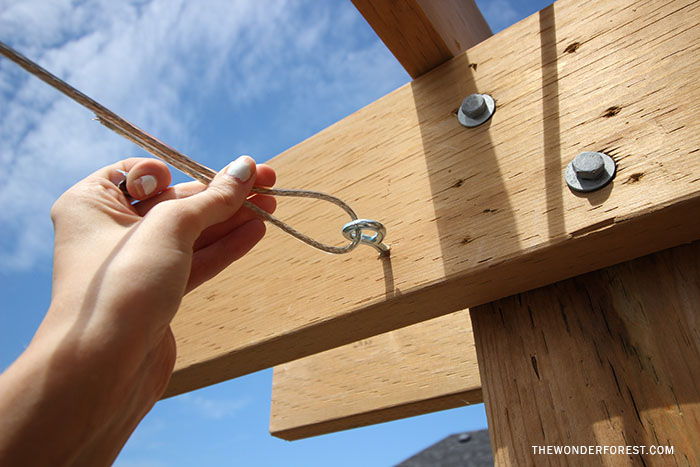
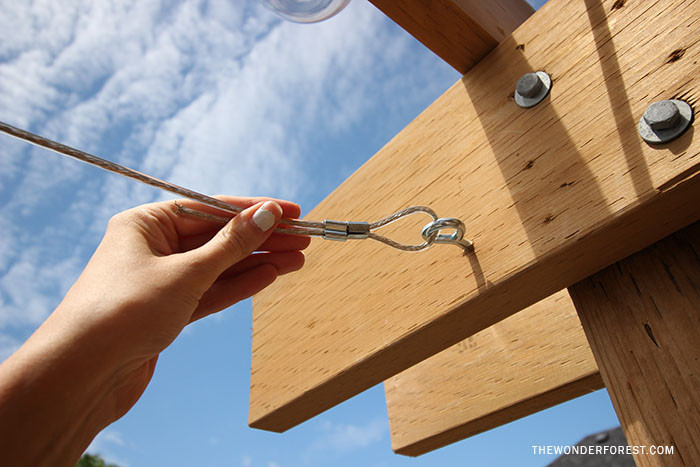
Hook the other end of the turnbuckle onto your screw eye, and fasten the opposite end in a loop with wire clamps as shown above.
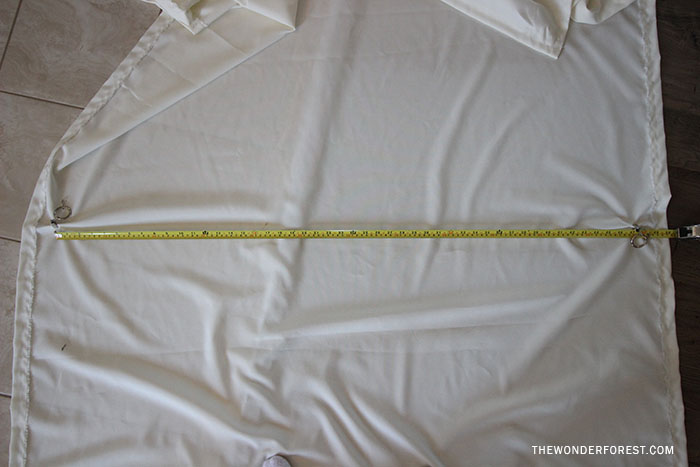
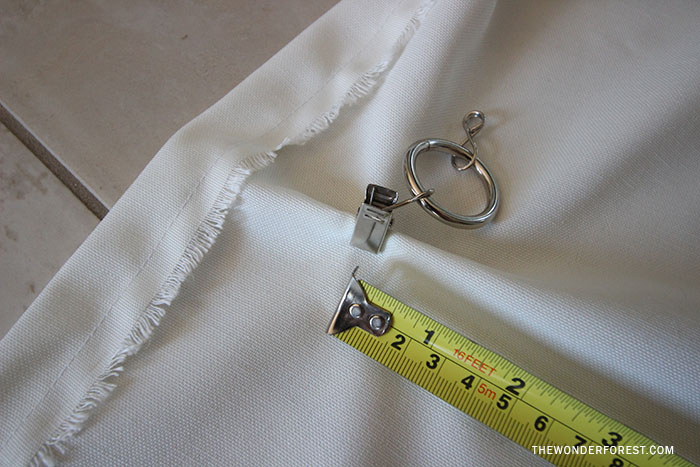
Cut your fabric to size. I hemmed the edges as well. Next, measure the distance of the screw eyes from one to the other on your pergola and then place the drapery hooks at those measurements.
These hooks are awesome because they hold on SO TIGHT and you can easily remove the fabric to wash it.
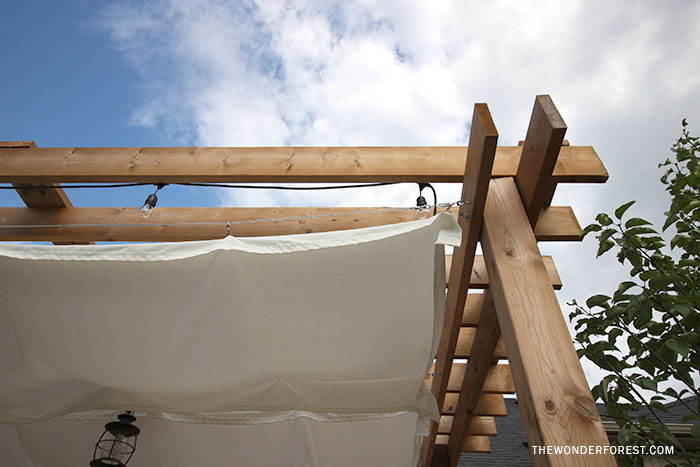
All that’s left to do now is to thread your fabric onto the clothesline with the drapery rings and tighten those tension/turnbuckles!
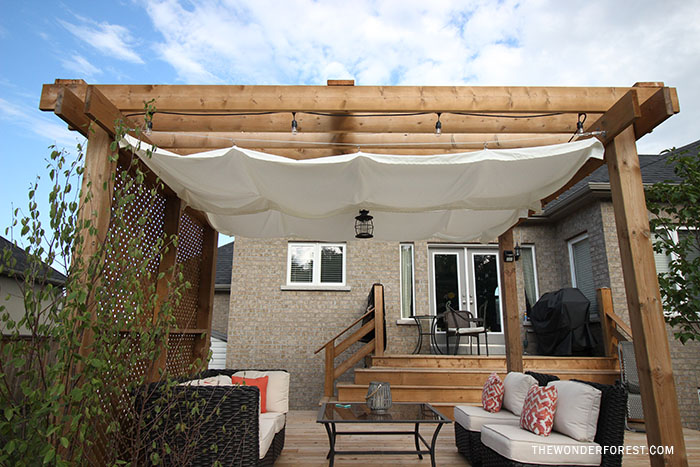
You can open and close the curtains as you like! You can also add pull strings to the corners if you want to. I’m pretty happy with my canopy and hope this tutorial sparked an idea of your own!
Last Updated on

Love this! What a good idea.
Nicky Zeeb xx
🙂 thanks Nicky!
Off topic, but thank you for not making sure your nails were instagram perfect for this post. It frustrates me when I see people who have perfect nails for up close shots in DIY posts when I know those nails will chip in seconds doing the project they are doing. It makes your tutorial more “real,” if you get what I mean.
You know, I almost put a disclaimer saying to ignore my nails, but I figured this is real life, who cares! haha! My nails are always a total mess from doing projects and decor/renovating stuff!! xox