This post is written by Wonder Forest contributor Melissa of Pie ‘N The Sky.
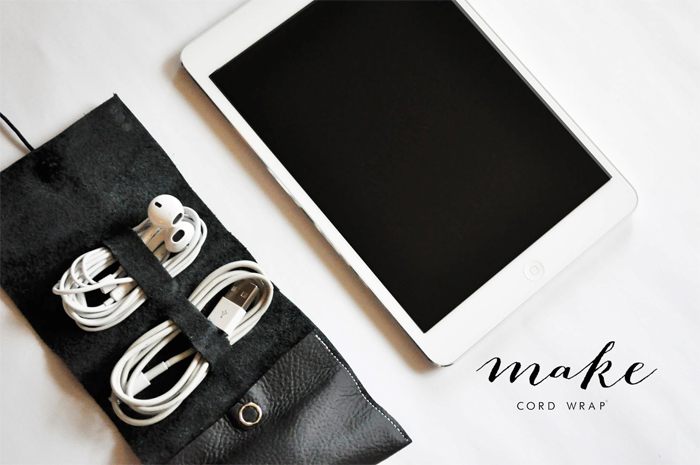
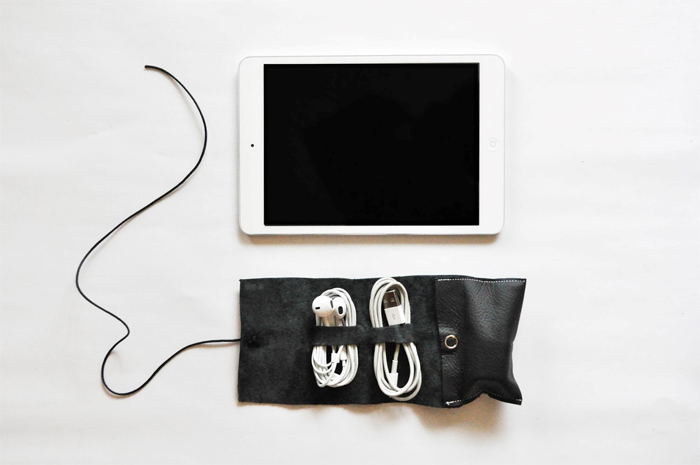
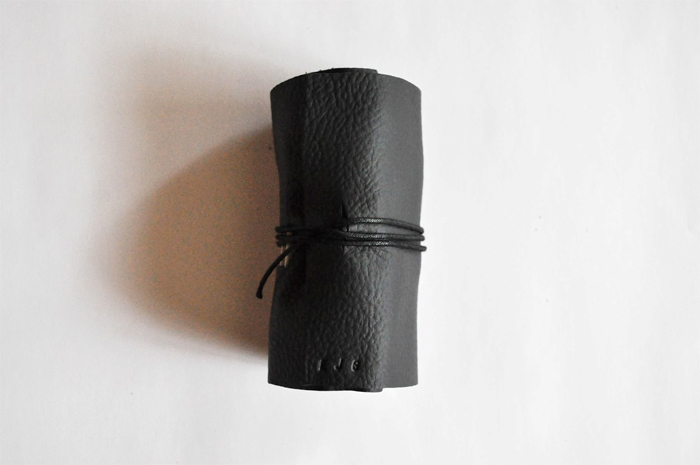
I made this cute little cord wrap as a gift for my husband. He’s always on the
go and working in different locations, so I wanted to make him something to hold
all of his cords that wasn’t too bulky. I love love the way it came out!
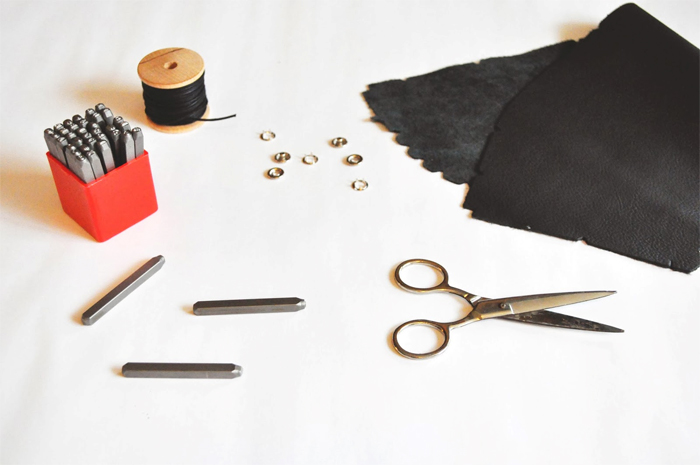
S U P P L I E S :: scrap leather, cord, fasteners, letter punches, scissors
and sewing machine (not pictured)
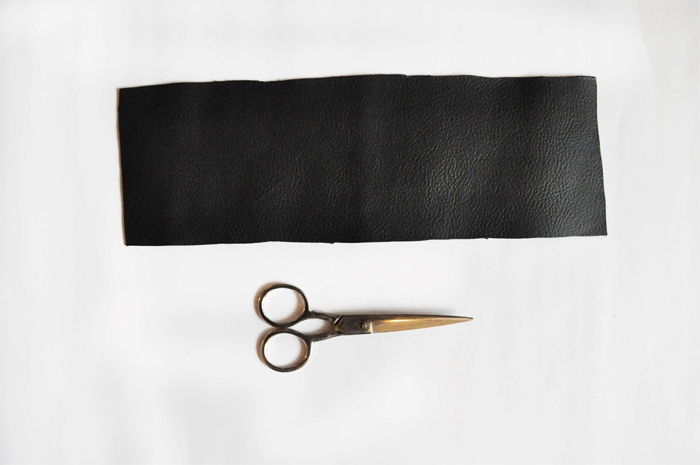
1) Cut a long rectangle from your piece of leather. Keep in mind that a portion
of this will be folded and you’ll need enough to wrap all the way around. I cut
mine to be approx. 15inches.
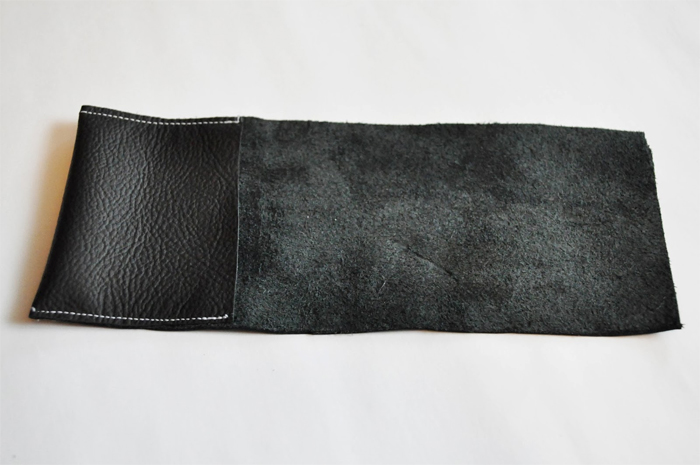
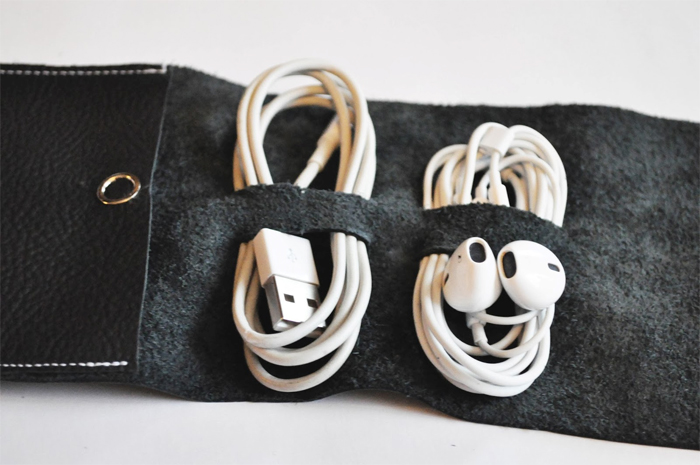
2.) Fold one side down to create your pouch. You may want to stick what you plan
to keep in there, inside, to get an idea of how long the pouch should be. Once
you find a length that suits you, use your sewing machine to sew down the sides.
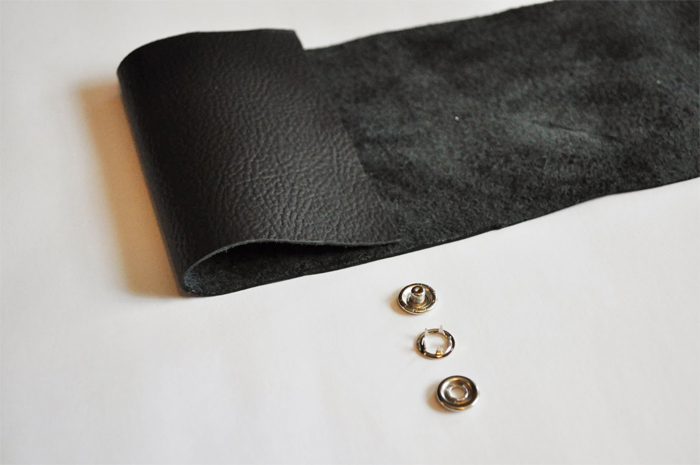
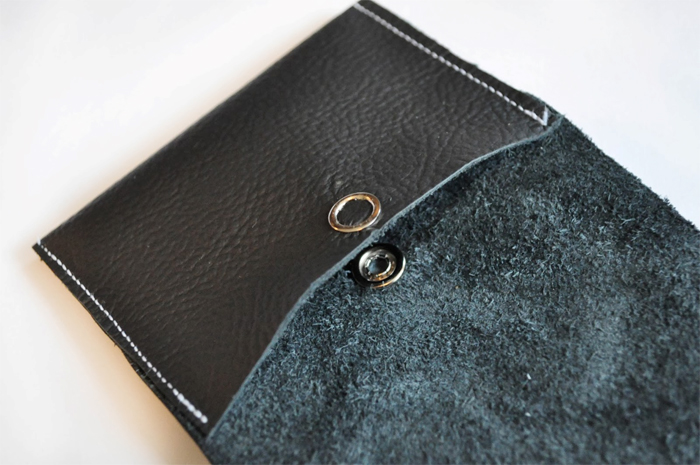
3) Use your fasteners to create a button snap for your pouch. This can be done
with an actual fastener, or a hammer and hard surface. I went with the latter,
because sometimes you just gotta work with what you have!
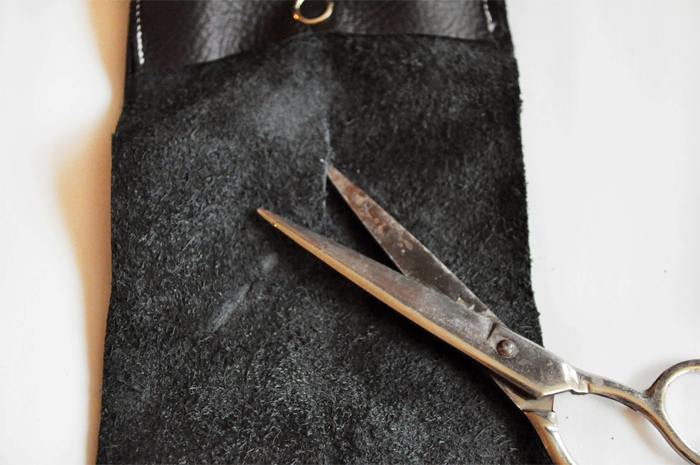
4) Next, you’ll use your scissors to make cuts along the middle part of your
leather. This is where your cords will go so you want them to be wide, but not
too wide, so they’re secure. You’ll need two slits per cord, approx. half an
inch apart. It’s easiest if you fold your leather in half to cut a slit – the
same way you would to make a paper snowflake.
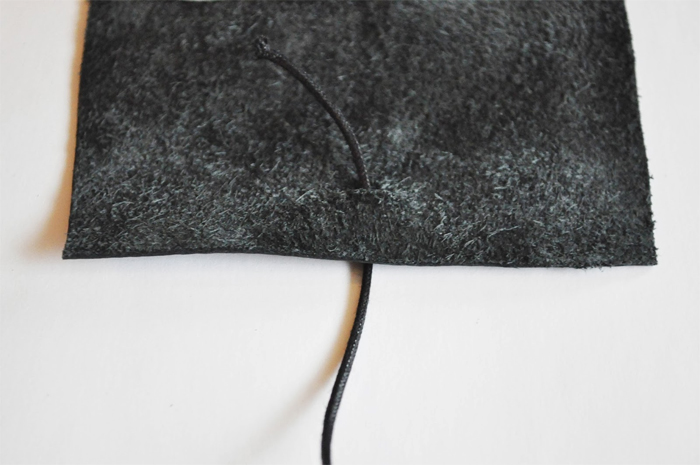
5) Using the same technique for cutting, cut a slit along the edge of your wrap
(the opposite end of the side with the pouch). Run your cord through the slit
and tie a knot on the inside. This will be the cord that wraps around your
“wrap” and keeps it closed, so make sure the cord is at least the length of the
“wrap”.
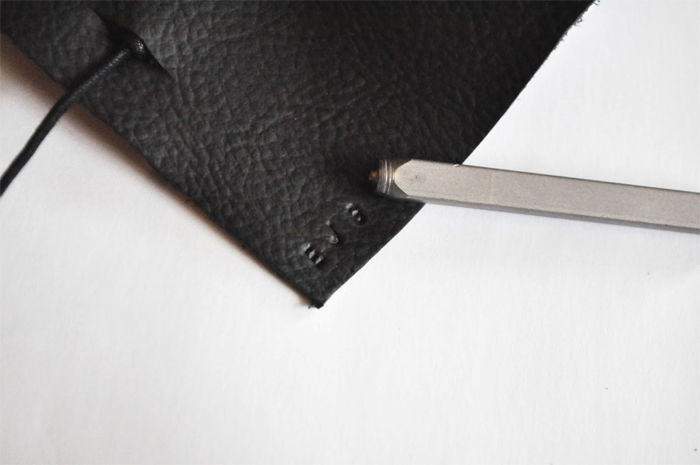
6) This part is optional, but if you’d like to make your wrap more personalized,
you can use your letter punches to add a phrase or initials. I chose to put
Elisha’s initials in the corner.
this little gift! It’s such a neat way to store your cords and there are so many
different things you could use it for. I used a similar technique here to
store my crochet hooks. The possibilities are endless!

Last Updated on

