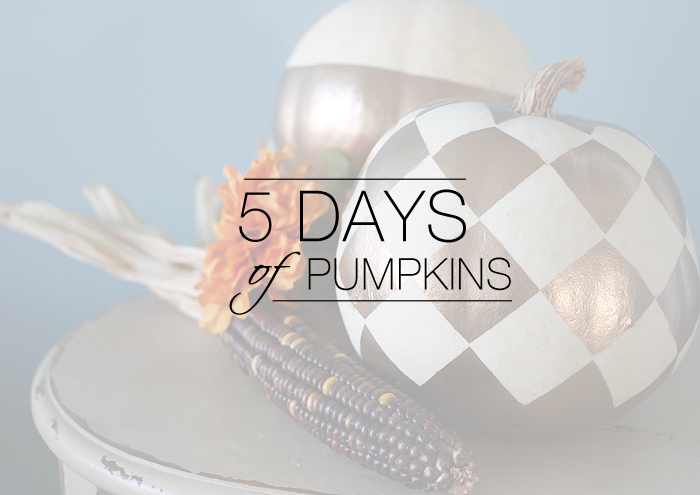
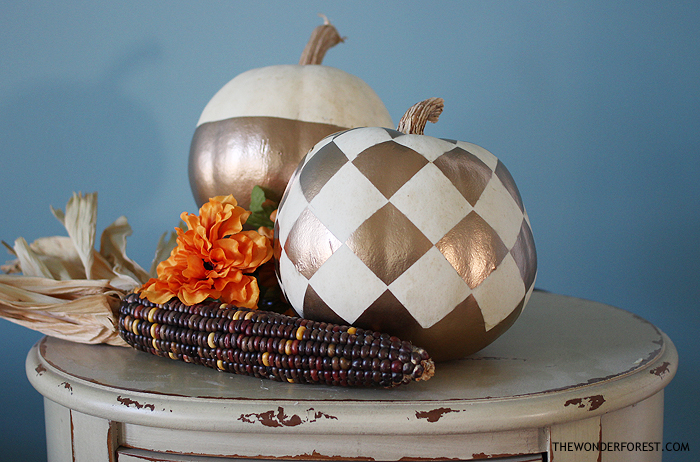
Yesterday I showed you a really easy way to get a gold “dipped” pumpkin, and today I am taking it up a notch with a checkered diamond pattern!
I just used the same spray paint and some white address labels to get this look. I think it complements the other gold pumpkin perfectly.
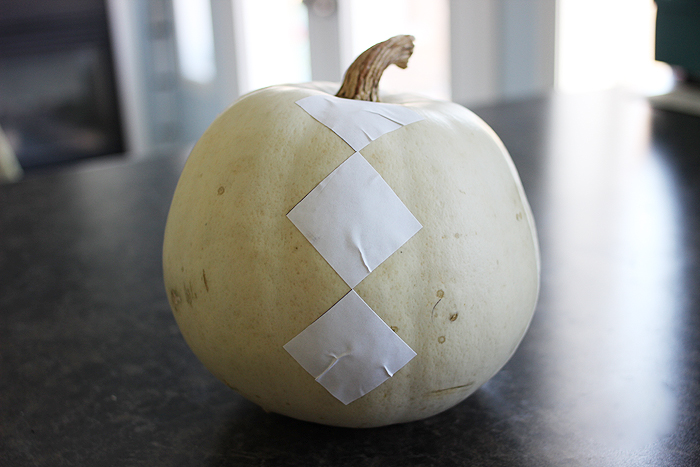
To start I just grabbed a sheet of blank white sticky address labels and cut them into squares. Then I started laying them out on my white pumpkin like this…
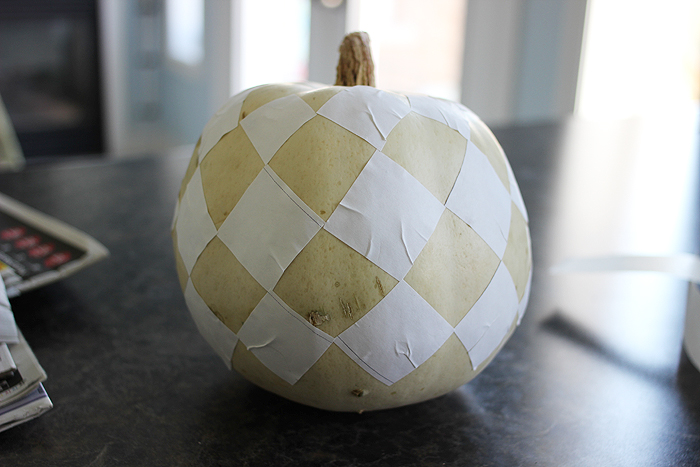
It took a bit of trimming on the stickers near the top to get them to match up properly since they are being applied to a round surface, but I managed to get the corners all lined up nicely and ready for painting!
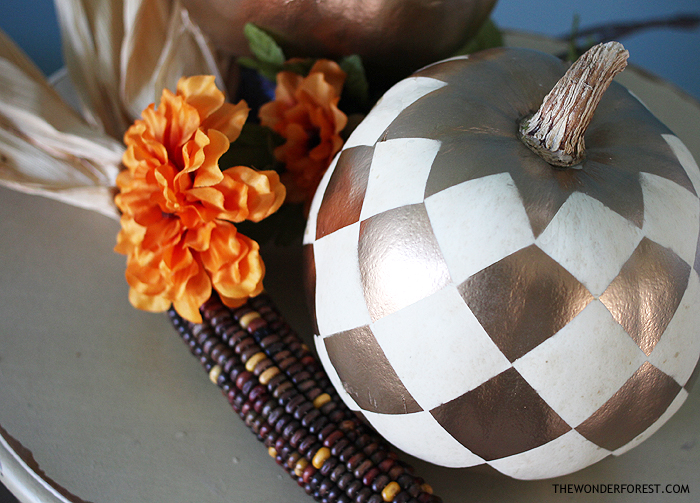
Once the stickers were in place, I taped up the stem because I wanted it “au natural” and free from gold. Then I just got busy with the spray paint and sprayed the whole thing. When dry, all you need to do is remove the stickers!
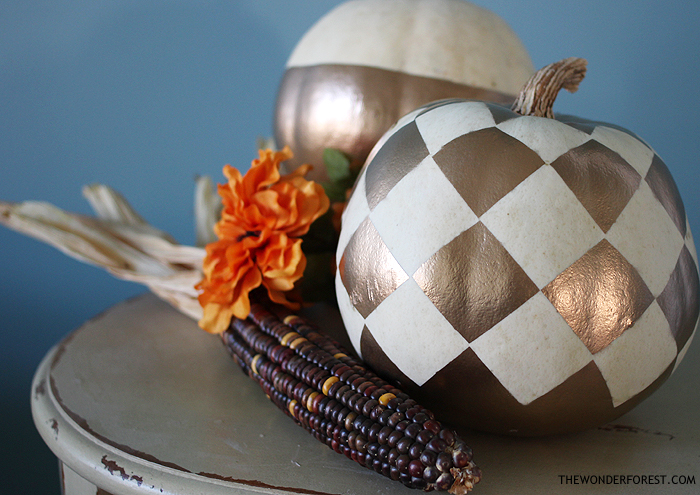
I hope you liked this pumpkin makeover! Stay tuned for more freshly designed pumpkins and if you missed yesterday’s, check it out here.
Remember, tag your pumpkin photos with #5daysofpumpkins on Instagram so I can have a look! I love seeing what you do with your pumpkins too!
Last Updated on

Hi Dana – just popping in to say I love your beautiful pumpkins and would like to feature them in the October issue of RUBY magazine. We will, of course, only use one of your images and link back here to your blog and tutorial so our readers can find you. Let me know if you have any questions. Nina @ Vintage Mama’s Cottage and RUBY magazine