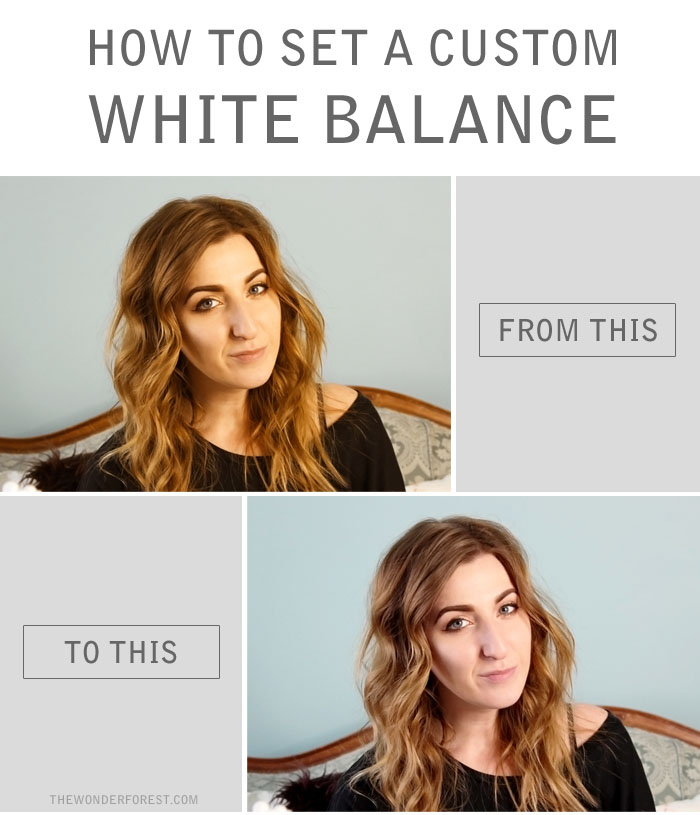
If you’ve ever taken a photo and wondered why the colours appeared differently than in real life, learning how to play with the white balance on your camera is a must. A common issue with taking photos using the “Auto” white balance option is photos that appear too warm, or yellow toned. It all has to do with the lighting and setting you are shooting in and how it is relaying those elements to the camera. Setting a white balance option before you shoot photos in a certain area will make sure that unwanted colour casts are removed, and you can go about your photo taking with no surprises.
Firstly, please excuse the terrible quality photos in this post. I obviously had to take the photos of my camera with something, and not being a Macgyver of photography, the only other camera in my arsenal was my iPod. This example uses a Canon 600D (or T3i), so I can’t guarantee that the settings will be the same if you’re using a Nikon or something else. Look for similar options.
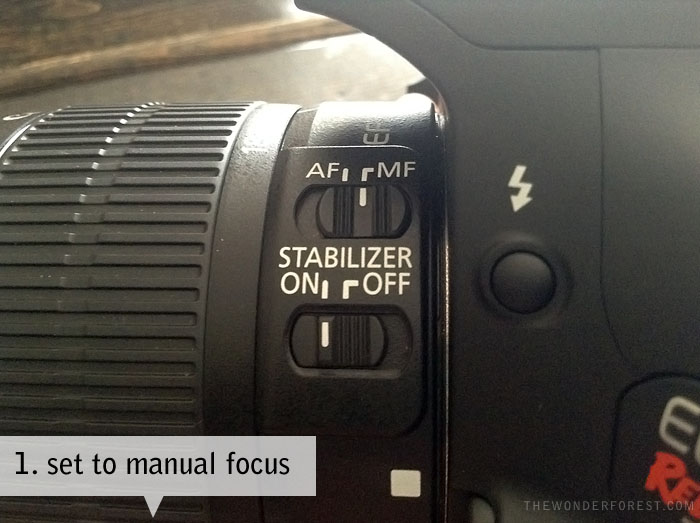
1. I always set my camera into Manual focus first because it makes the second step quicker. If this was in Auto, your camera would continue to try to focus on a blank surface.
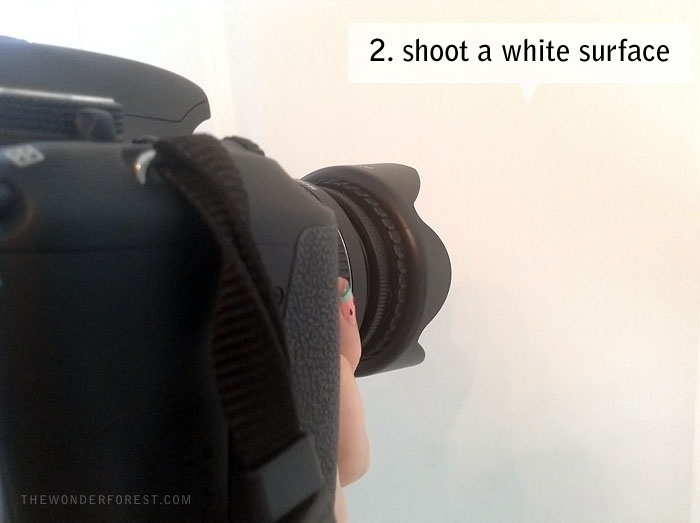
2. In the same area that you plan to shoot, take a photo of a blank white surface. If you don’t have a surface, holding up a white sheet of paper will do as well.
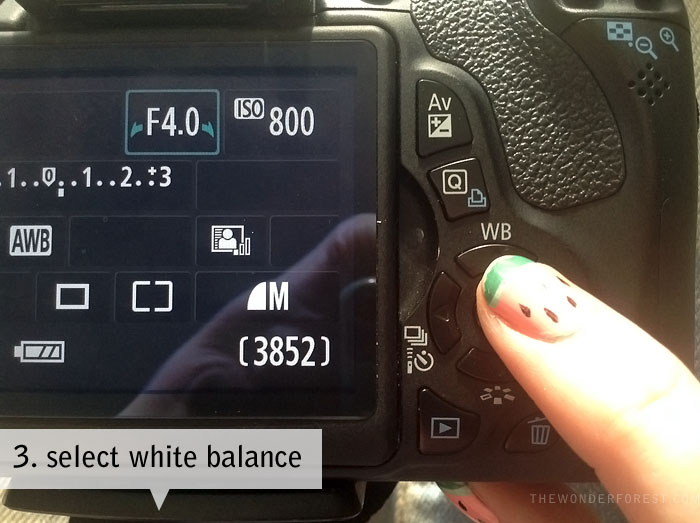
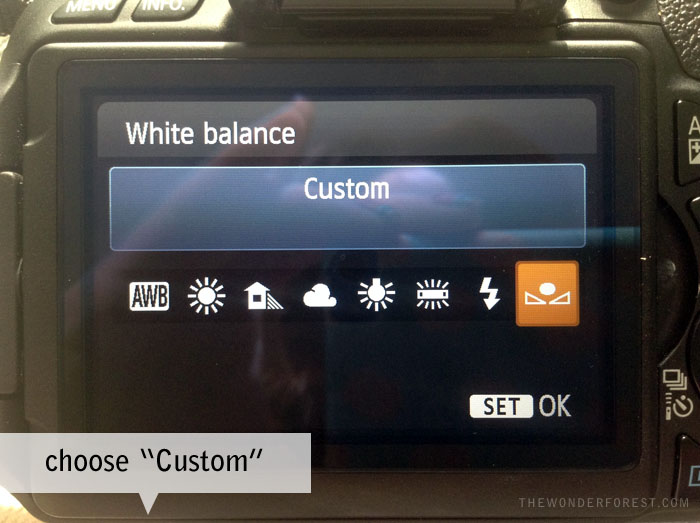
3. Select the White Balance (WB) button on your camera and navigate over to the Custom option using the arrow keypad. Click Set to OK it.
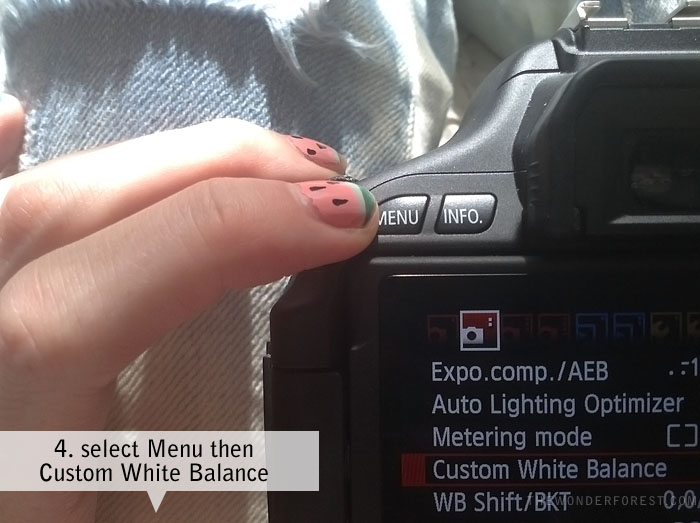
4. Now go into your camera’s menu and find the option that says Custom White Balance, again using the arrow keypad and Set button.
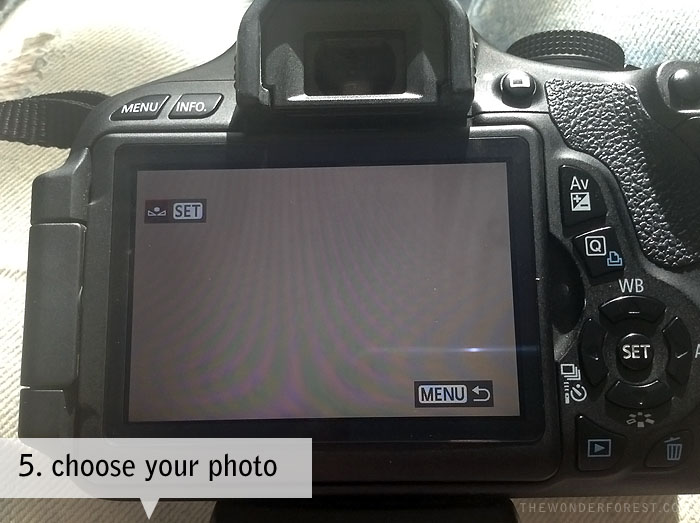
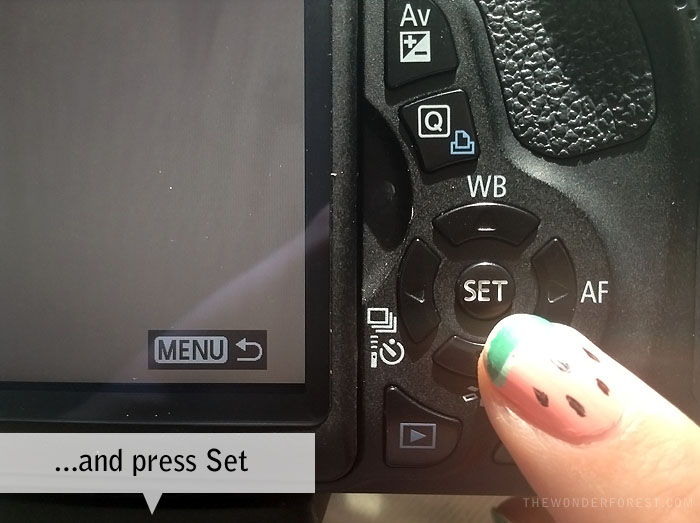
5. In here, you can select the white photo you just shot. Your camera will use this photo as reference and tell it to adjust the tones according to the cast of the picture. Press set to select it…
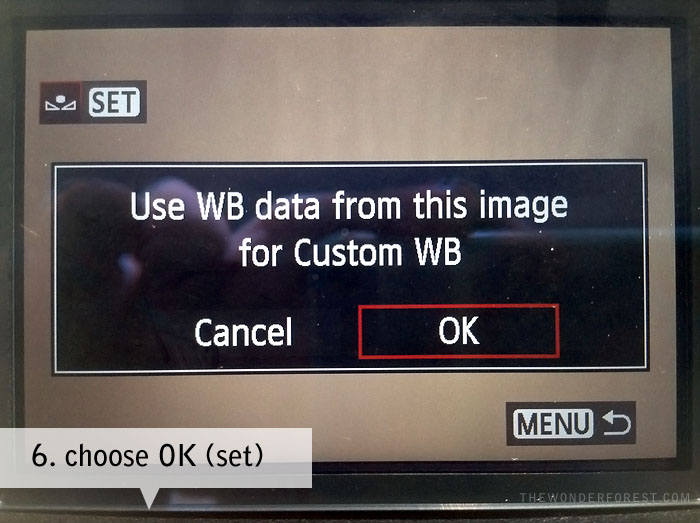
6. Then press Set to OK your selection.
Your camera will now be set to a custom white balance using your blank white shot as reference! Remember to change the white balance setting if you re-locate.
This setting can save you from many frustrations and confusion while taking your photos. It makes the most difference in indoor settings where artificial lighting is present. Try it out for yourself and discover how much more vibrant your photos can be!
This information is provided to you totally free! All I ask is that you please share it 🙂 
Last Updated on

