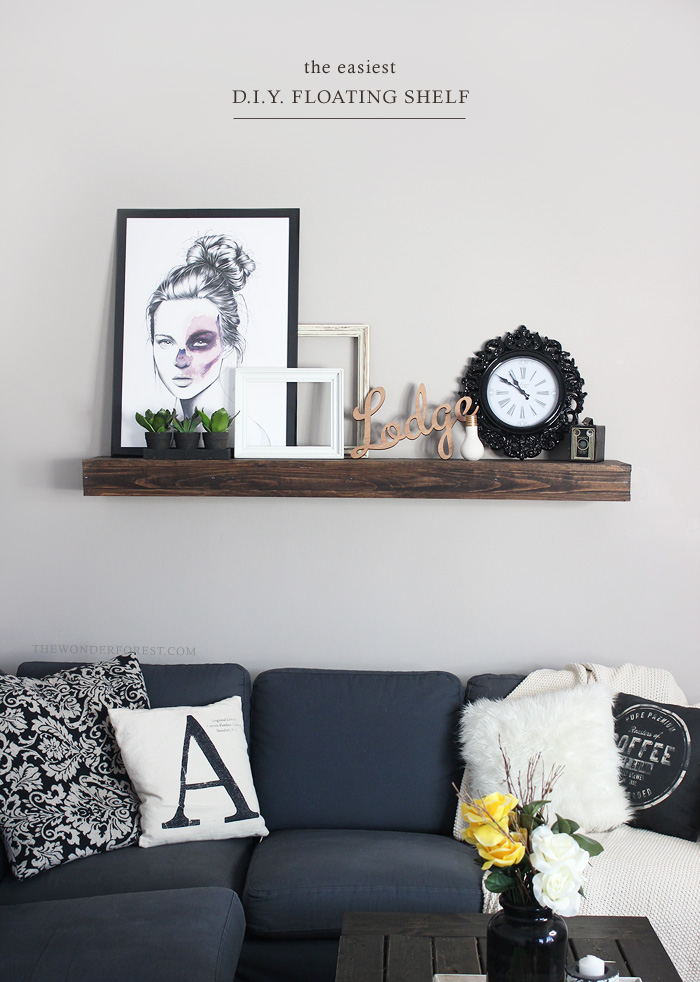
During my recent living room makeover, I knew that I wanted a wood floating shelf above the couch, and I didn’t want to pay an arm and a leg, so my mission was to find a DIY floating shelf project that was quick and easy.
I hopped online and found a variety of different tutorials, but nothing was really as easy as I had hoped for.
I didn’t want to have to cut a ton of wood or strip pieces in half, so I decided to come up with my own plan using standard wood sizes that can easily be found in your home improvement store.
I’m super happy with how it turned out so I wanted to share my plans so you can create one too! The best part… This shelf cost me under $20 to make!
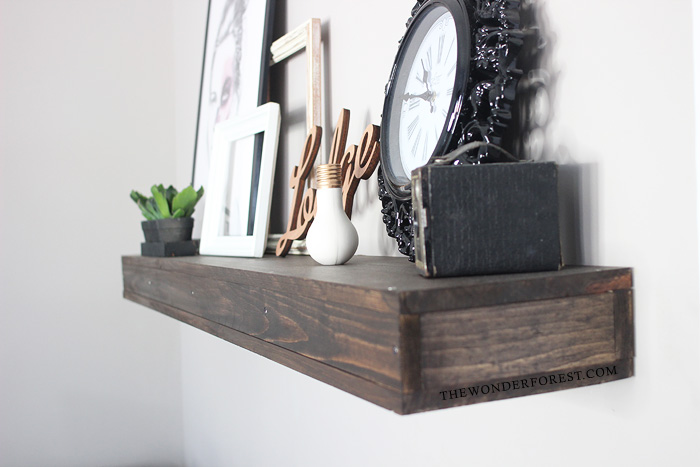
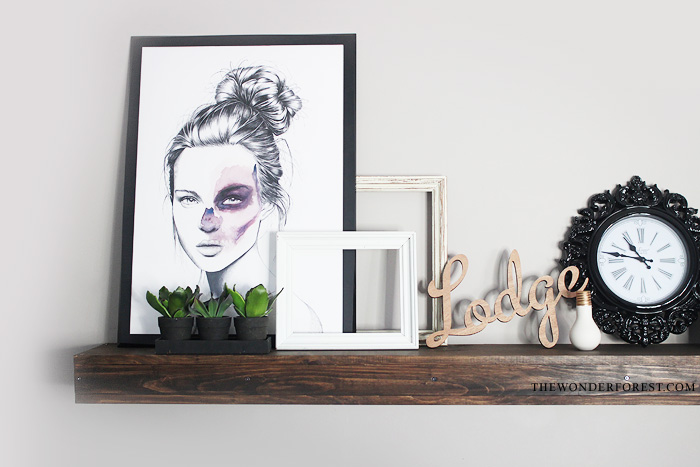
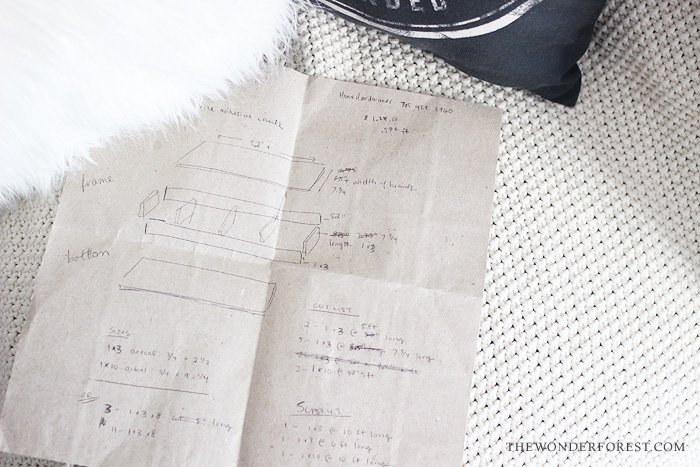
Like I said, I made this as easy as possible. It uses 1×3’s for the frame and 1×10’s for the top and bottom. This shelf measures 5 feet long. You can adjust the length to suit your liking. Here are some things you will need:
Supplies:
- Stain of your choice
- 1 ½” wood screws
- Drill with drill bit
- Wood (see cut list below)
Cut List:
You can cut the wood yourself, or just have your hardware store do it for you! I opted for them to do it because… hello, easy!
- 2 – 1×3’s cut to 5 feet long
- 5 – 1×3’s cut to 7¾ inches long
- 2 – 1×10’s cut to 5 feet long
How to make a DIY Floating Shelf
1. Stain your wood beforehand. I failed at this part and was so excited to just build the shelf that I stained it while it was on the wall. Not the easiest. When your stain is dry, all you have to do is pop it together.
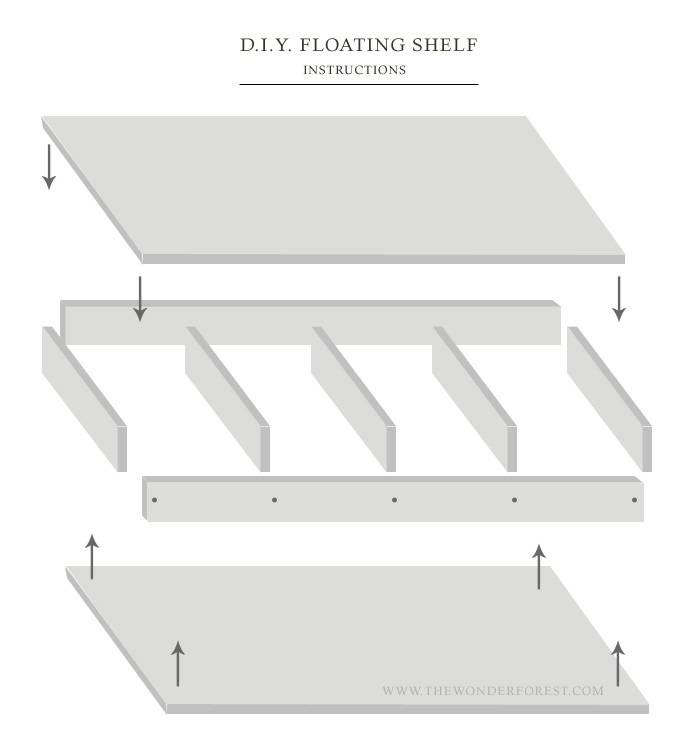
2. Create your frame as shown below (middle). Place two of the shorter pieces on either ends of the 5 foot 1×3’s and secure with screws. Pre-drill your holes so you don’t split your wood. I placed just one screw in each end. The center three pieces are for added support.
3. Attach the frame to the wall! Find the studs in your wall and screw the frame right into them to be sure they’re secure. You want to make sure the frame is properly in place and secure before attaching the top and bottom pieces. This is how you make it “float”.
4. Place the top and bottom pieces onto the frame (shown below) and secure with screws! That’s it! If you stained it dark, you can even use a sharpie to colour over the screws to hide them.
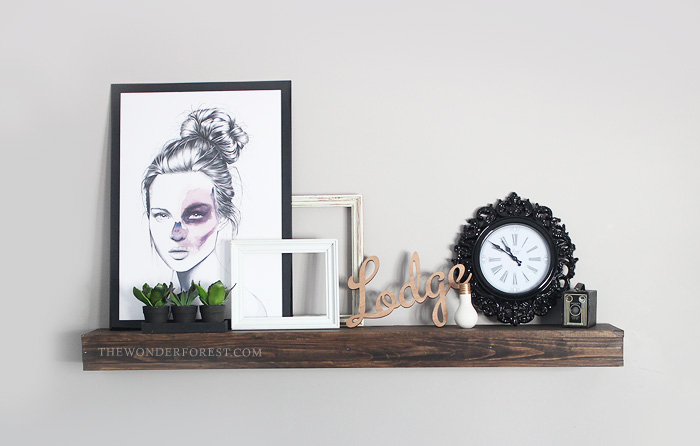
I told you it was easy. Have fun and let me know if you make one, I’d love to see it!
Last Updated on
