For my third pumpkin, I wanted to do some sort of carving but didn’t want it to be a typical face. I wanted a design! I got inspiration for this one from a ceramic pumpkin light I saw at a home decor store and thought “I can do that!” and not spend $50.
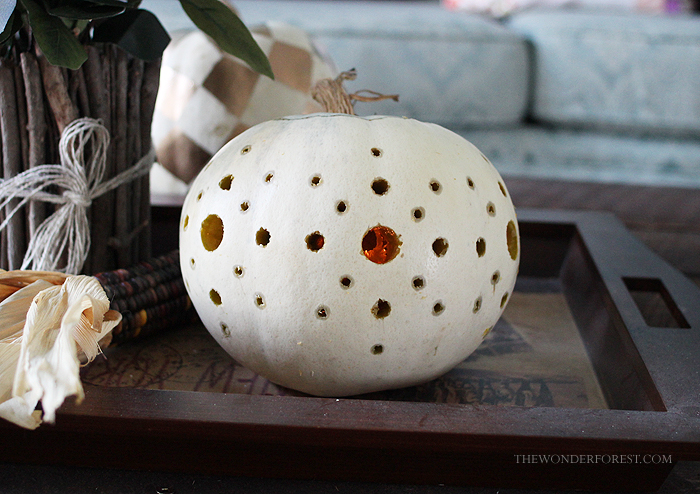
I used a drill for this pumpkin and three different sized drill bits. If you know to change a drill bit, this project is so easy!
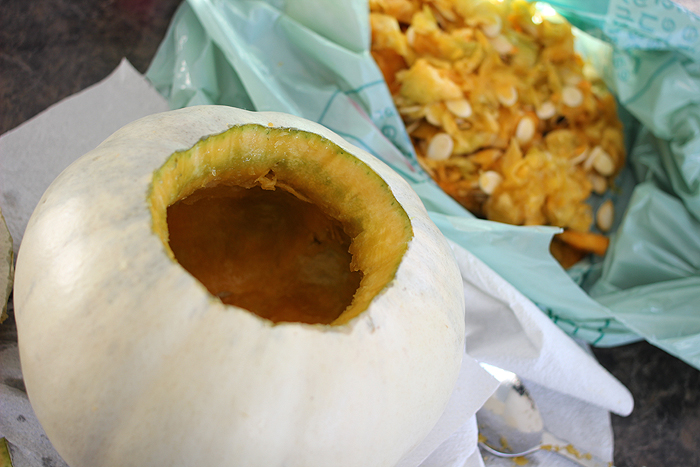
Start by emptying out your pumpkin as you normally would.
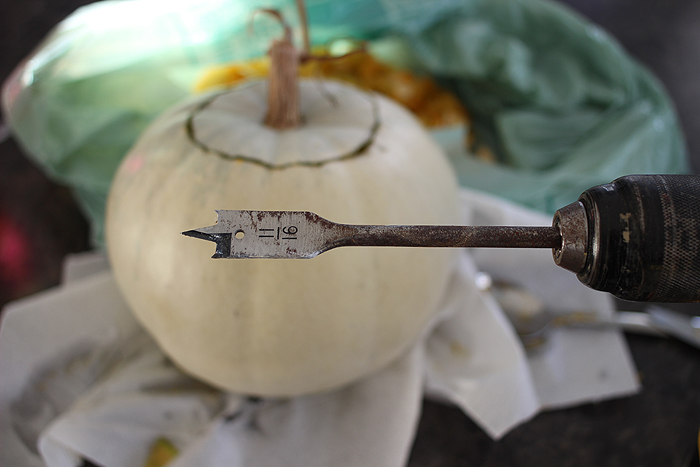
For the larger circles I used this bit. Decide on a pattern (or copy mine) and start with your larger holes first.
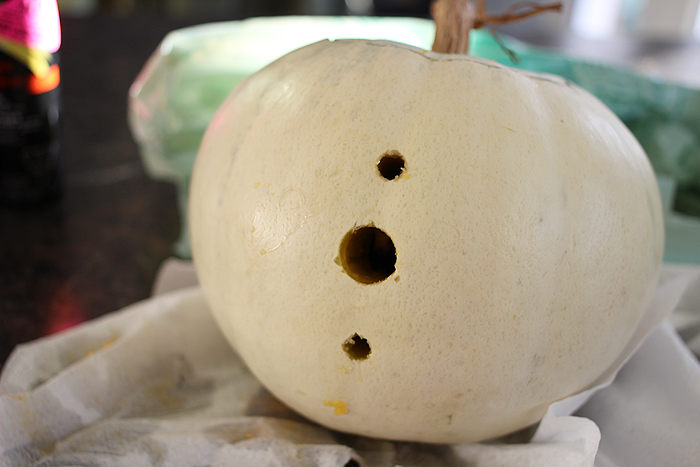
Start adding to your pattern by changing out the drill bits. They slide right through that pumpkin, and it’s kind of fun honestly!
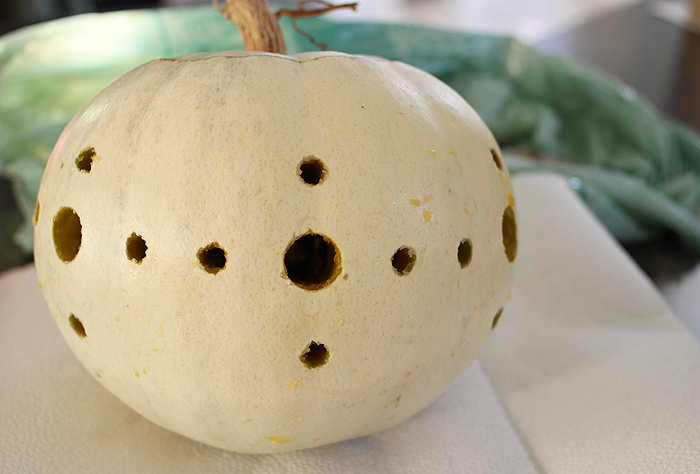
I started with this basic pattern and then went in with some smaller holes as shown below:
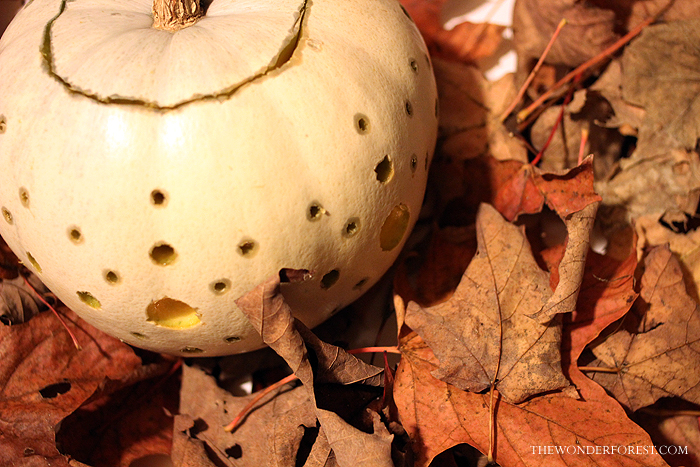
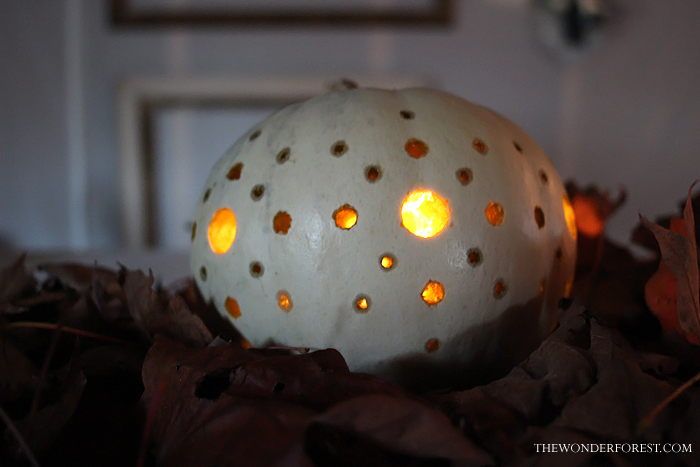
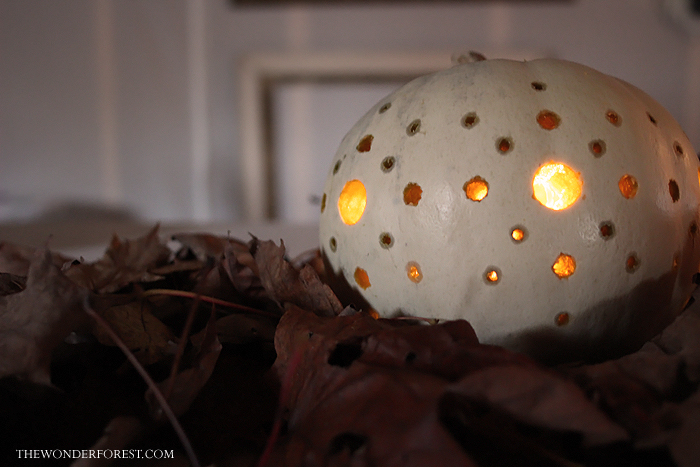
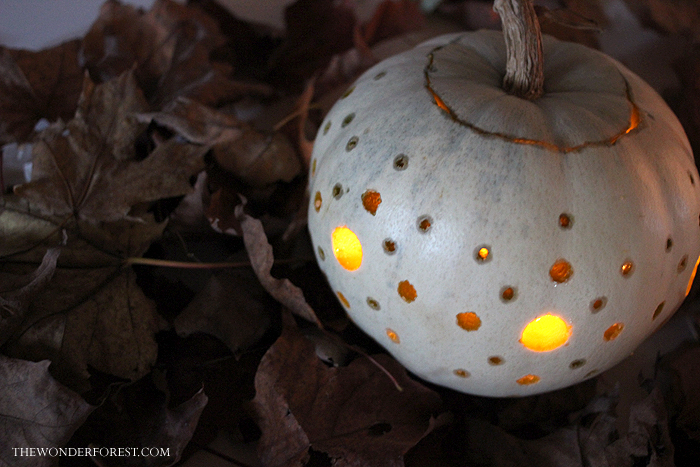
Add a candle or a light and wait for darkness to fall! These would look so nice on a front porch or pathway up to your house. I do suggest either leaving the lid off if you are using a candle, or getting some of those solar inserts instead so it doesn’t catch on fire or something.
If you missed my last two pumpkins, you can check out my Checkered Gold Painted Pumpkin here, or my Gold “Dipped” Colourblocked Pumpkin here. Remember, tag your pumpkin photos with #5daysofpumpkins on Instagram so I can have a look! I love seeing what you do with your pumpkins too!
Last Updated on
